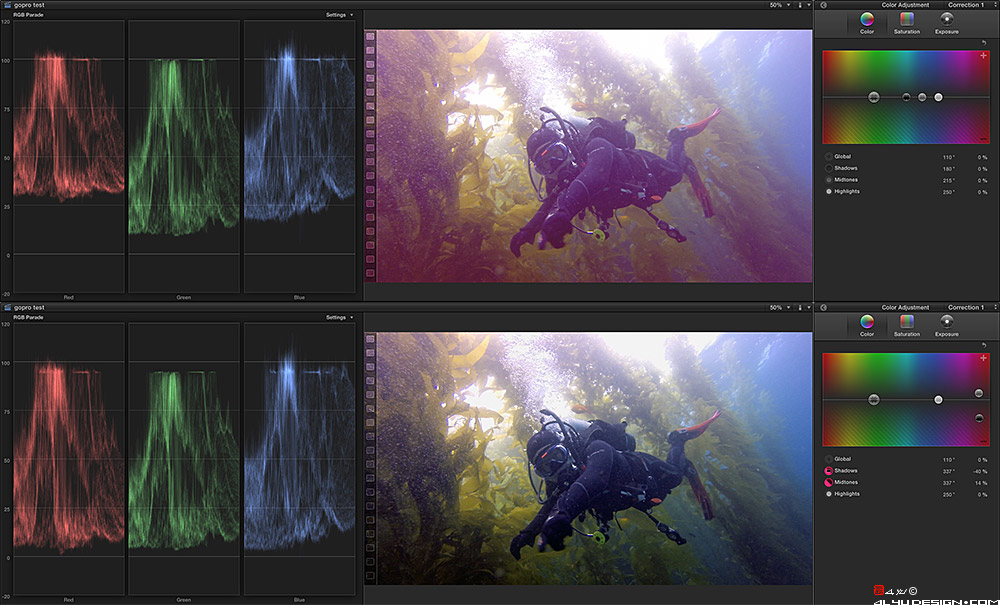
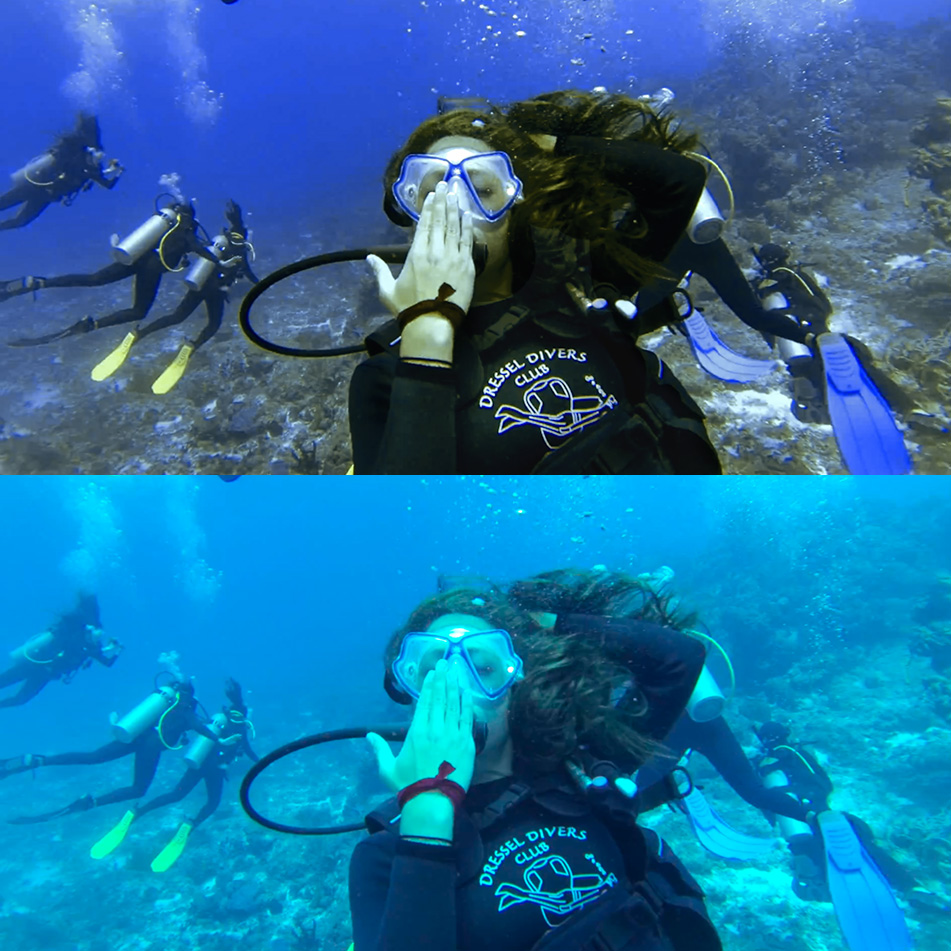
So trying to further understand and use FCPX to the fullest and extract as much from my videos as possible.
As with any 8 Bit 4:2:0 video - you really need to nail the white balance at point of capture to get the best results - if you want to tweak it in post after - this point I understand and appreciate.
So with that in mind I have the Amphibico white balance slate, so I can set MWB throughout the dive when changing depths, or if using my Keldans I can just set the temp on the camera to match.
What I would like to ask, is how to use the colour chart part of the slate in post?
So within a scene, show the color chart for a few seconds at the beginning and then continue to film. Once back in front of FCPX - use some sort of colour picker to say 'This is Red, this is Blue' this is Yellow' type thing? Is that possible?
Thanks
I'd personally suggest you ditch FCP and switch to Adobe CC, you then have a heap of options for colour correction (and everything else)
- Premier: have a look in the Effects window, there's a folder purely for colour balance and correction with a load of tools. I tend to use Fast Color Corrector and Color Balancer the most, but there's also other effects e.g Curves, Channel Mixer etc, depending on how your brain works and what you're trying to do (replace colours is also there). If you want to get really clever you can use adjustment layers to nest corrections and effects. If you're corrections are going to be relatively simple, then I'd stick with Premier.
- After Effects: much the same as Premier, with pretty much the same options, you can apply effects to clips to correct colour, AE Projects can also be nested directly into a Premier timeline (i.e. you dont have to adjust and export, and so wont get a quality hit from unnecessary transcodes.). After Effects is a bit of a beast, capable of doing lots of very funky things (that's about as far as my knowledge on it goes, my business partner has the brains in that area  ), whilst colour grading is one of the things it can do, I'd say it's probably akin to the sledgehammer opening the walnut
- Speed Grade : this is a great application, very powerful, although you can get lost in it pretty quickly! Loads of tools within it to help you get the colour of a clip as you want it, and then match the look with other clips. You can import premier sequences directly into SpeedGrade, so again there's no need to do multiple trandscodes, you'll also only be grading the clips that have made it into the edit (http://helpx.adobe.com/pdf/speedgrade_reference.pdf)
In terms of method of work, if you can be disciplined enough to slate each and every shot at the start then you'll have a pretty simple way of colour matching the clips to a reasonably good base level (however even then the clips would need a bit of a tweak to match them up). However in reality, it's unlikely that that's going to happen, and the chart is only useful as a reference tool if the colour balance hasn't changed since you last slated the shot... which can happen with each passing cloud, or each time you turn around. I personally I wouldn't bother, just be disciplined with the white balance to get it as close as possible to the look you want (I tend to stick at 5500 kelvin to match my lights), and then use the scopes and your eyes in SpeedGrade to do adjust the actual part of the clip that's made it into the edit.