



Skip to content

Photography Gear and Technique / Archived topic

3D Printed Focus Gearing for 7-14mm (Nauticam)

Started by thetrickster ·

  • 5Posts
  • 5Replies

Read-only discussion

3D Printed Focus Gearing for 7-14mm (Nauticam)

5 posts
  1. Well its been on order for a while, but my 3D printer finally arrived - and I've got straight to work on some custom pieces I wanted.


    1) Focus Gearing for the 7-14mm


    Unless you have the 6" Acrylic dome with the focus knob (Part Number: 36164)

    or the N120 to N85 47mm adaptor with focus knob(Part Number: 36052) for the 180mm dome, you can' use the focus ring on the 7-14mm lens on a m43 housing.


    As I'm using the 7-14mm always at 7mm, it was annoying I couldn't use the focus, so well with the help of a Calliper and TinkerCAD, here is the results:


    Its a bit rough and ready (Need some grub screws to tighten it) - but if this is something someone wants, once I've finished the design, I'll post up the STL file, which you can use yourself, or send off to Shapeways.
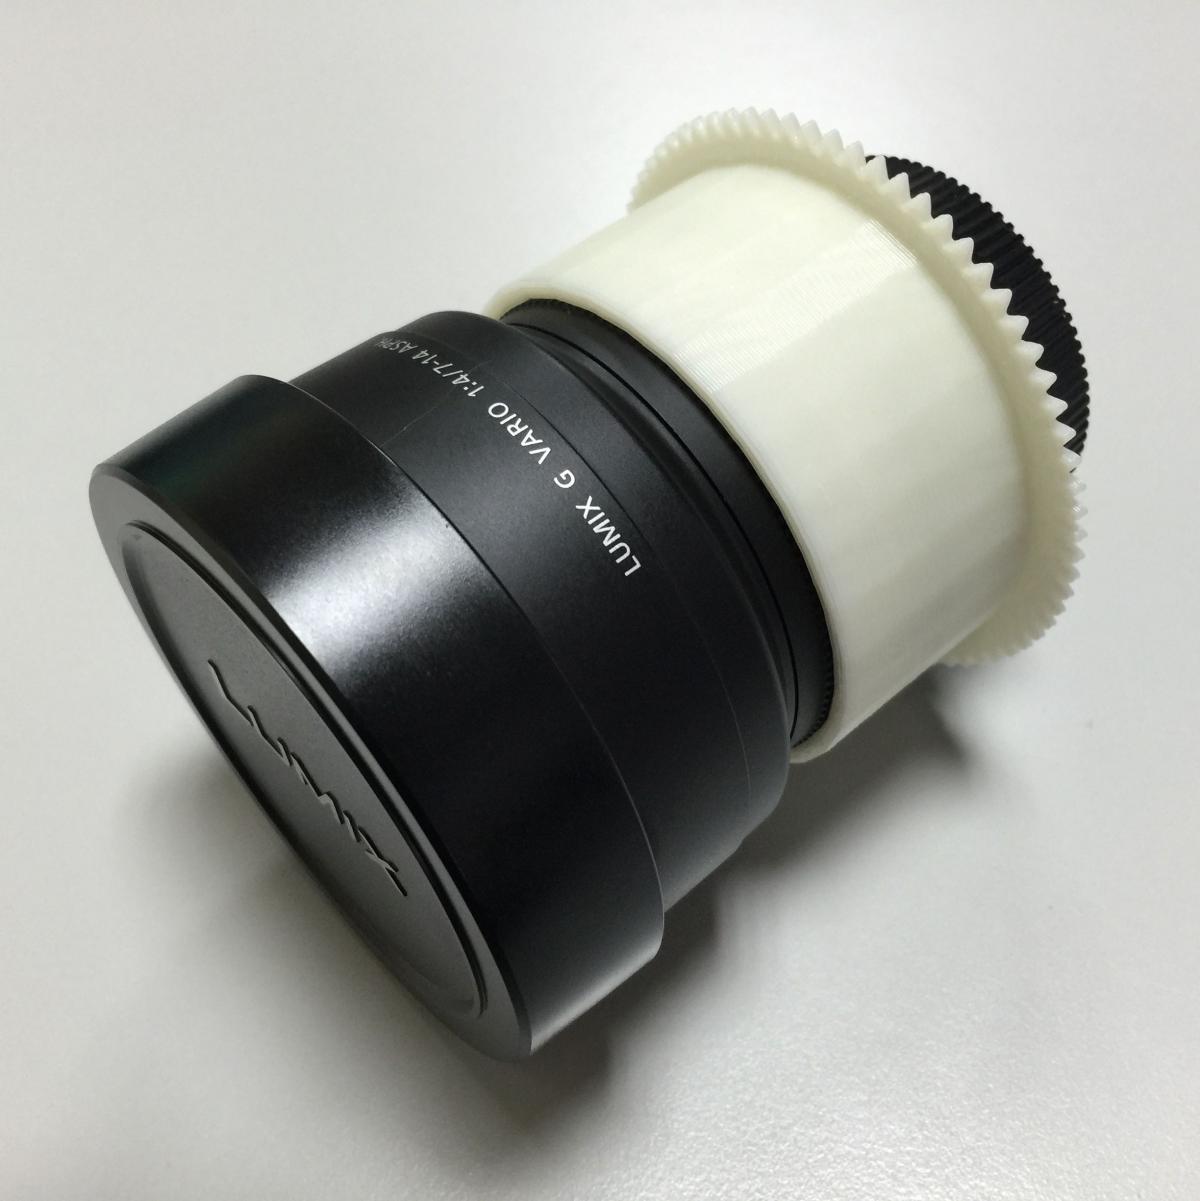



    post-43742-0-89922200-1423826733_thumb.jpg

  2. Nice job! Just curious since I never used a 3D printer. How do you get started with the CAD? Do you some sort of laser scan thing to scan an existing gear, then modified the scanned gear CAD to make a new gear for the lens you need?


    It's the main reason I haven't switch to interchangable system because $200 for a gear is a bit much if you need 3 lens.

  3. Hi Moses.


    I started with just a Calliper, a Pen and a normal 3in1 printer/scanner.


    First I did a 2D scan of my zoom gearing - just the cog part. So I could get them correct to start with. Number of Teeth, Pitch etc. I'm sure if you work with cogs etc you could tell by looking at it. But i just did a 2d scan. I then converted that JPG to a SVG file (there is a free online service) and uploaded that SVG to TinkerCAD (which I would highly recommend having a play with).


    Once I had the cog in tinkerCAD I used one of the builtin 'shapes' which is a Cog and redid the cog (selecting number of teeth and pitch) but this time as a proper nice smooth model. Using the imported SVG as a guide, so I could then make sure they lined up (I didn't want to use the SVG directly as it was a bit rough)


    I then just 3D printed the ring of teeth to make sure that was correct (it took about 5 prints to get the diameter right) and it match the existing zoom gearing I had.


    Once that part was done. I got on to the cylinder. And that was just using the callipers. Etc.


    It's no way complete. But it's not far off! :-)


    Sent from my iPhone using Tapatalk

  4. Easy way:

    http://tinyurl.com/ndoemtp


    Shim up the id to get gear tooth engagement.

    don't sweat the pitch or tooth profile; very low rotational resistance.

  5. Kudos to you for the new hobby and a job well done. I have no need for one but very kind of you to offer the file to forum members.

WaterPixels Store

Account

Navigation

Search

Search

Configure browser push notifications

Chrome (Android)
  1. Tap the lock icon next to the address bar.
  2. Tap Permissions → Notifications.
  3. Adjust your preference.
Chrome (Desktop)
  1. Click the padlock icon in the address bar.
  2. Select Site settings.
  3. Find Notifications and adjust your preference.
