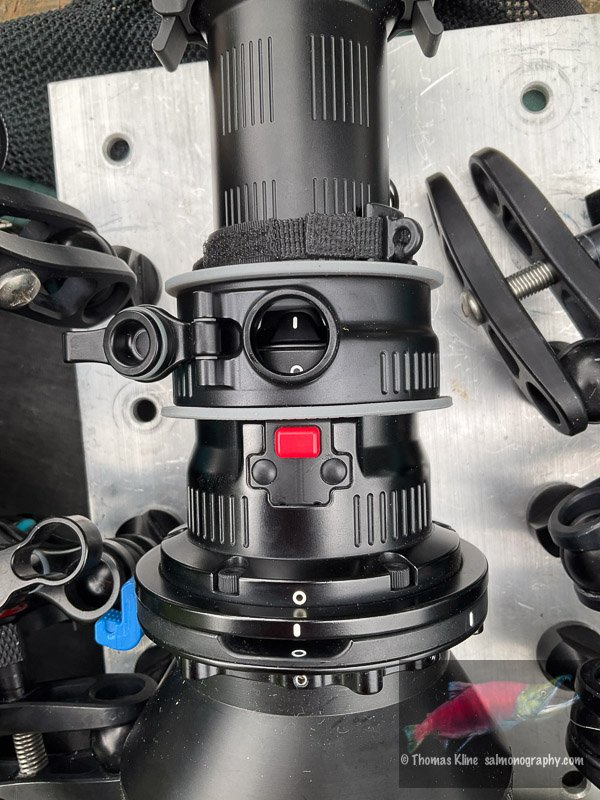
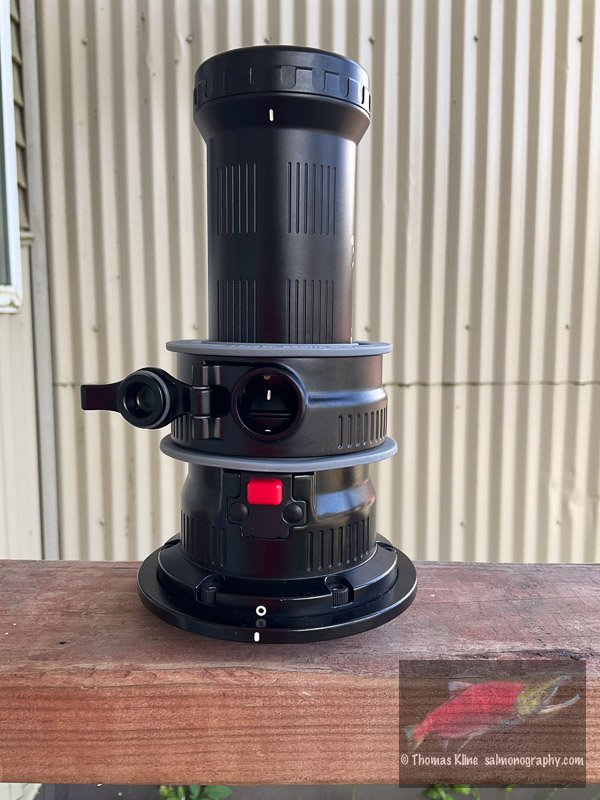
Nauticam has introduced a nifty accessory for the EMWL system called a water jacket. With the water jacket one can install clean water at two of the EMWL wet lens junctions. The ones where a virtual image is formed - in front of the focusing unit and in front of the relay lens. A set includes two water jackets and about a half dozen silicone rubber gaskets. Some assembly is required: a gasket goes on each end of the jacket which is made of metal. There is a hinged plug (on the jacket) for pouring in the clean water. There is an alternative plug for use with the 60° objective. The outer diameters of the gaskets are less than the inner diameters of the water jacket where they are fitted (stretching discussed below).
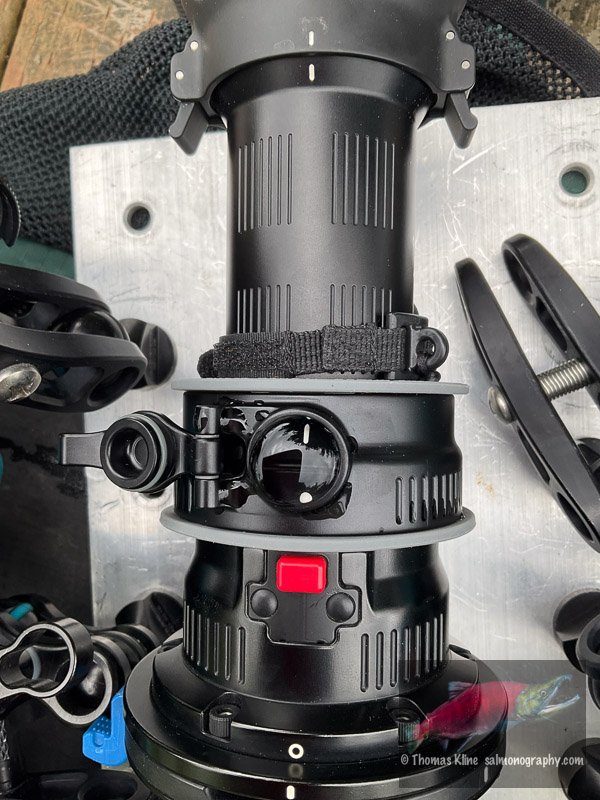
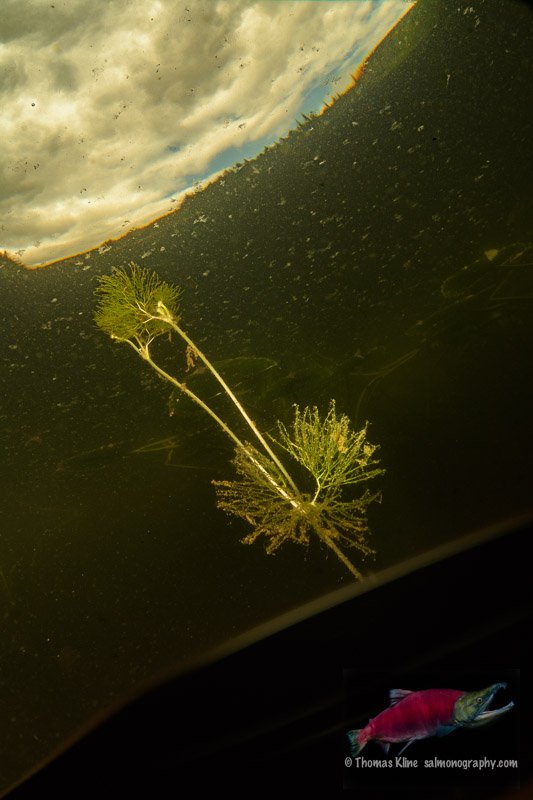
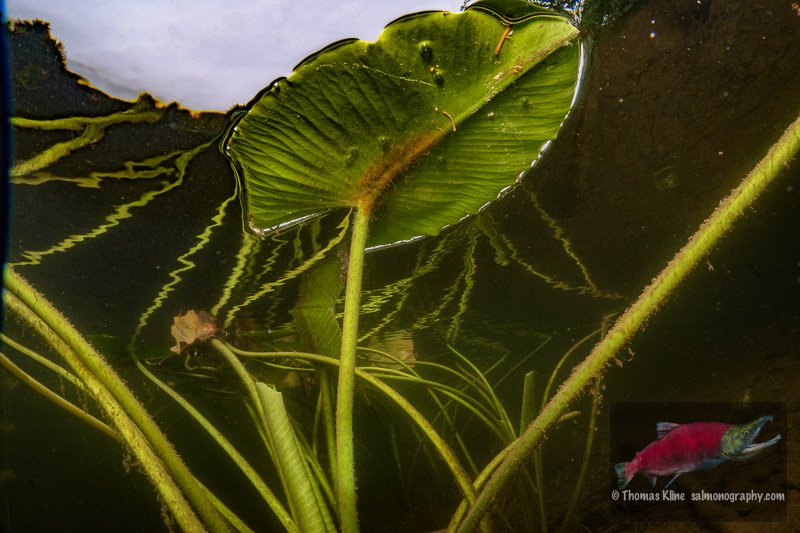
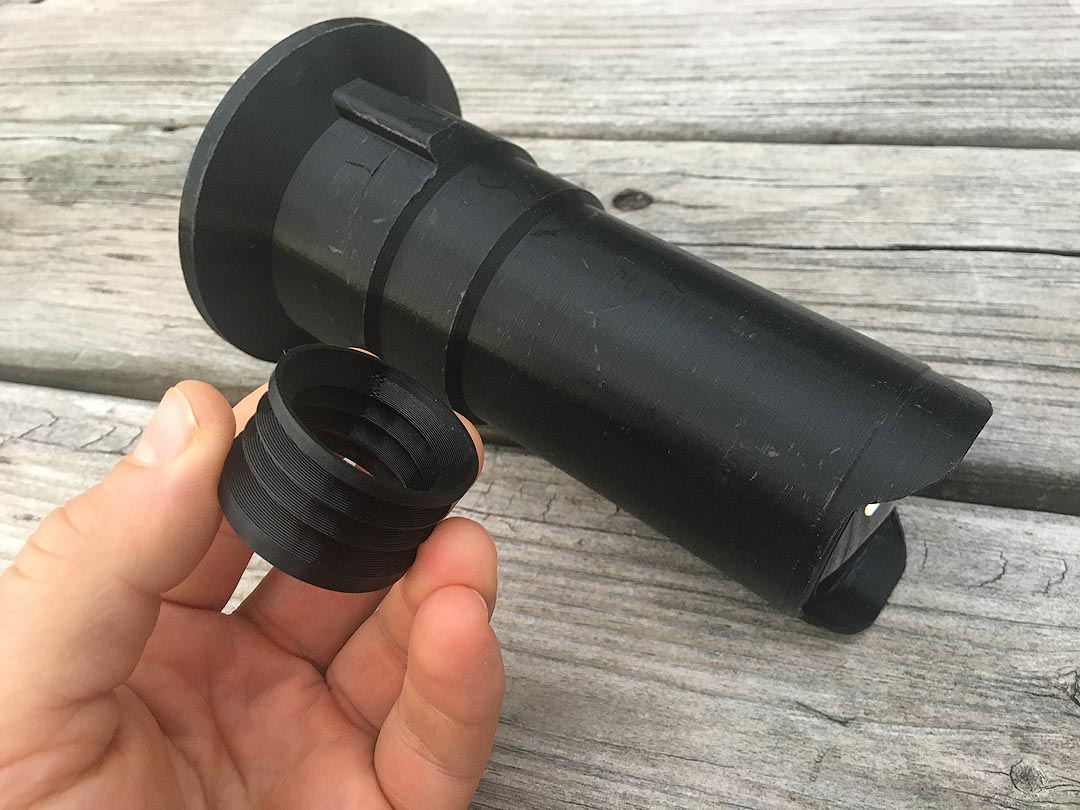
This is an accessory that I needed “yesterday” since where I shoot there are many particles in suspension that end up in in the wet joints and thus my shots. They can be in focus or slightly out of focus and resemble a dust bug on the camera sensor, only worse as they can be large. So I used it first the day after receiving a set as the weather was reasonable (not raining). There are no instructions yet but there are color coded exploded view diagrams available. Looking at them included figuring out which gaskets to use. I assembled a set-up that included just the focusing unit and 130° objective. From a diagram it was obvious where the objective gasket fitted. The inner diameter of the gasket is less than the part of the objective where it fits and smaller still than the ends of the 130° objective so there is a bit of stretching involved in putting on the gasket. Once installed on the objective lens it resembles a tutu. I fitted the gasket that goes between the focusing unit and jacket flush and this was my mistake. It made it challenging to mount together but managed regardless. I took the assembled unit to my shoot and shot pix with my iPad just after mounting it to the housing. Note the position of the indexing marks. One shot shows the water jacket with water in it which I brought in a drug vial. It took a minute or two between closing the plug and deploying the rig in the water. The result was that some air got into the water jacket. The air bubble can be seen in the attached shots. I include one oblique angle pic which is consistent with an air bubble. Keep in mind that what is on the bottom in the view is on the top in the virtual image.
I thus realized that I needed to stretch the other gasket as well. This made it fit tighter in the jacket and reduced the overall length making it easier to assemble. The overlap is just a couple of mm. However the position of the index marks is quite shifted from the initial shoot. Shoot two was yesterday, 3 days after the the first shoot due to weather, it was even slightly sunny (now back to rain). I again assembled the parts at home and took the attached pix before leaving to the shoot. No leakage and thus successful!!!!
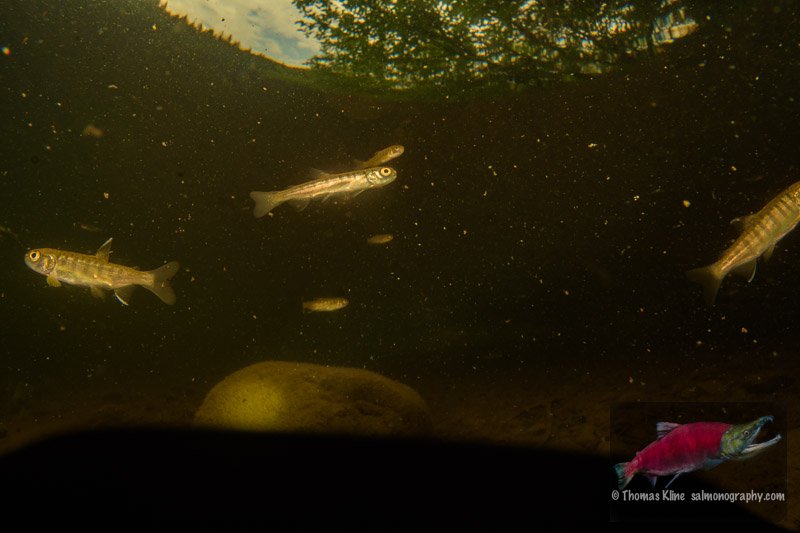
Shots from first shoot: