


Everything posted by foetusmachine
-
Perfect! It's working fine - 2x 3D solids. Thank you!
-
Does anyone have a Fusion licence who would be kind enough to export the F3D file included in this post attachment to an Autocad DWG? Thanks in advance if you could help!
-
Nauticam's port chart is extremely limited on the use of the 140mm dome for Sony n100 a7s/r full frame series. Has anyone had any experience with native Sony lenses using the 140mm dome that they can provide first-hand commentary on. No speculation please, just actual experience. TIA
-
Does anyone have any real world photos they've taken using this setup, but with a different extension?
-
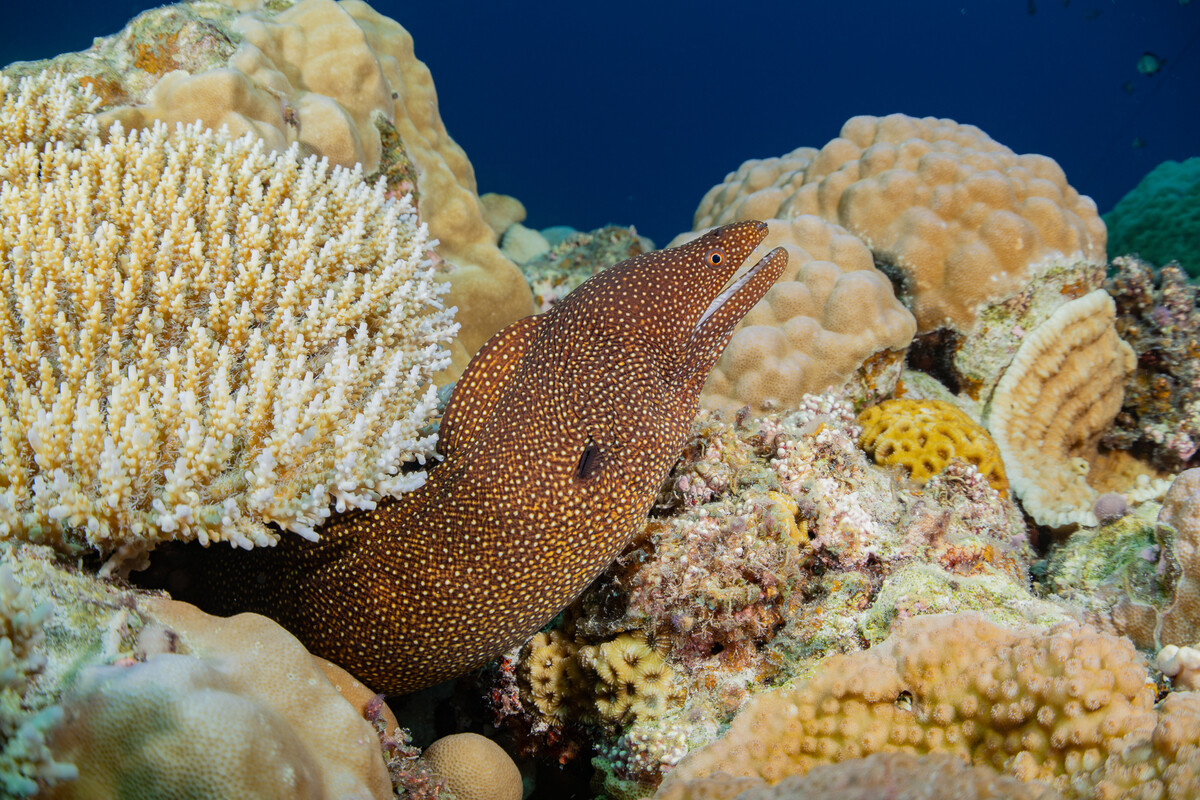
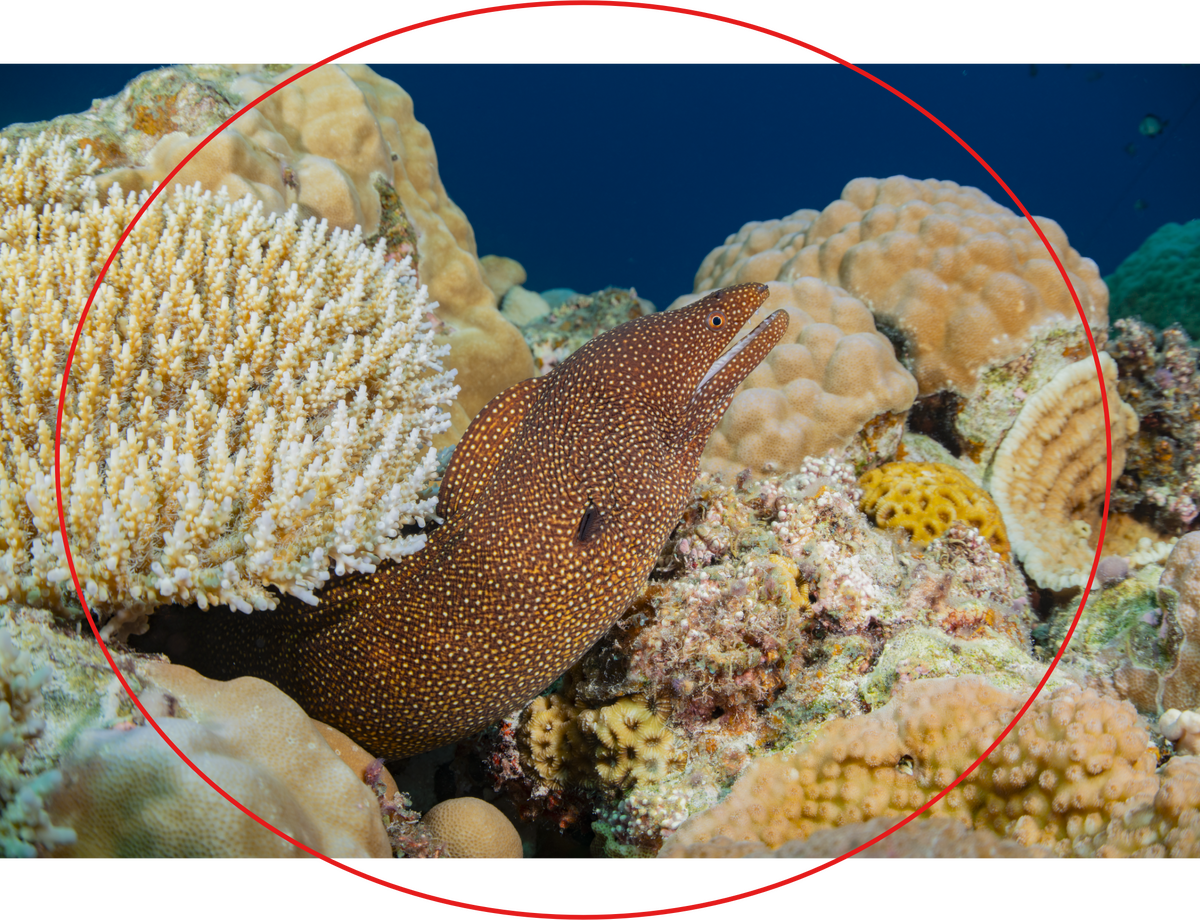
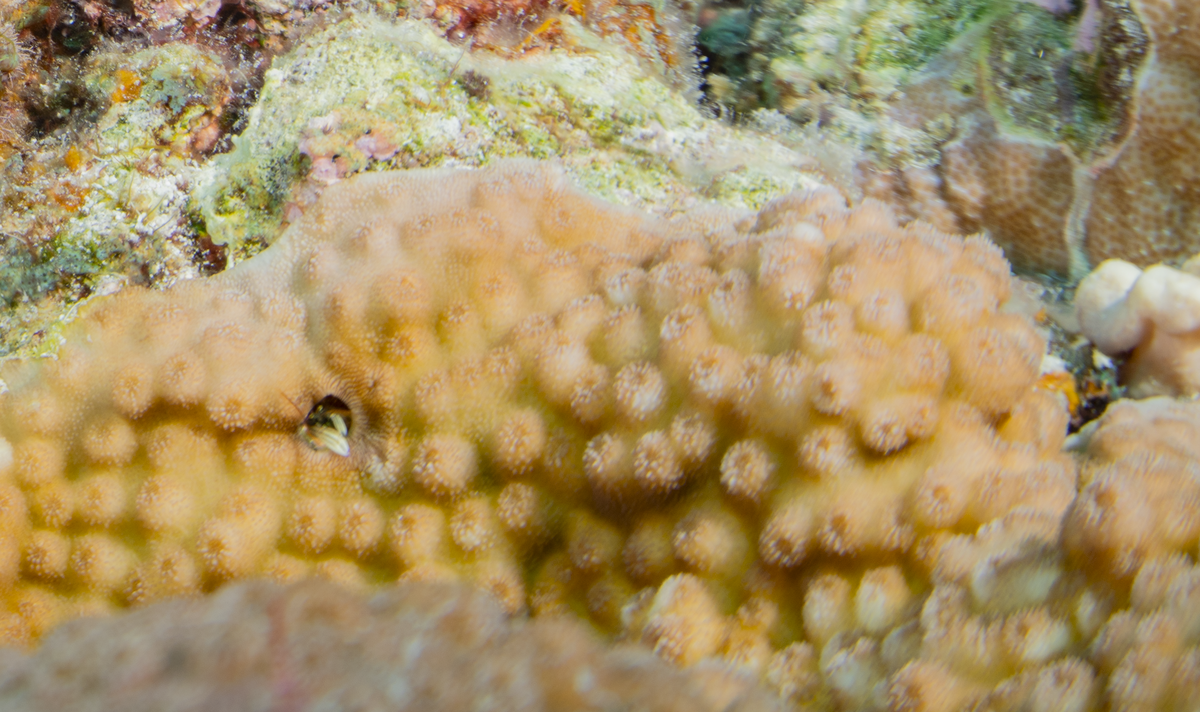
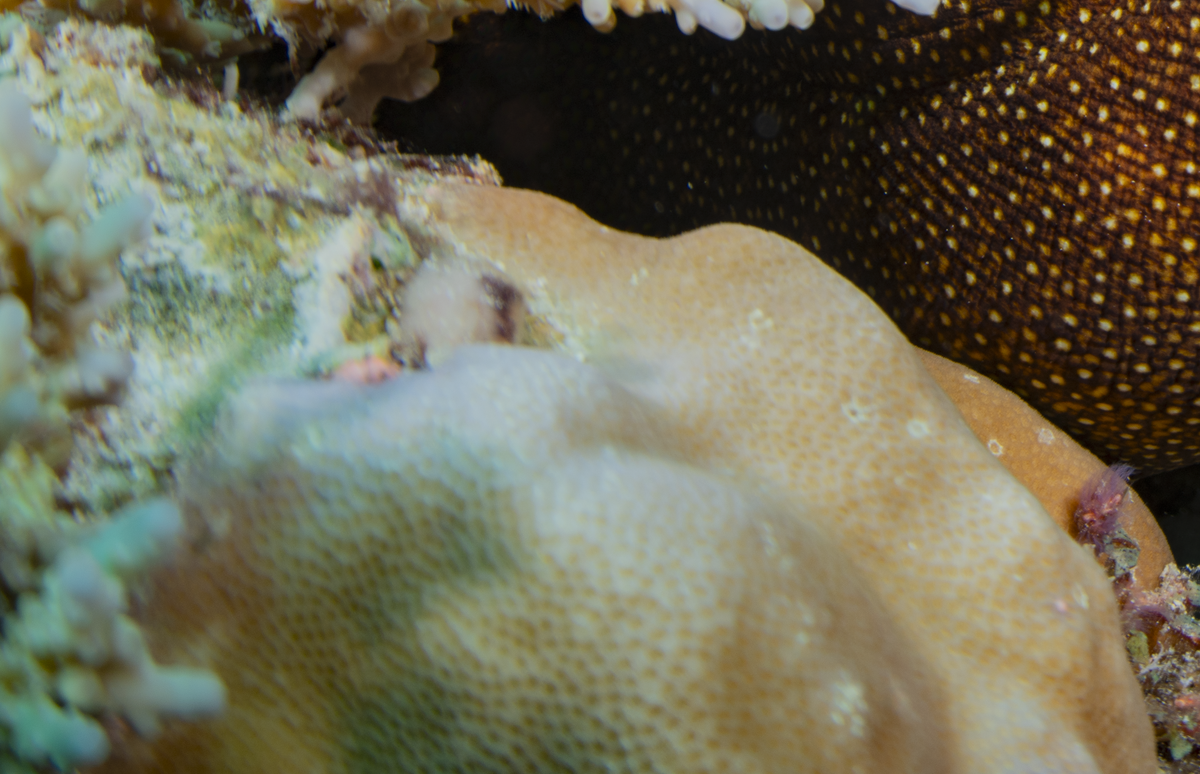
I decided to start a new thread on this becasue my previous posts about this question (and many others') came under sidetracked forum topics. I'll start with this image: This is a shot taken recently on my first dives using my new Nauticam housing. ISO160, 1/250s, F11, 30mm (2x15mm). I chose this image as it has a lot of detail at the edges and is excellent cenrte focus. Gear setup for reference: Sony A7rV, Metabones converter, Sony 2x TC, Canon 8-15mm Fisheye Nauticam Housing, 35.5 n100-n120, 60mm Extension and 140mm Nauticam dome port. My question relates to ideal port extension, and image quality. I have seen others post about this specifically, but none of the images posted previously (IIRC) never really helped understand whole-of-image quality becasue they lacked detail in the edges. I think this photo does well becasue it does have a lot of this detail to evaluate how it's performing. One of the previous, sidetracked posts (perhaps sidetracked by me), @Architeuthis had suggested 60mm extension was a good starting point for this setup. It's what i've used here. My view is that the image quality is great for about 75%+ of the frame, but drops at the very far edges. Something like this range is where I think it starts dropping off: A zoom-in on the areas that have a lot of detail.. Bottom right: Bottom left: Top left: And for the sake of it, this is the centre: Others might disagree and have better words to describe what I think I'm seeing. I'm sure theres a bit of out of plane blurring happening, but I think it's just slightly more than that. My questions are: Has anyone had any experience and good example images like this one that show off the performance of different extension lengths for this exact setup? We might be talking 5mm increments here. Does anyone have any alternative views on what the ideal extension length might be (Ideally on the Sony and using the 140mm dome port)? TIA!
-
I'd like to talk more about lens choice. I was thinking of taking my Canon 8-15mm with 2x TC, so I had the widest zoom range while still maintaining frame filling ability. However I'm actually thinking the 1.4x TC might be a better choice just because of the potential low light and need to keep shutter speed up. Or maybe even just the raw lens stuck at 15mm. I do take @Adventurer 's comment on board though about the possible need for reach. What do others think? I think I'm going there really for the aggregation/schooling, not necessarily for the portraits, so I feel I'd be happier if I got those wider shots and not upset if I didn't get any single sharks. I think rectilinear isn't going to make the most of the shots, no matter what image i get. I'm shooting an a7r5 body, so crop is real, but also the shutter speed is also going to be important at that resolution. Talking myself around in a loop here... I've got 5 days of diving. It's not until I'm there that I'll what the weather/clouds/sun will be like find out how close or far the sharks may be. I think my best bet is to travel with the full gamut of TC (1, 1.4 and 2x) options on the canon 8-15mm and play with it on the day.
-
Thanks @Alex_Mustard, looking forward to that episode. And thanks @Dave_Hicks. I'm likely to be taking my a7rv with the canon 8-15 and 2x teleconverter as that's my only real wide angle option right now. I tested it recently on some reef shots and its quite good centrally, but falls off a bit at the edges. However, with blue water, I think this might be okay. I'm wondering if I set up a button over-ride for this particular trip to set it to manual white balance and take a white (or grey is better?) card with me to try and get the best image colour renditions I can, out of camera. Might be a bit of extra work, but diving without the strobes will free me up a bit to focus on that.
-
I have a trip to Yonaguni, Japan at the end of January to check out the hammerheads. The dive operators don't allow strobes or lighting during these dives. From very early in my photography journey, i started using lighting and have used lighting consistently the whole time. So, I'm looking for resources and suggestions to set my self up and practice natural lighting underwater workflow before the trip. Thanks in advance.
-
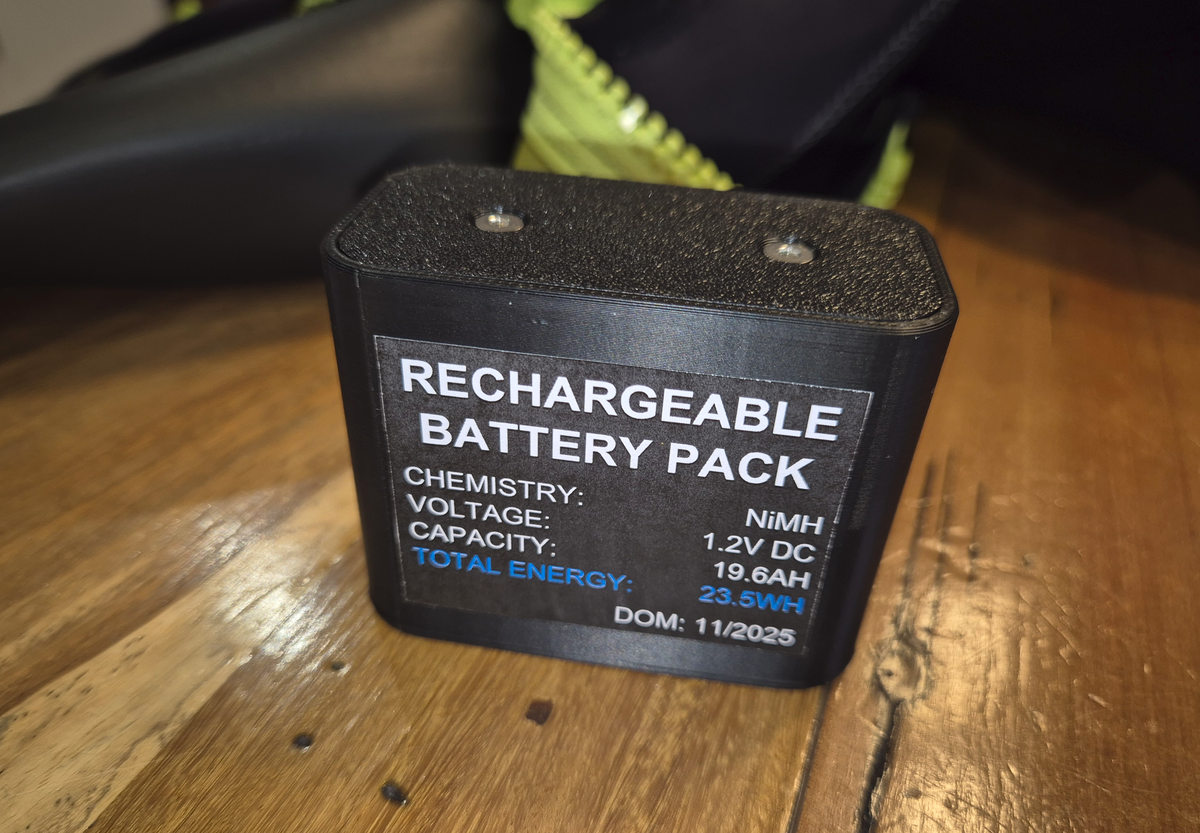
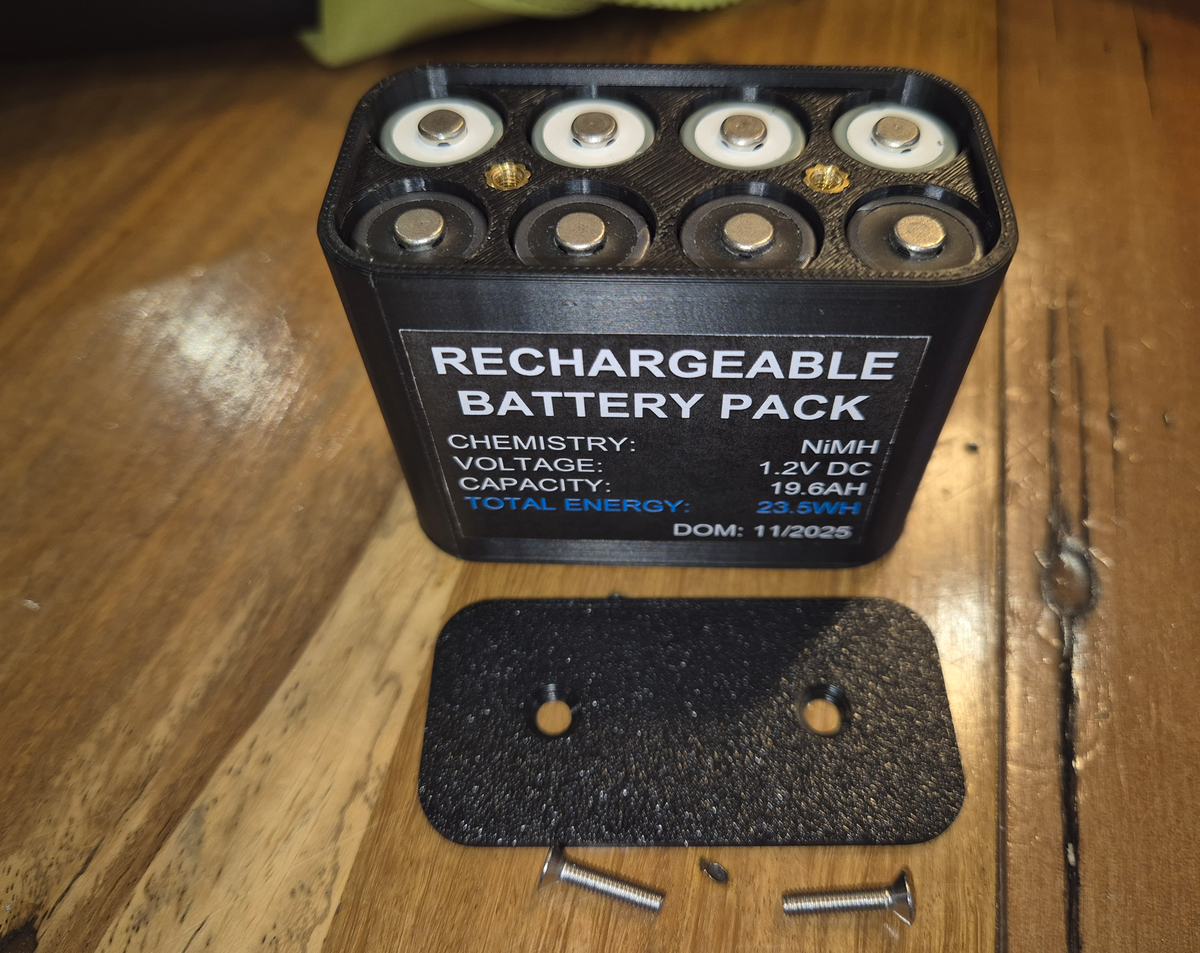
Prototype for 8xAA cells to create a single "Rechargeable Battery Pack". Proper stickers on order, but printed some paper ones for feedback here.


-
You've given me an idea to help with 20 battery quotas. I'm going to make sets of sealed battery "banks". For example, I'll have 8x AA batteries in one bank. It will have a single hex or Philips screw that holds a lid on so it can't be opened by airport staff. The "bank" will have 8x 2450mAh x nom 1.5v = 29400Wh "capacity". This will be under the maximum 100Wh limit for single pack. I'll do a similar thing for the 21700 and other lithium cells, ensuring I stay under the 100Wh capacity. I'll get some professional looking stickers printed that indicate the battery capacity in total, so the airport staff can easily read the numbers and confirm they meet international rules. I'll just open the lids when I get to my destination and use the batteries as I normally would. Will report soon on an update to the design, including STL files. Welcome anyone with further input that will help everyone here.
-
It might be hit and miss. I've travelled with a lot of batteries before and never had any confiscations... plenty of questions though.
-
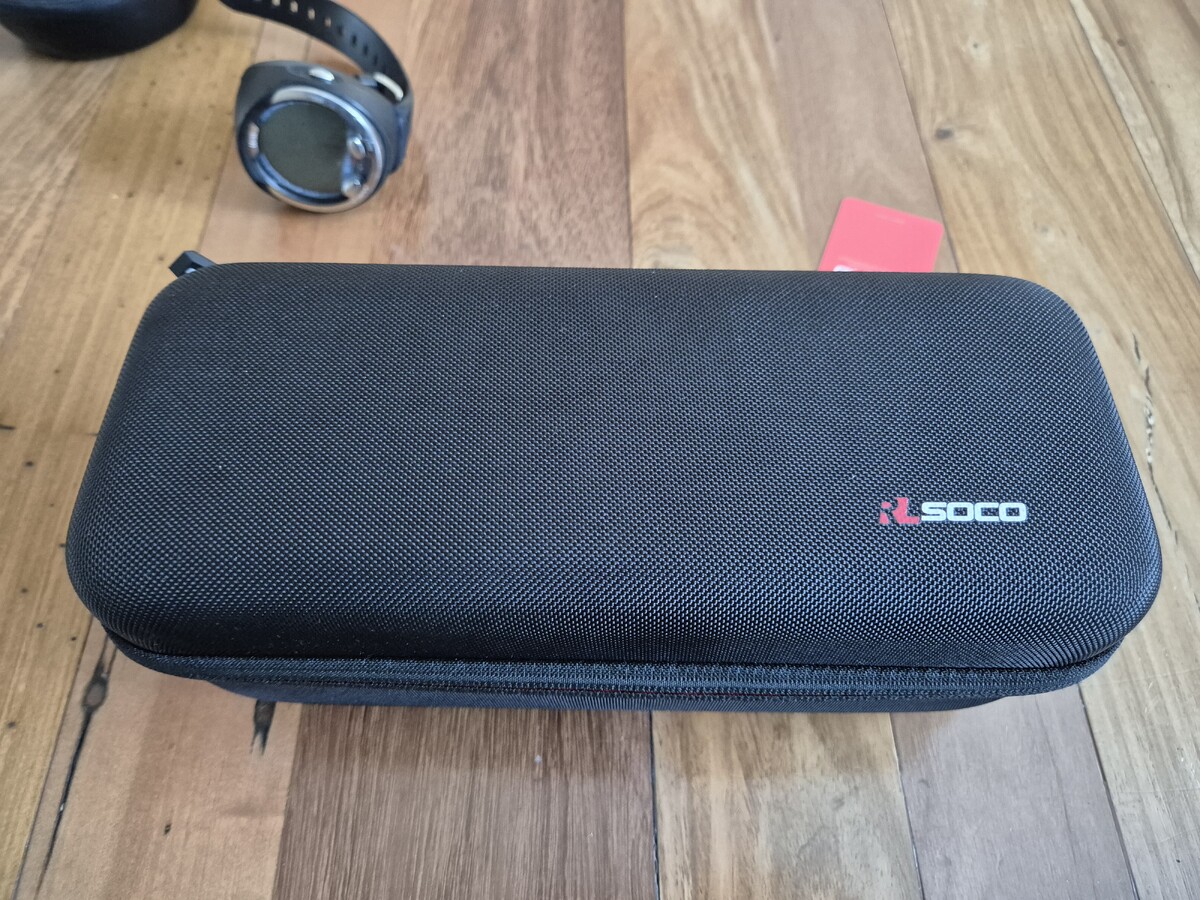
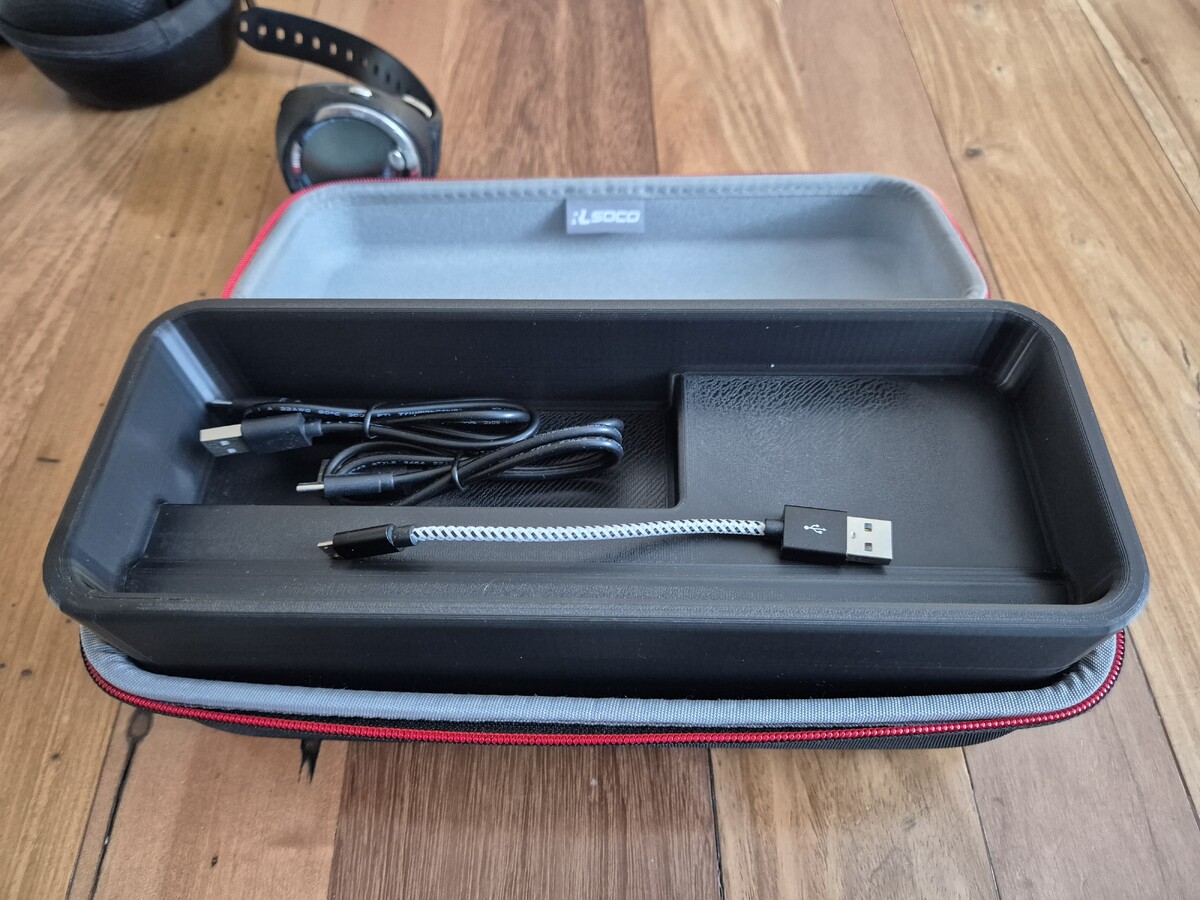
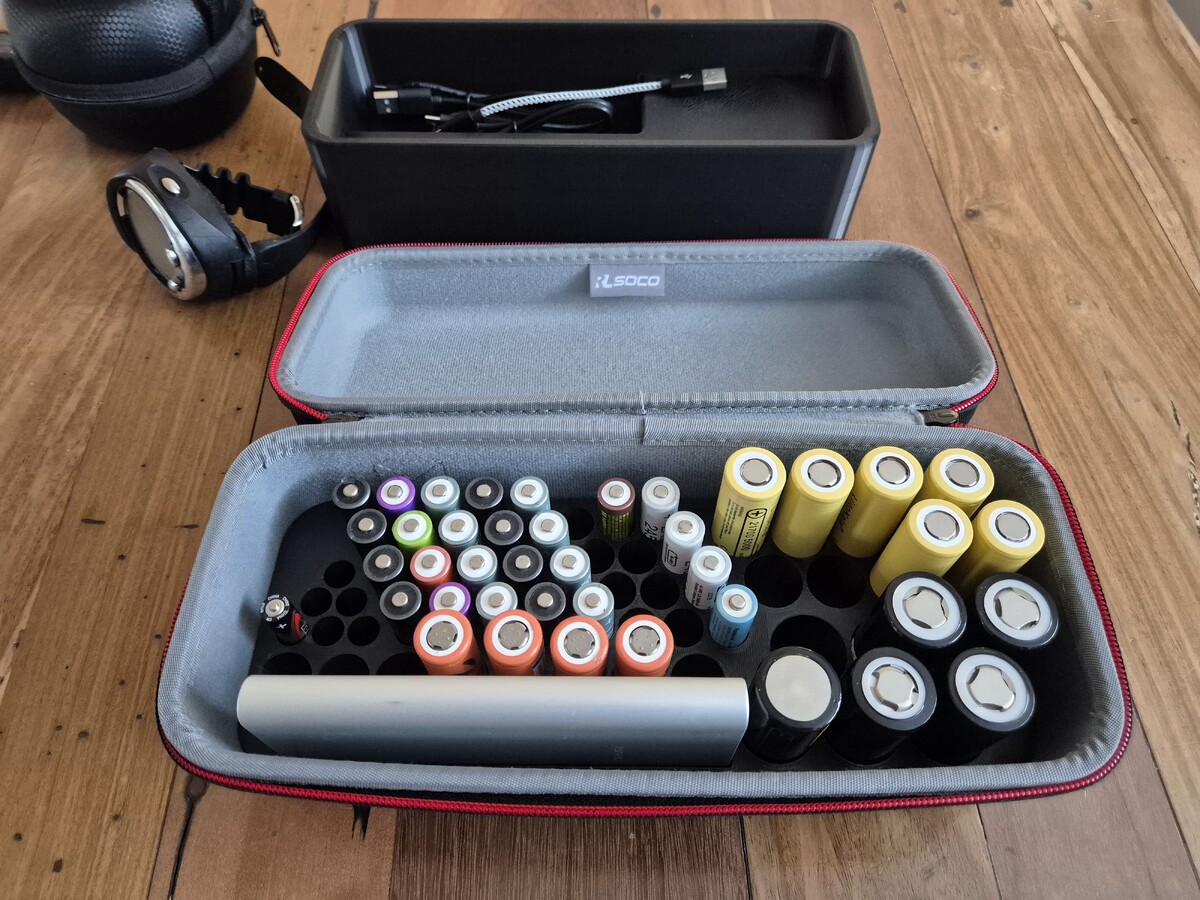
Seen a few ideas out there to carry batteries effectively through airport security in carry-on. My recent trip to Japan was plagued with small containers of batteries jiggling about in a small carry bag. I decided to do something about it. The outer case is from Amazon. https://amzn.asia/d/0FsoNPo I 3d printed the inner two sections in PETG or ASA (either/or - doesnt matter). Optimised for the range of batteries i may typically take with me. My camera batteries are in a different holder in my camera backpack. I keep track of spent batteries by turning them upside down (-ve facing up). The top section holds the random usb cables in have. Much better than a bag of random boxes of batteries.

-
I used ASA. Im guessing 2mm walls is 5 layers? That added a relatively large mass to my prints that I felt was better created with definitely sealed, thin layers of epoxy and polyurethane resin.
-
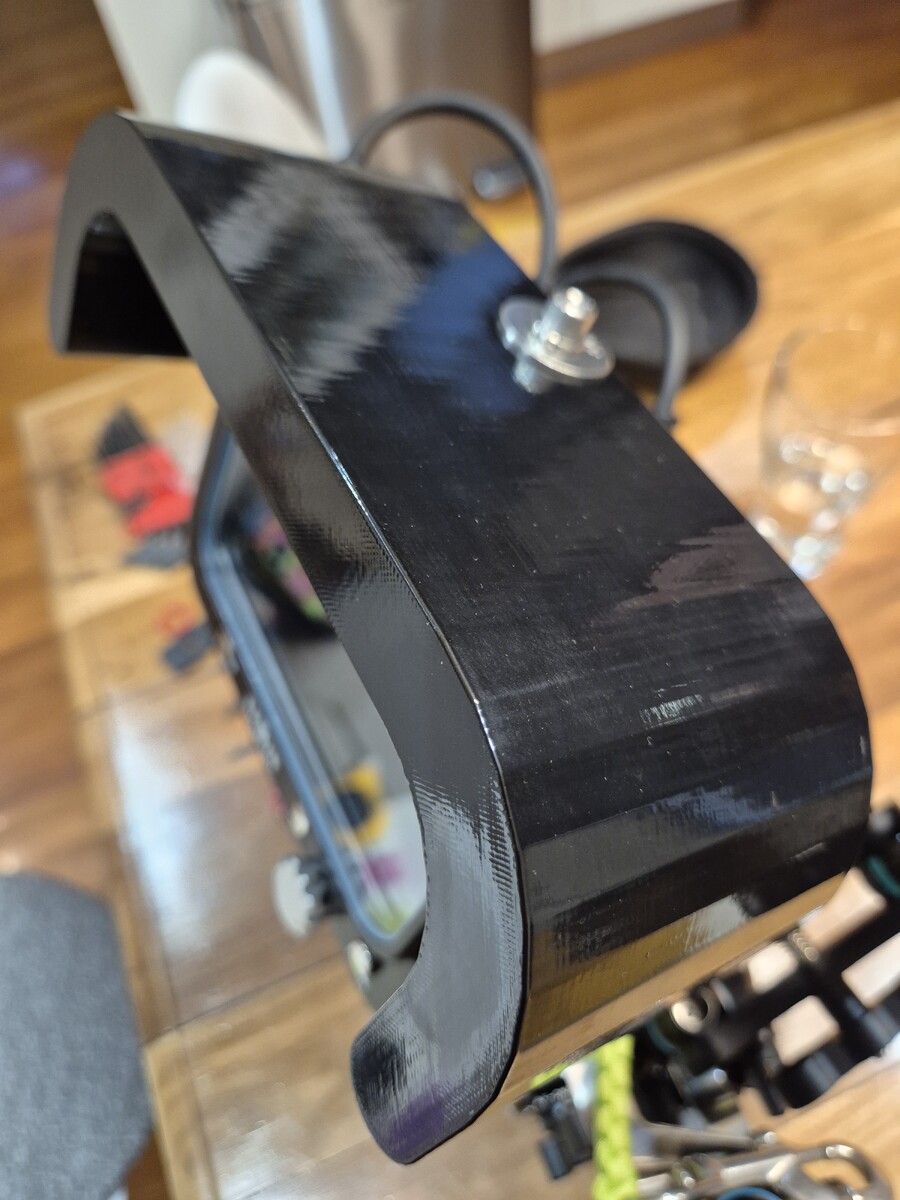
So I tried this and saw how long it lasted. I did a two hour shallow dive and it worked well... until right at the end as I was getting shallow and I noticed a pinhole stream of bubbles coming out of the top. Clearly the float had spring a leak during the dive and had taken on some water. I got it home and stuck it in a vacuum chamber and the salt water started leeching from a lot of the inter-layer gaps. I sat on this for a while. I thought I could simply increase the number of layers and tweak the filament flow rate like some of the other posts have suggested. I believe printed ports are also made like this. However, adding these layers meant the base weight of the float was jumping up significantly. So, in the end I decided to tweak the design slightly to have rounded edges and I layered up the part with epoxy and then top coated with layers of polyurethane. It's marginally lighter than a thick wall, over extruded print, but has the benefit of me being fairly certain it will never leak. I've also started playing around with some ASA-Aero filament. It's ridiculously lighter than ASA and PETG, but not quite as strong. I'm planning to try a carbon fibre layup to see how that goes. PS, im very happy with the screen itself and where I've positioned it. I had it on the lowest brightness and never had an issue clearly seeing the images from many angles.
-
I've been thinking about adding MFO1 and/or MFO3 to my collection. Also likely to want to move to the new sony 100mm macro. In researching these additions, I found Edward's comments here. I would be really interested in hearing about new Sony 100mm macro owners' experiences with the MFO1 and 3 and whether Edward's comments about the wet lens and the functional changes to the older Nikon and Canon lenses hold true for the new Sony.
-
Thank you.
-
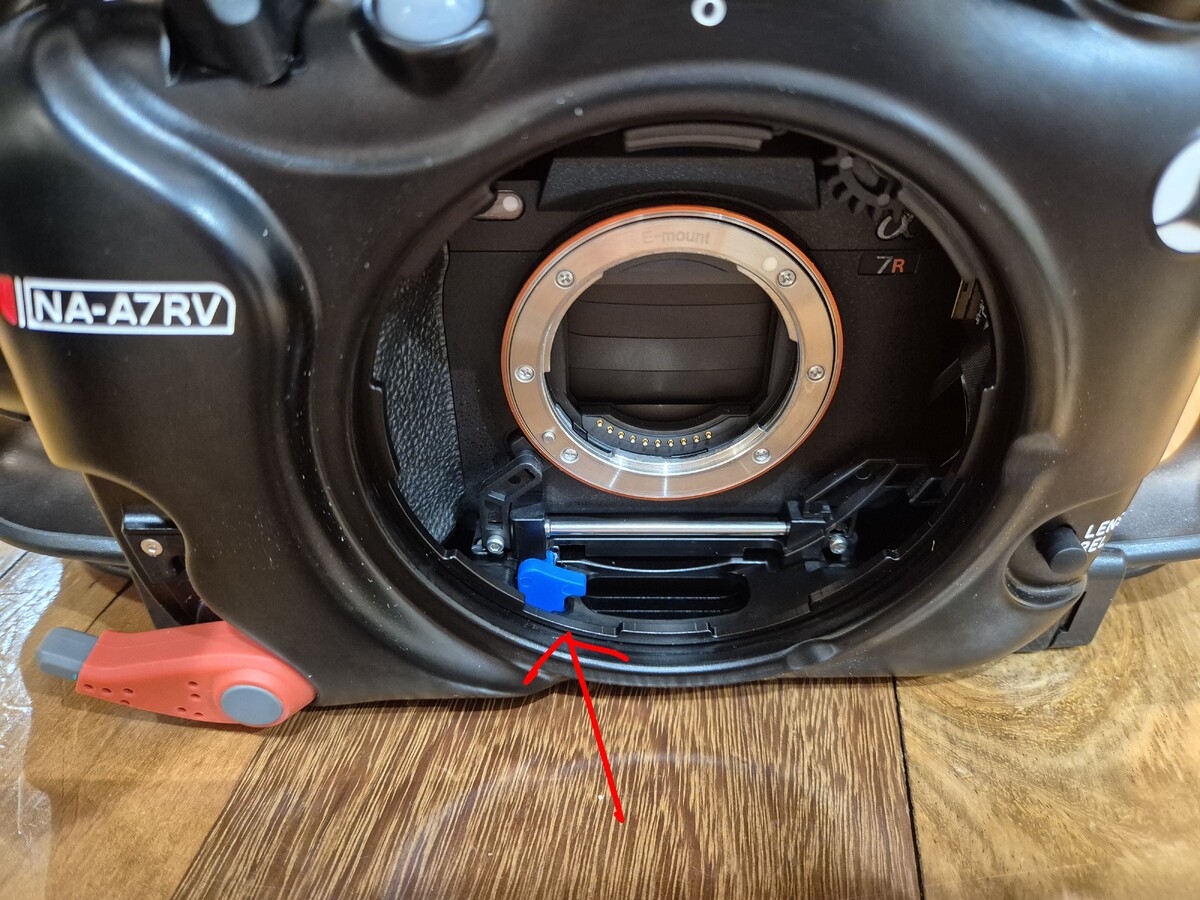
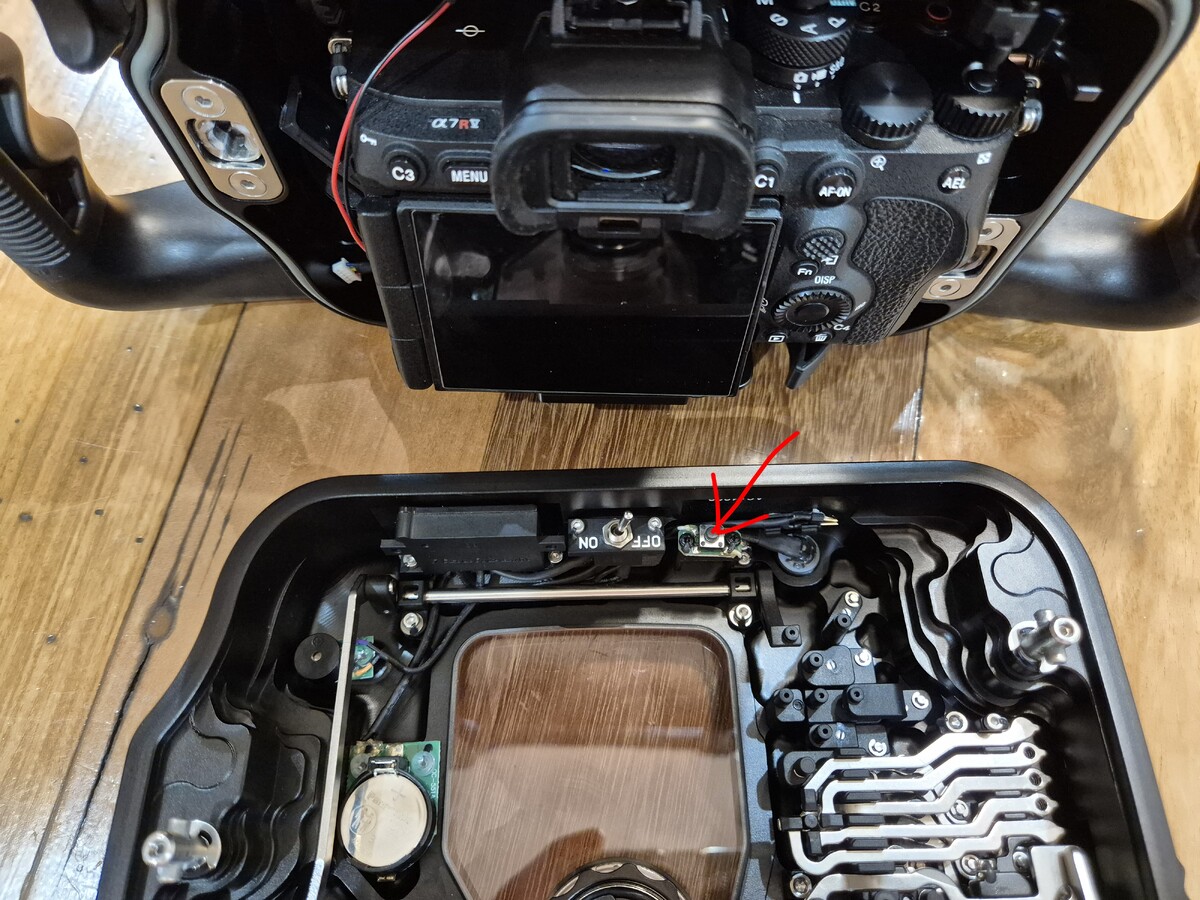
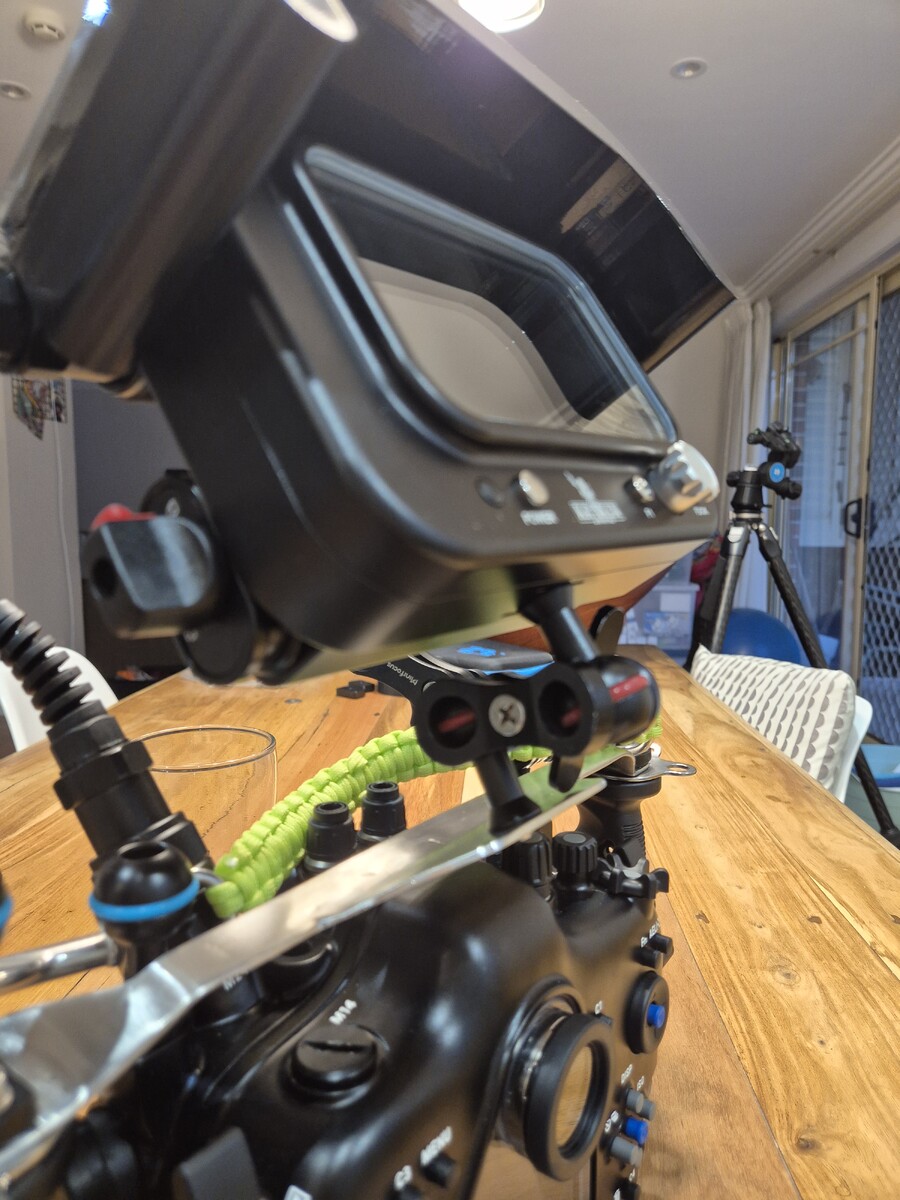
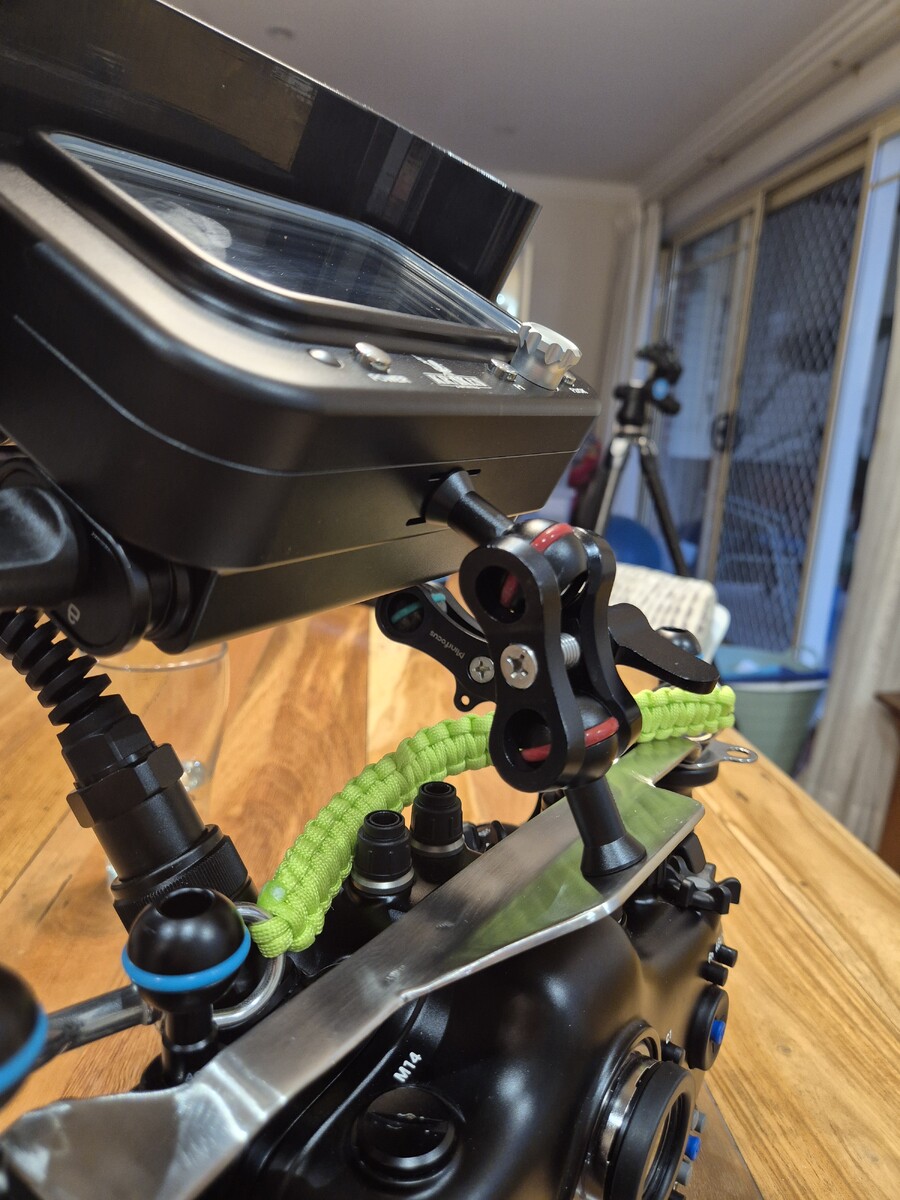
Still studying my new housing. Can anyone help me understand what this blue lever/button that con-rods to the back of the housing and presses on the small microswitch adjacent the flood protection switch? I know the microswitch turns off the flood alarm, but what's going on with the blue button? Is it so you can quickly dump the port if you have a flood (and you're out of the water), keep the camera facing downwards and mute the alarm without having to fully disassemble the housing?
-
Yes. Interested to see if @Yorkie88 has this turned on and if its still cropping his viewfinder slightly.
-
@Yorkie88, is your a7r5 in zoom out mode?
-
Thanks Chris, Just watched this.
-
Has/is anyone using a 1:1 viewfinder on their nauticam housing with a sony mirrorless camera like the a7rv, presumably with the sony viewfinder in "zoom out" mode? I've seen a post where someone used this on their nikon z series, but interested specifically in a sony unit.
-
Options are 709, 2020 and P3.
-
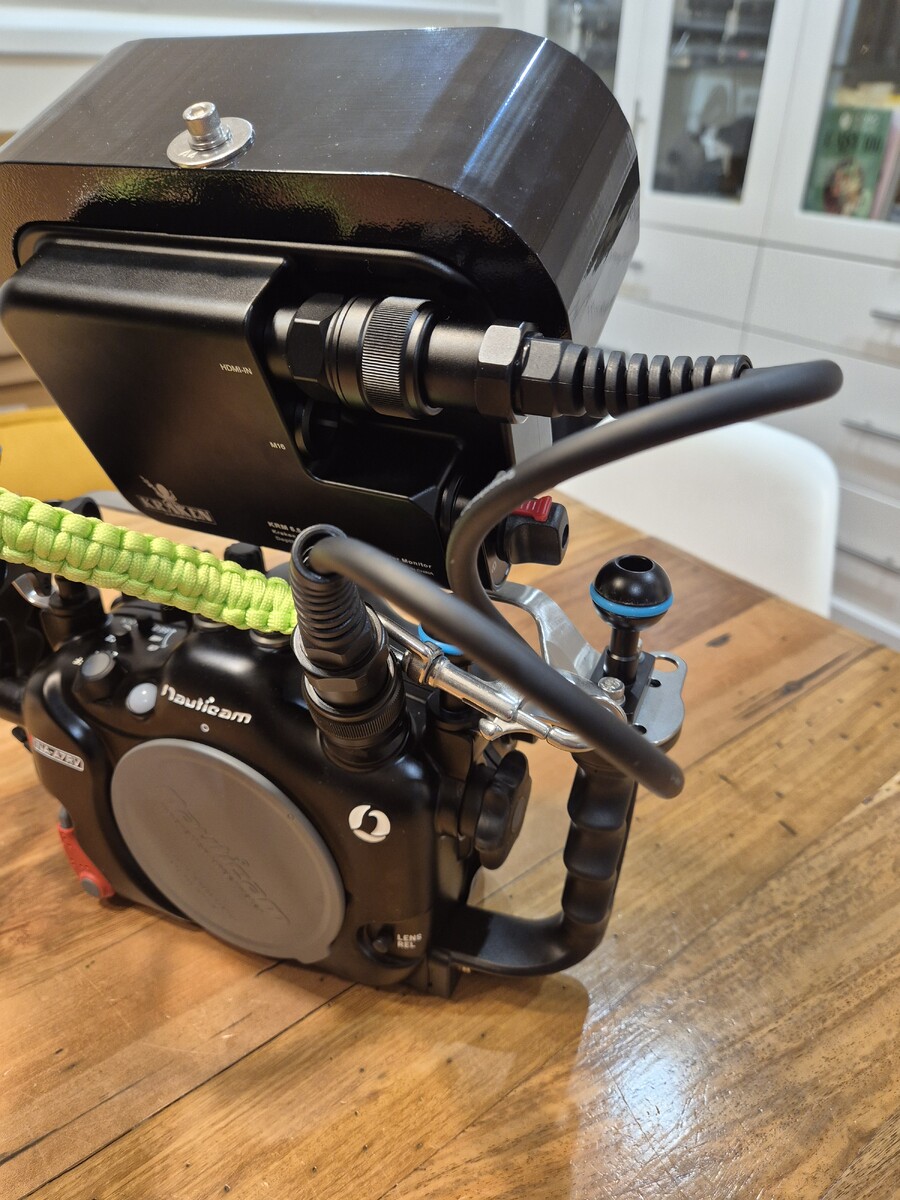
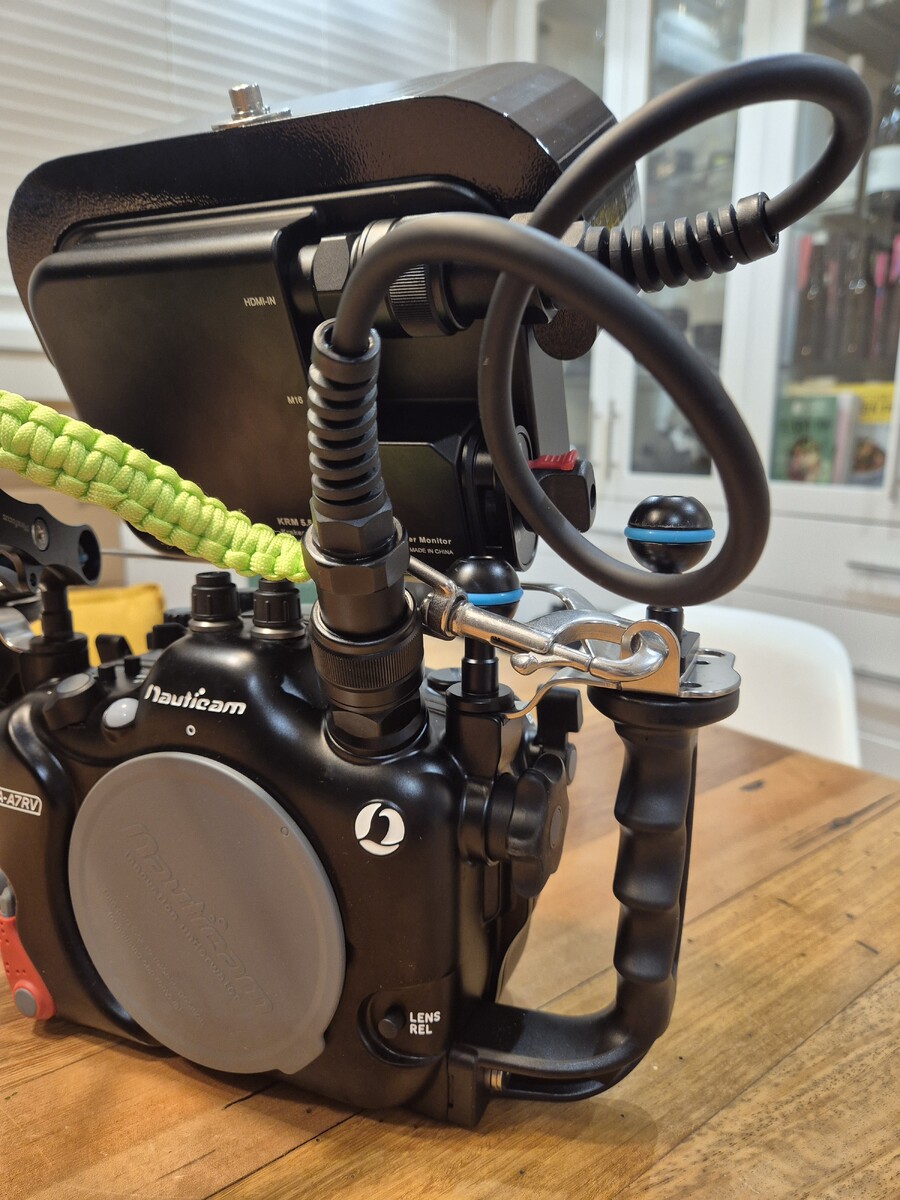
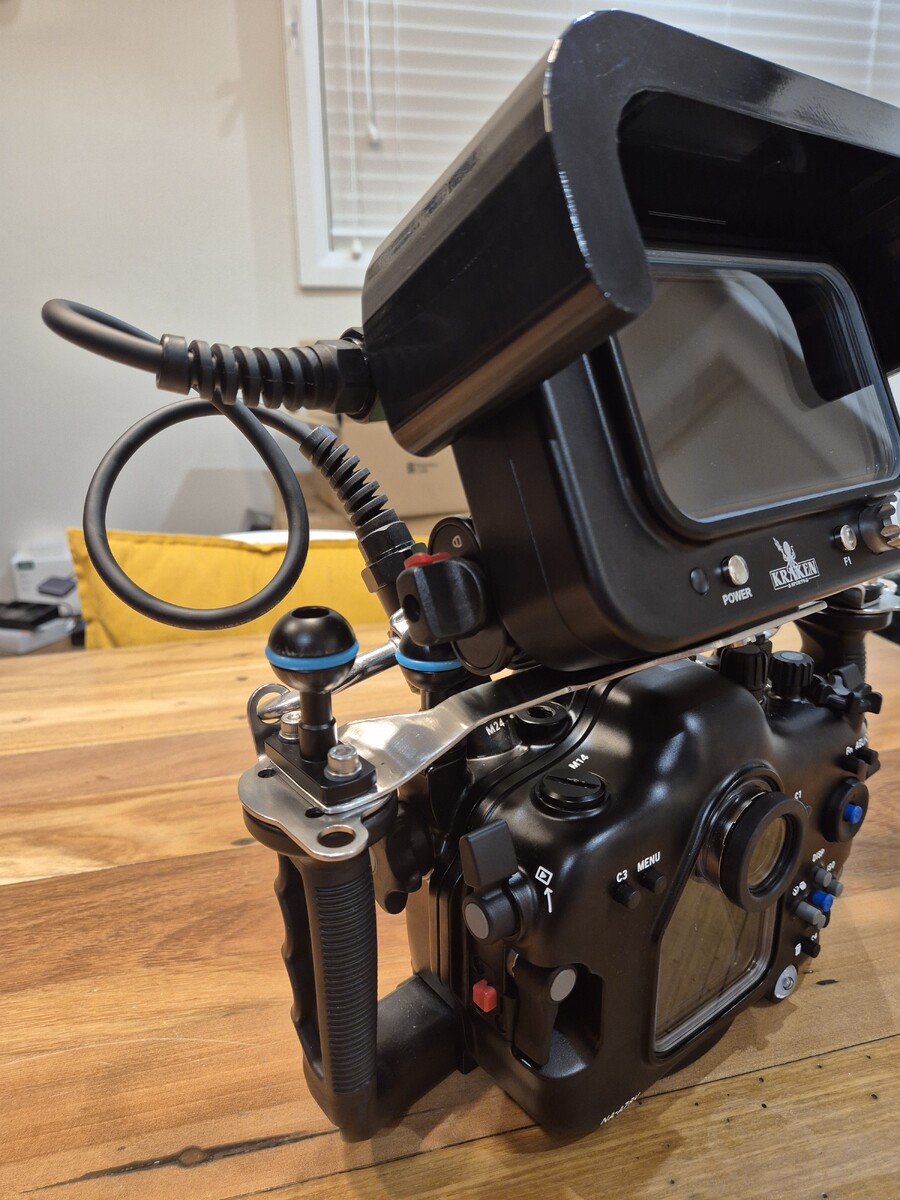
I didn't get a shade in the box. I guess they thought the brightness of the screen would be able to break through the brightest sunlight. Here are some pictures of the external routing to the m24 port on my a7rv housing. They do also supply a m16 port connection that has a moulded-in flat ribbon.

-
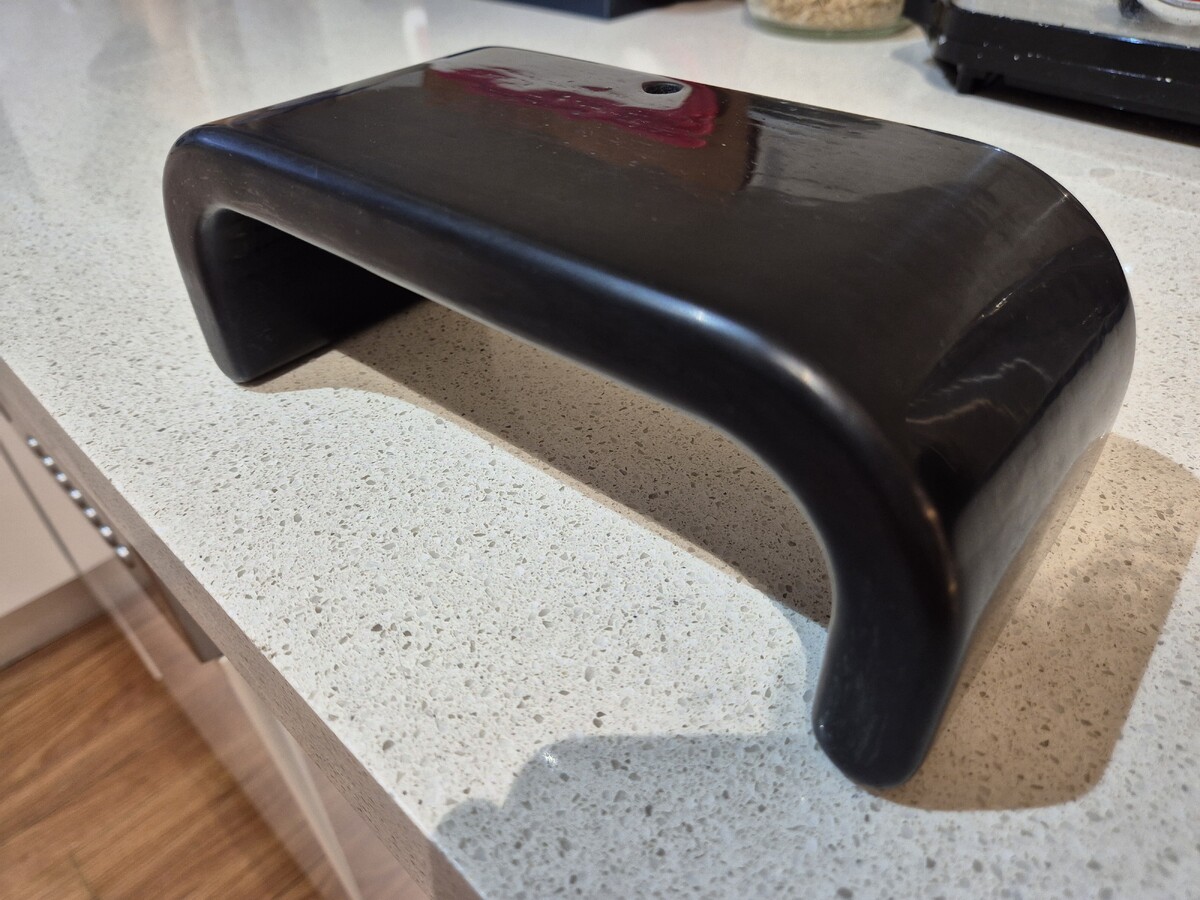
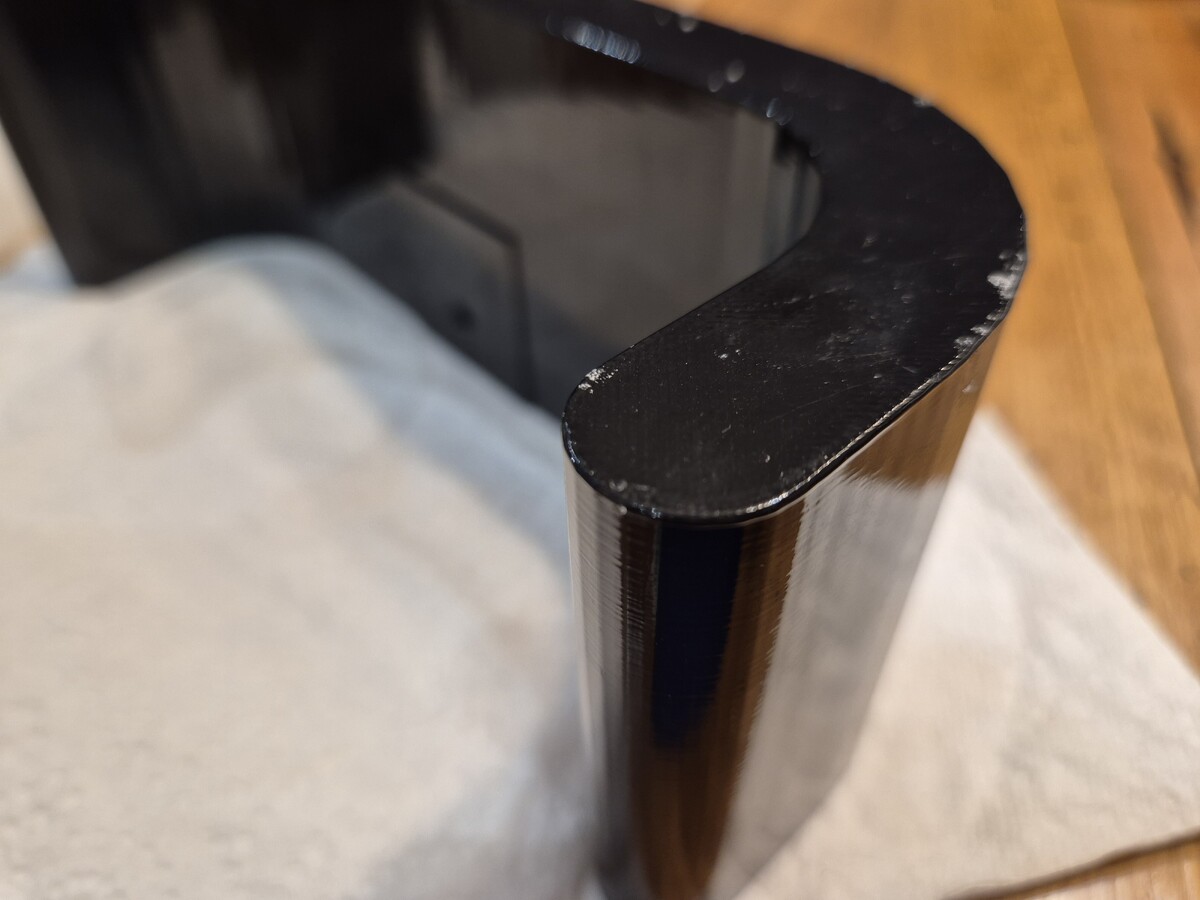
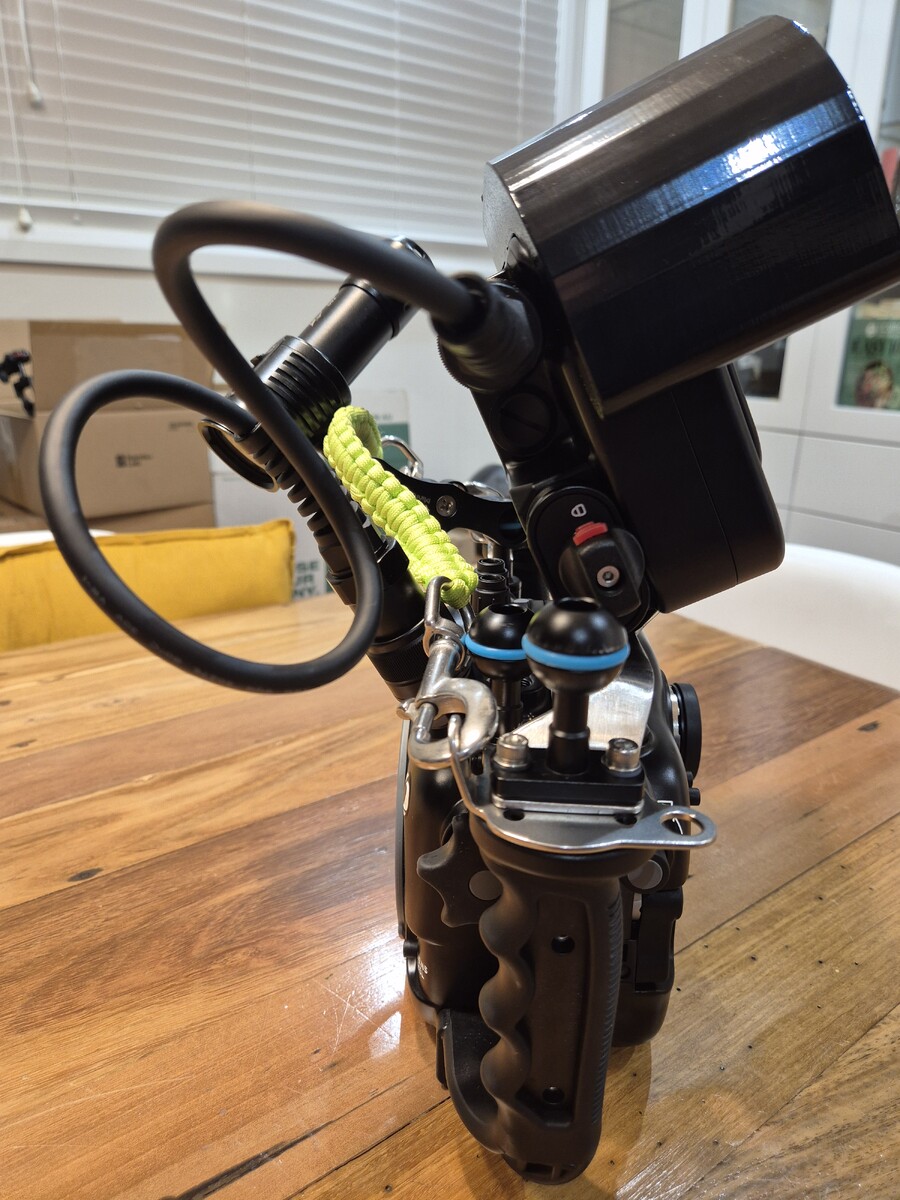
So, i designed the hard mount to provide a compact, slightly tilted view for what i thought would be the majority of my photography. I also designed it to accept the standard ball mount arrangement if I need it of find that the hard mount doesn't suit me after all.
-
My eyesight is the frustrating thing. I've always used the rear screen and never the viewfinder. 99% of my experience has been with seafrogs where the rear screen is always flat on the camera. I've only just made the change to Nauticam that has the screen sitting slightly tilted up, which is actually a big improvement. In the end though, while I have a prescription mask that I've updated over the years, the camera screen is just too small and I'm hoping to get a new lease on life with the external monitor.


