
-
Yes David, Thanks for the additional info on tints, I forgot to put that into my post.
-
Hey David, Apologies for the late reply — I just got back from a shoot. I primarily use Canon EF lenses, but depending on the project, clients will sometimes request specific lenses to achieve a particular look or shooting style. Because of that, my setup is geared to accommodate PL, Nikon, Leica, and Canon glass. Obviously, changing lenses also affects the front end of the Gates housing and the port configuration. I have multiple extension collars that can be stacked as needed, along with both dome and flat ports depending on the lens and setup I’m using. It gives me quite a bit of flexibility to configure the housing around the requirements of each production.
-
Exactly. At the end of the day, you have to use what’s available in front of you and, more importantly, what you’re comfortable with and what gives you the best results for your particular camera and footage. Every underwater environment is different. Depth, visibility, ambient light, water colour, and even the type of bottom you’re shooting over can affect the image. What works perfectly in one location might not give you the same result somewhere else. There isn’t just one “right” way to do it. It’s about understanding your camera, understanding the environment you’re working in, and finding a method that consistently gives you the look you want. With cinema cameras, you generally approach white balance a little differently. Instead of pointing the camera at something white and hitting a white-balance button, you can work directly with colour temperature in Kelvin and adjust it in-camera to get the look you want. For example, you can move between roughly 5600–6000K for daylight and 3200K for tungsten and immediately see how that changes the colour of the image. Underwater, you can adjust the Kelvin value as conditions change with depth and available light. With a RED camera shooting REDCODE RAW, you also have a lot more flexibility in post. White balance is stored as metadata rather than being permanently baked into the RAW image data, so if your colour temperature was a little off while shooting, you can make substantial adjustments afterwards without treating it like a correction to an already baked-in image. That flexibility is one of the big advantages of shooting RAW underwater, where colour and light can change dramatically as you move through different depths and conditions.
-
I was an underwater cameraman on Sipadan for many years, chasing guests around and filming them, so I had to adjust my white balance constantly as we changed depth. The easiest and most reliable method I found was simply pointing the camera at the sand and setting my white balance from there. The sand usually had enough white and natural colour variation to give me a really good balance for whatever depth I was shooting at. Some people recommend using white fins as a reference. I tried that as well, but I found that balancing off pure white tended to leave the image looking a little washed out compared with using the sand. Using pure white as a reference on land is very different from using it underwater. Underwater, there’s a lot more happening between the lens and the subject—the water column is constantly absorbing and filtering different wavelengths of light, and that changes significantly with depth, visibility, and ambient light. For me, the sand gave the camera a more natural reference point for the actual conditions I was shooting in. It wasn’t technically pure white, but that was actually the advantage. It consistently produced more natural-looking colours and a better overall image than balancing off a bright white object. I also experimented with carrying a white board and a dedicated white-balance slate. They worked, but when you're constantly moving and trying to keep up with divers, they just became another piece of equipment getting in the way. If you have the time and aren't worried about moving efficiently, they're definitely worth trying. For me, though, the sand was quick, easy, always available, and gave me the best results. Hope that helps!
-
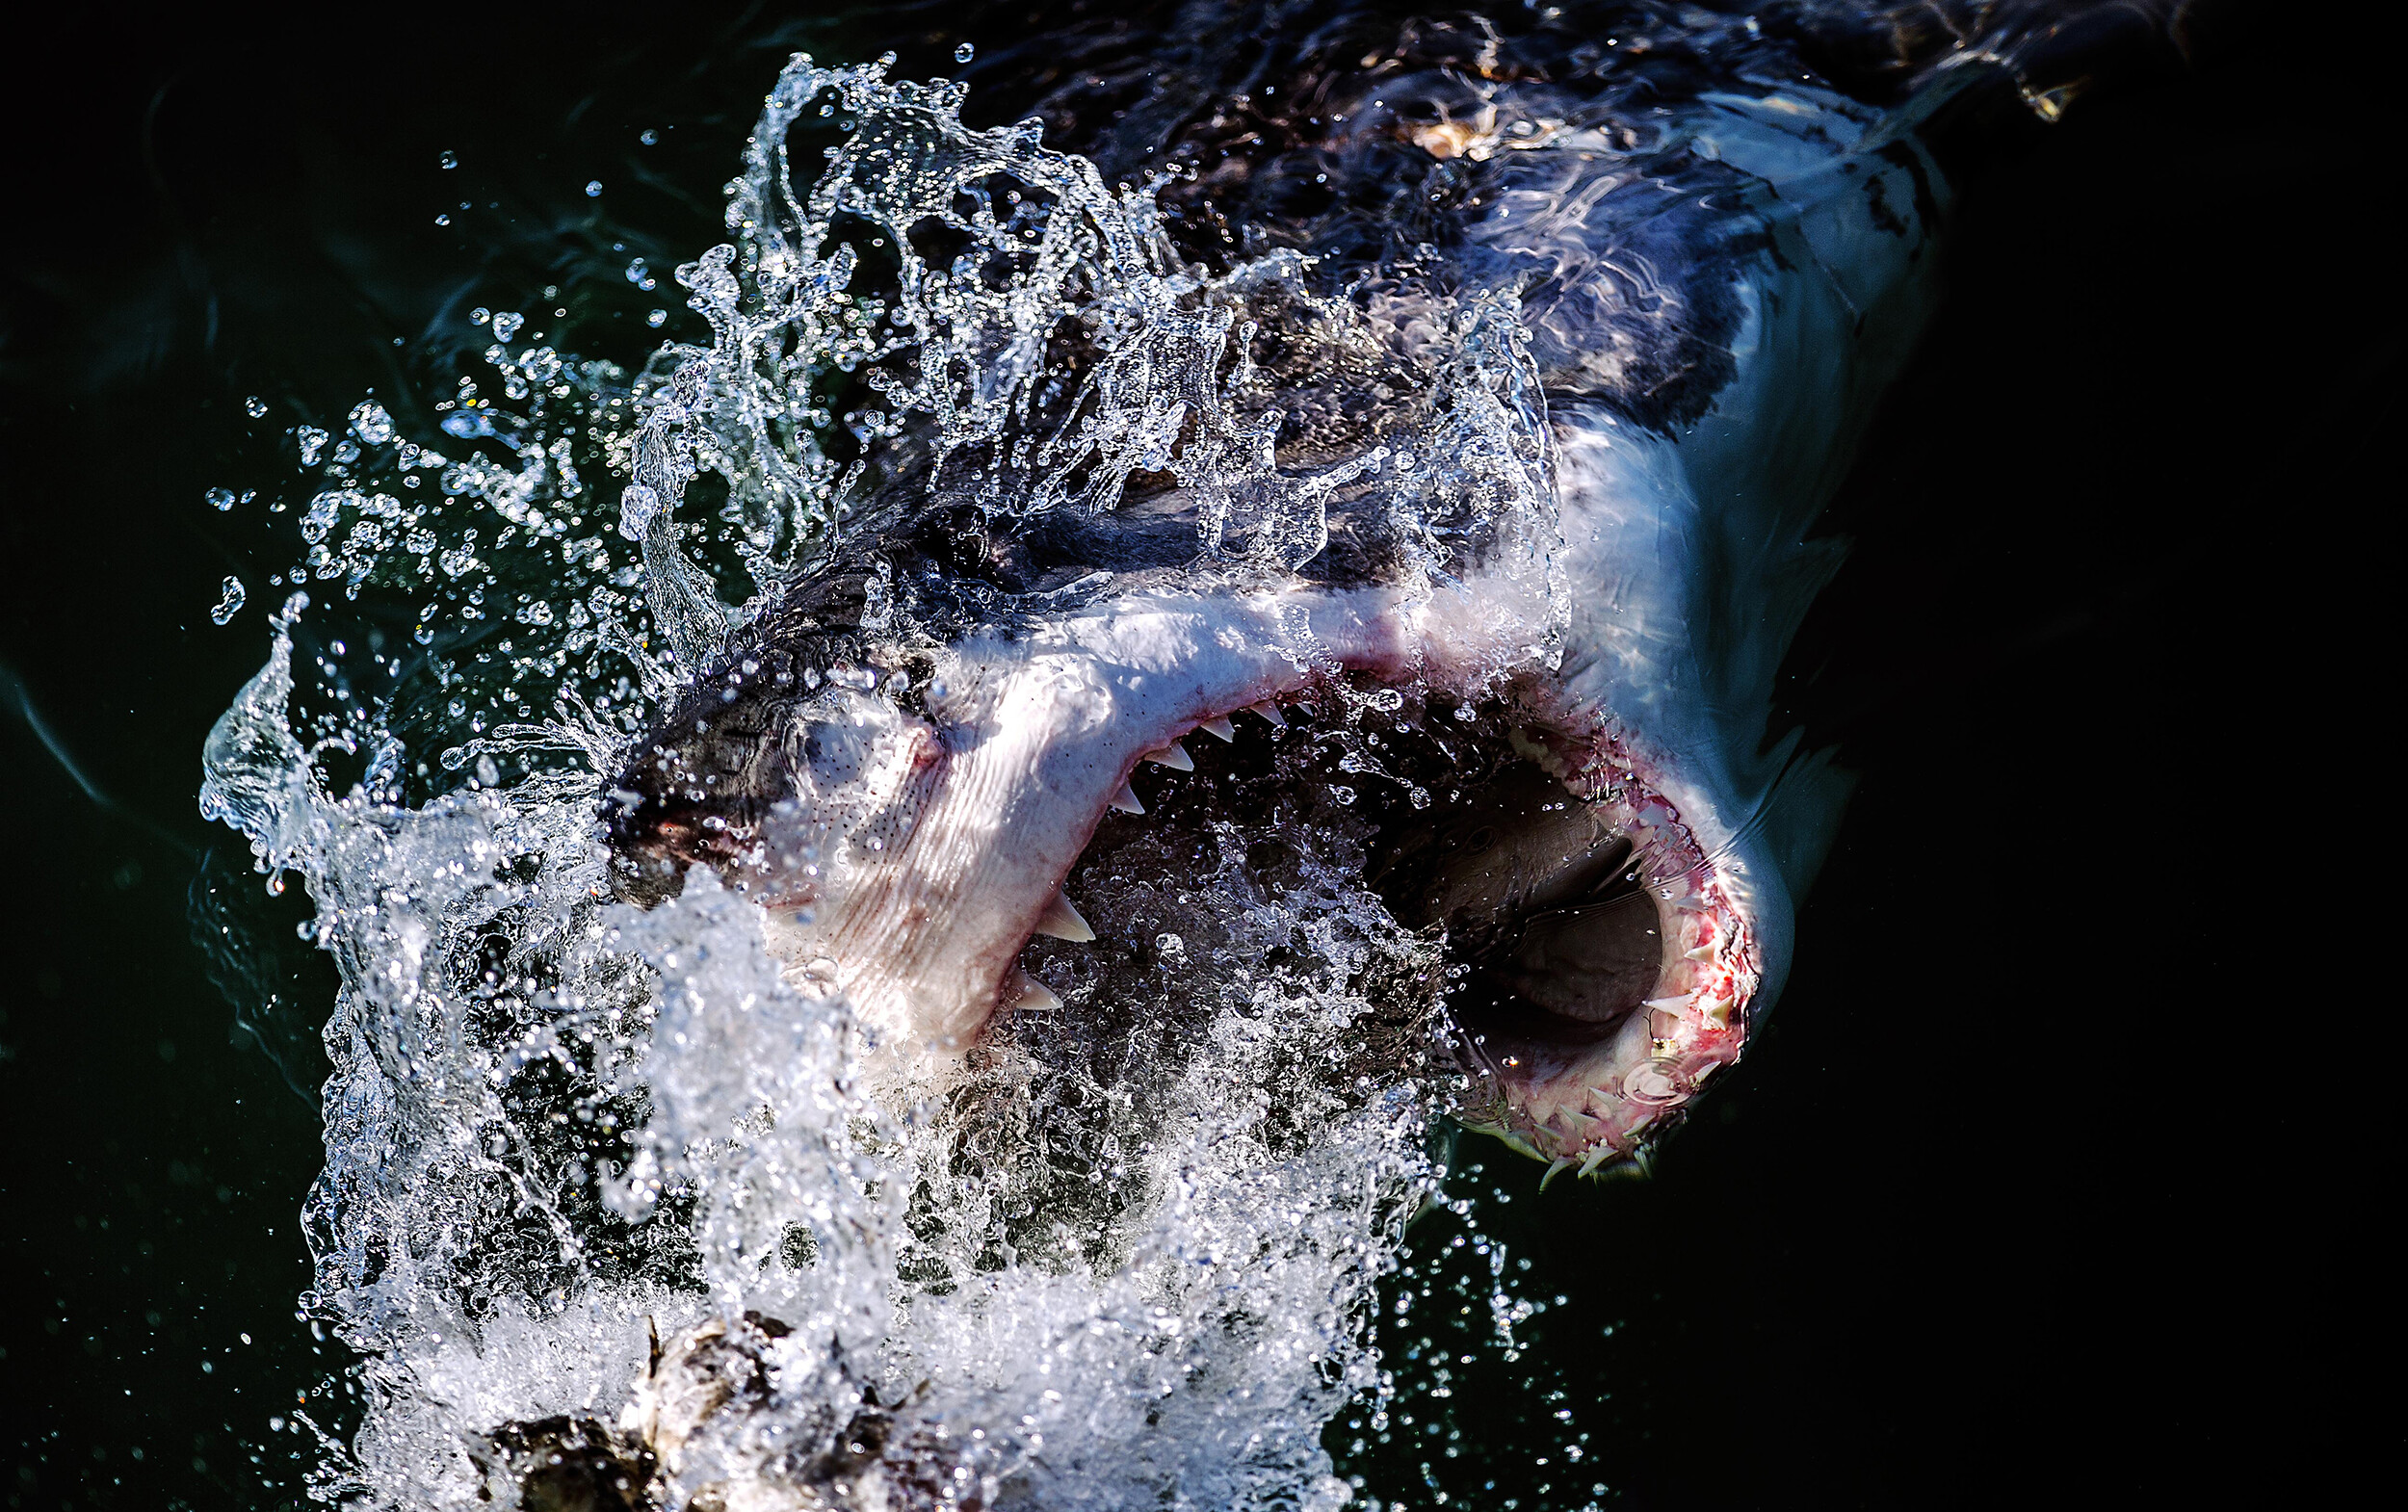
I was fortunate enough to live on Kapalai for 5 years. You are not wrong about the Jacks. Barracuda Point when it went off was Disney land for diving. Nice Photo, you were right in there :)
-
Hey there Apologies for the late reply. Yes I always use Peaking, it's a huge help, in darker waters I use find edges. Having a bright monitor is a must as well.
-
Paul changed their profile photo
-
DaVinci Resolve Youtube channels I use. https://www.youtube.com/@LearnColorGrading https://www.youtube.com/@MrAlexTech
-
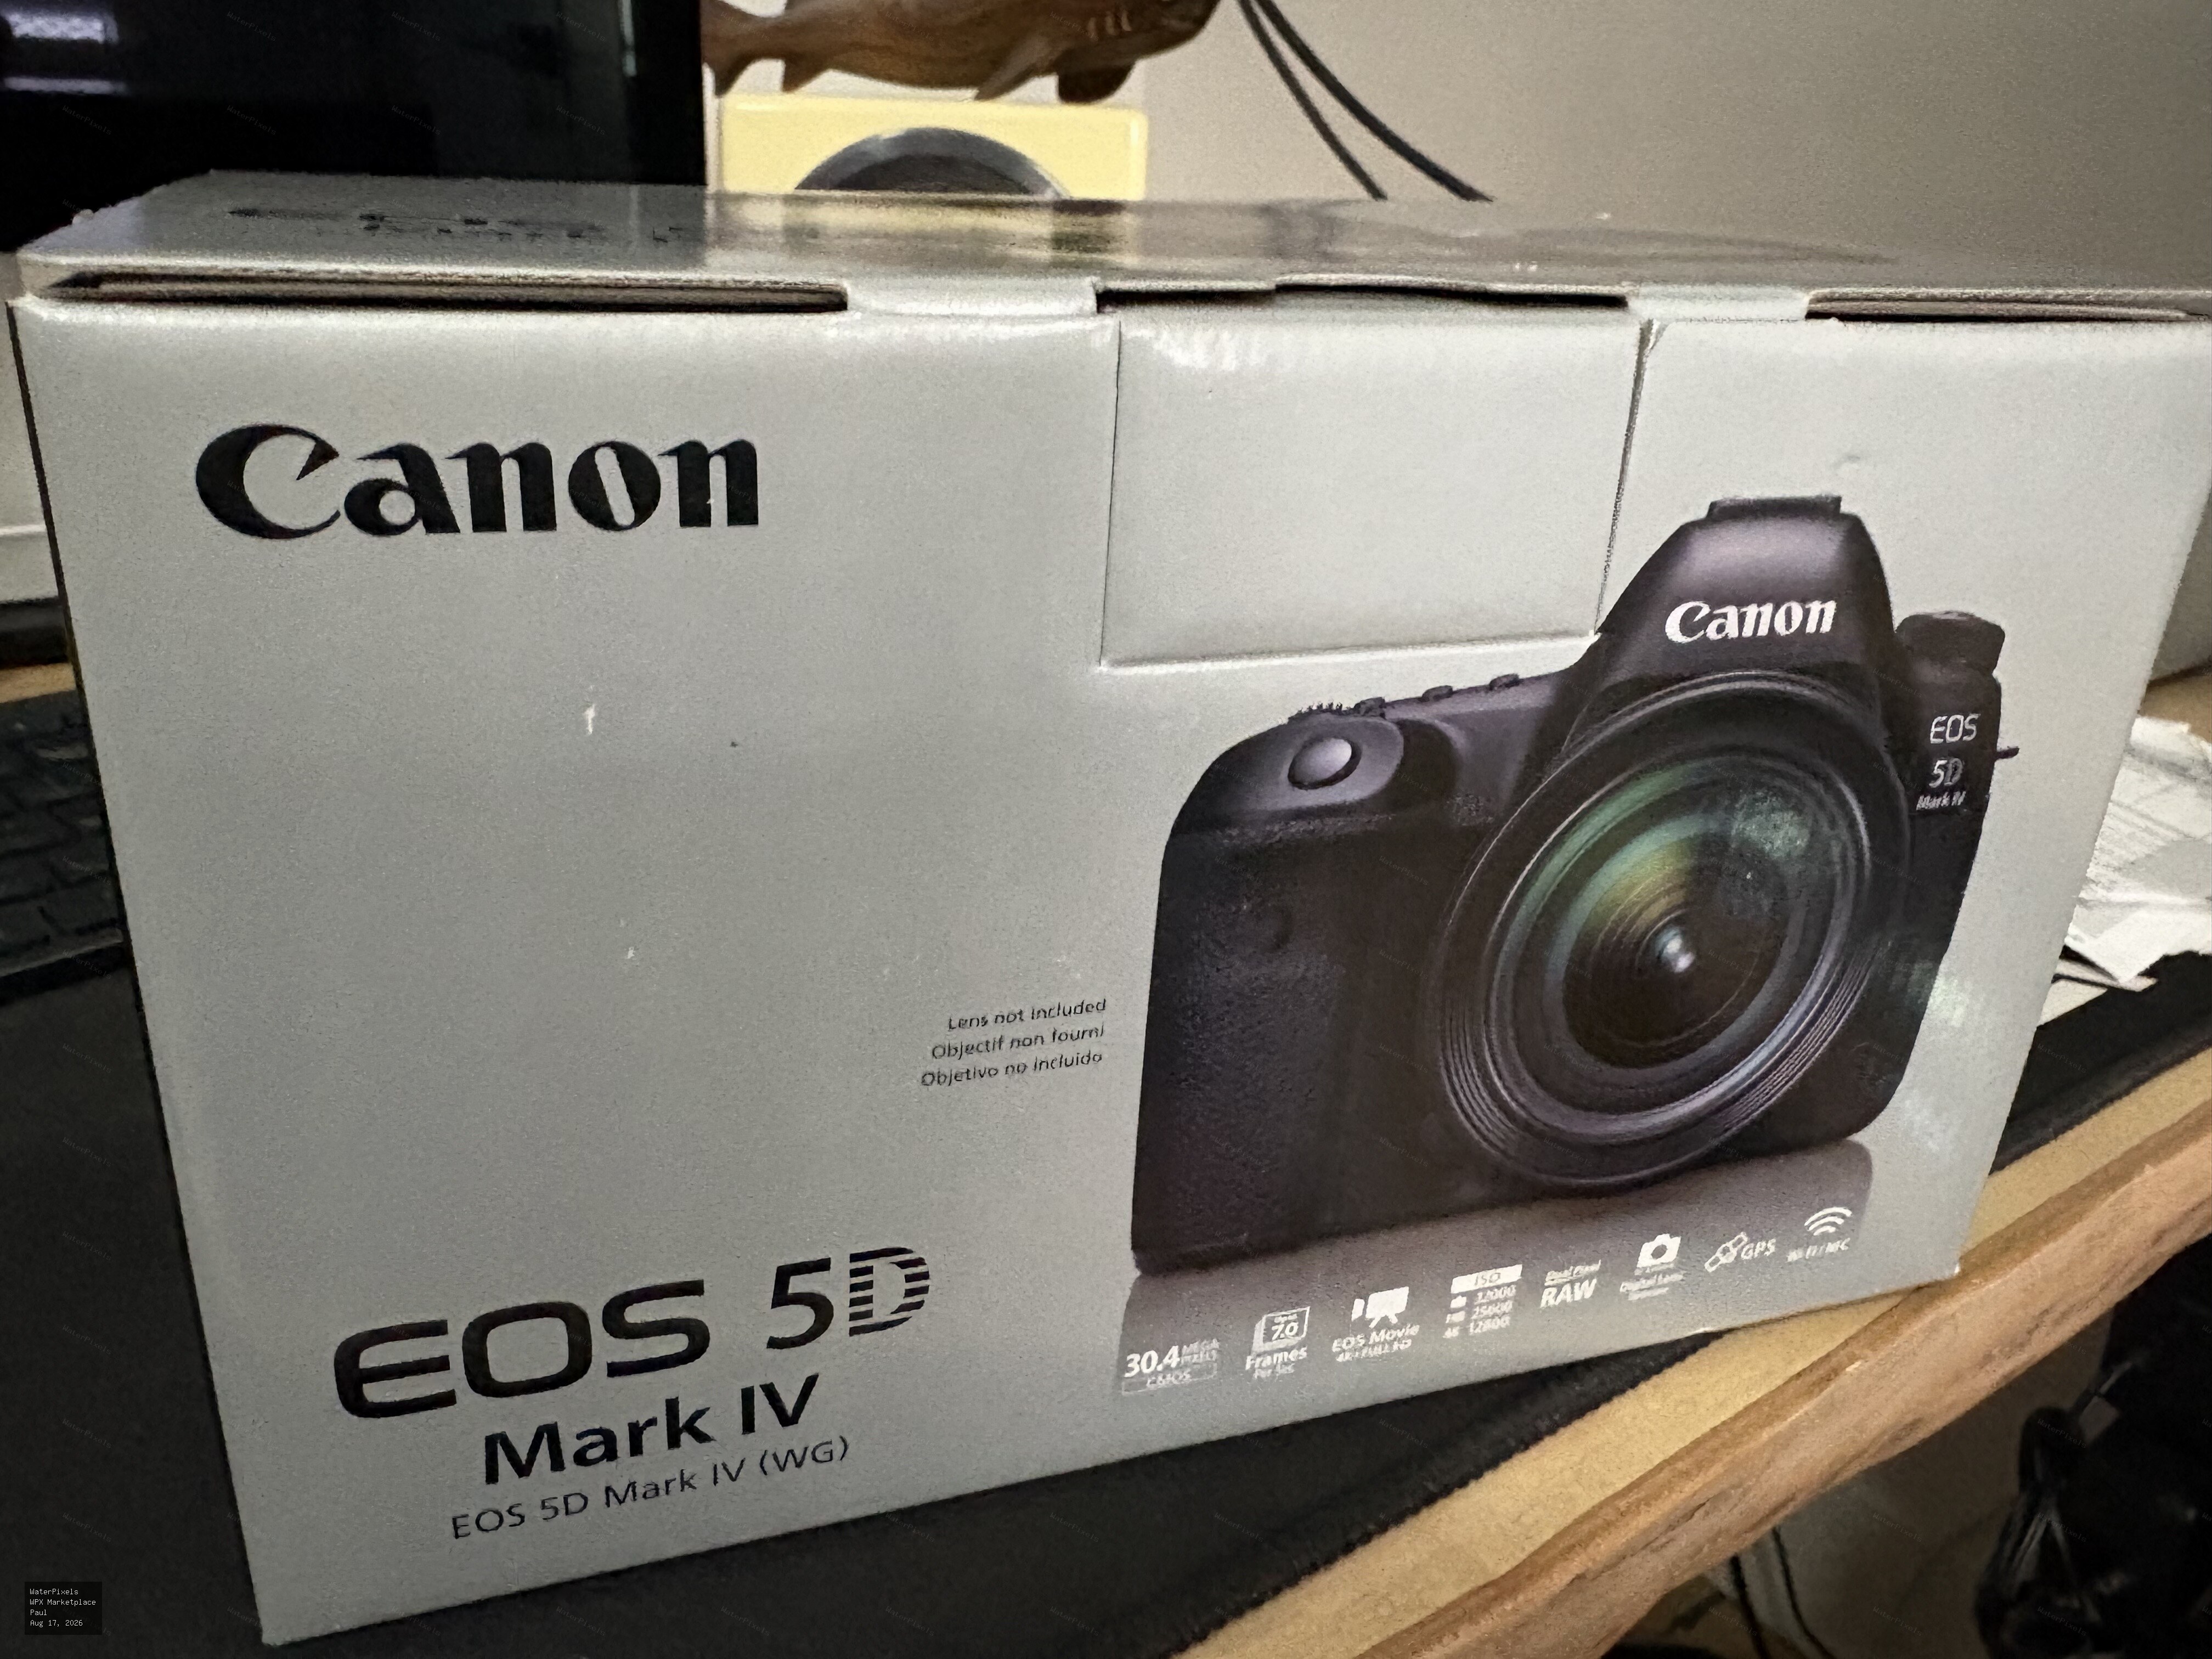
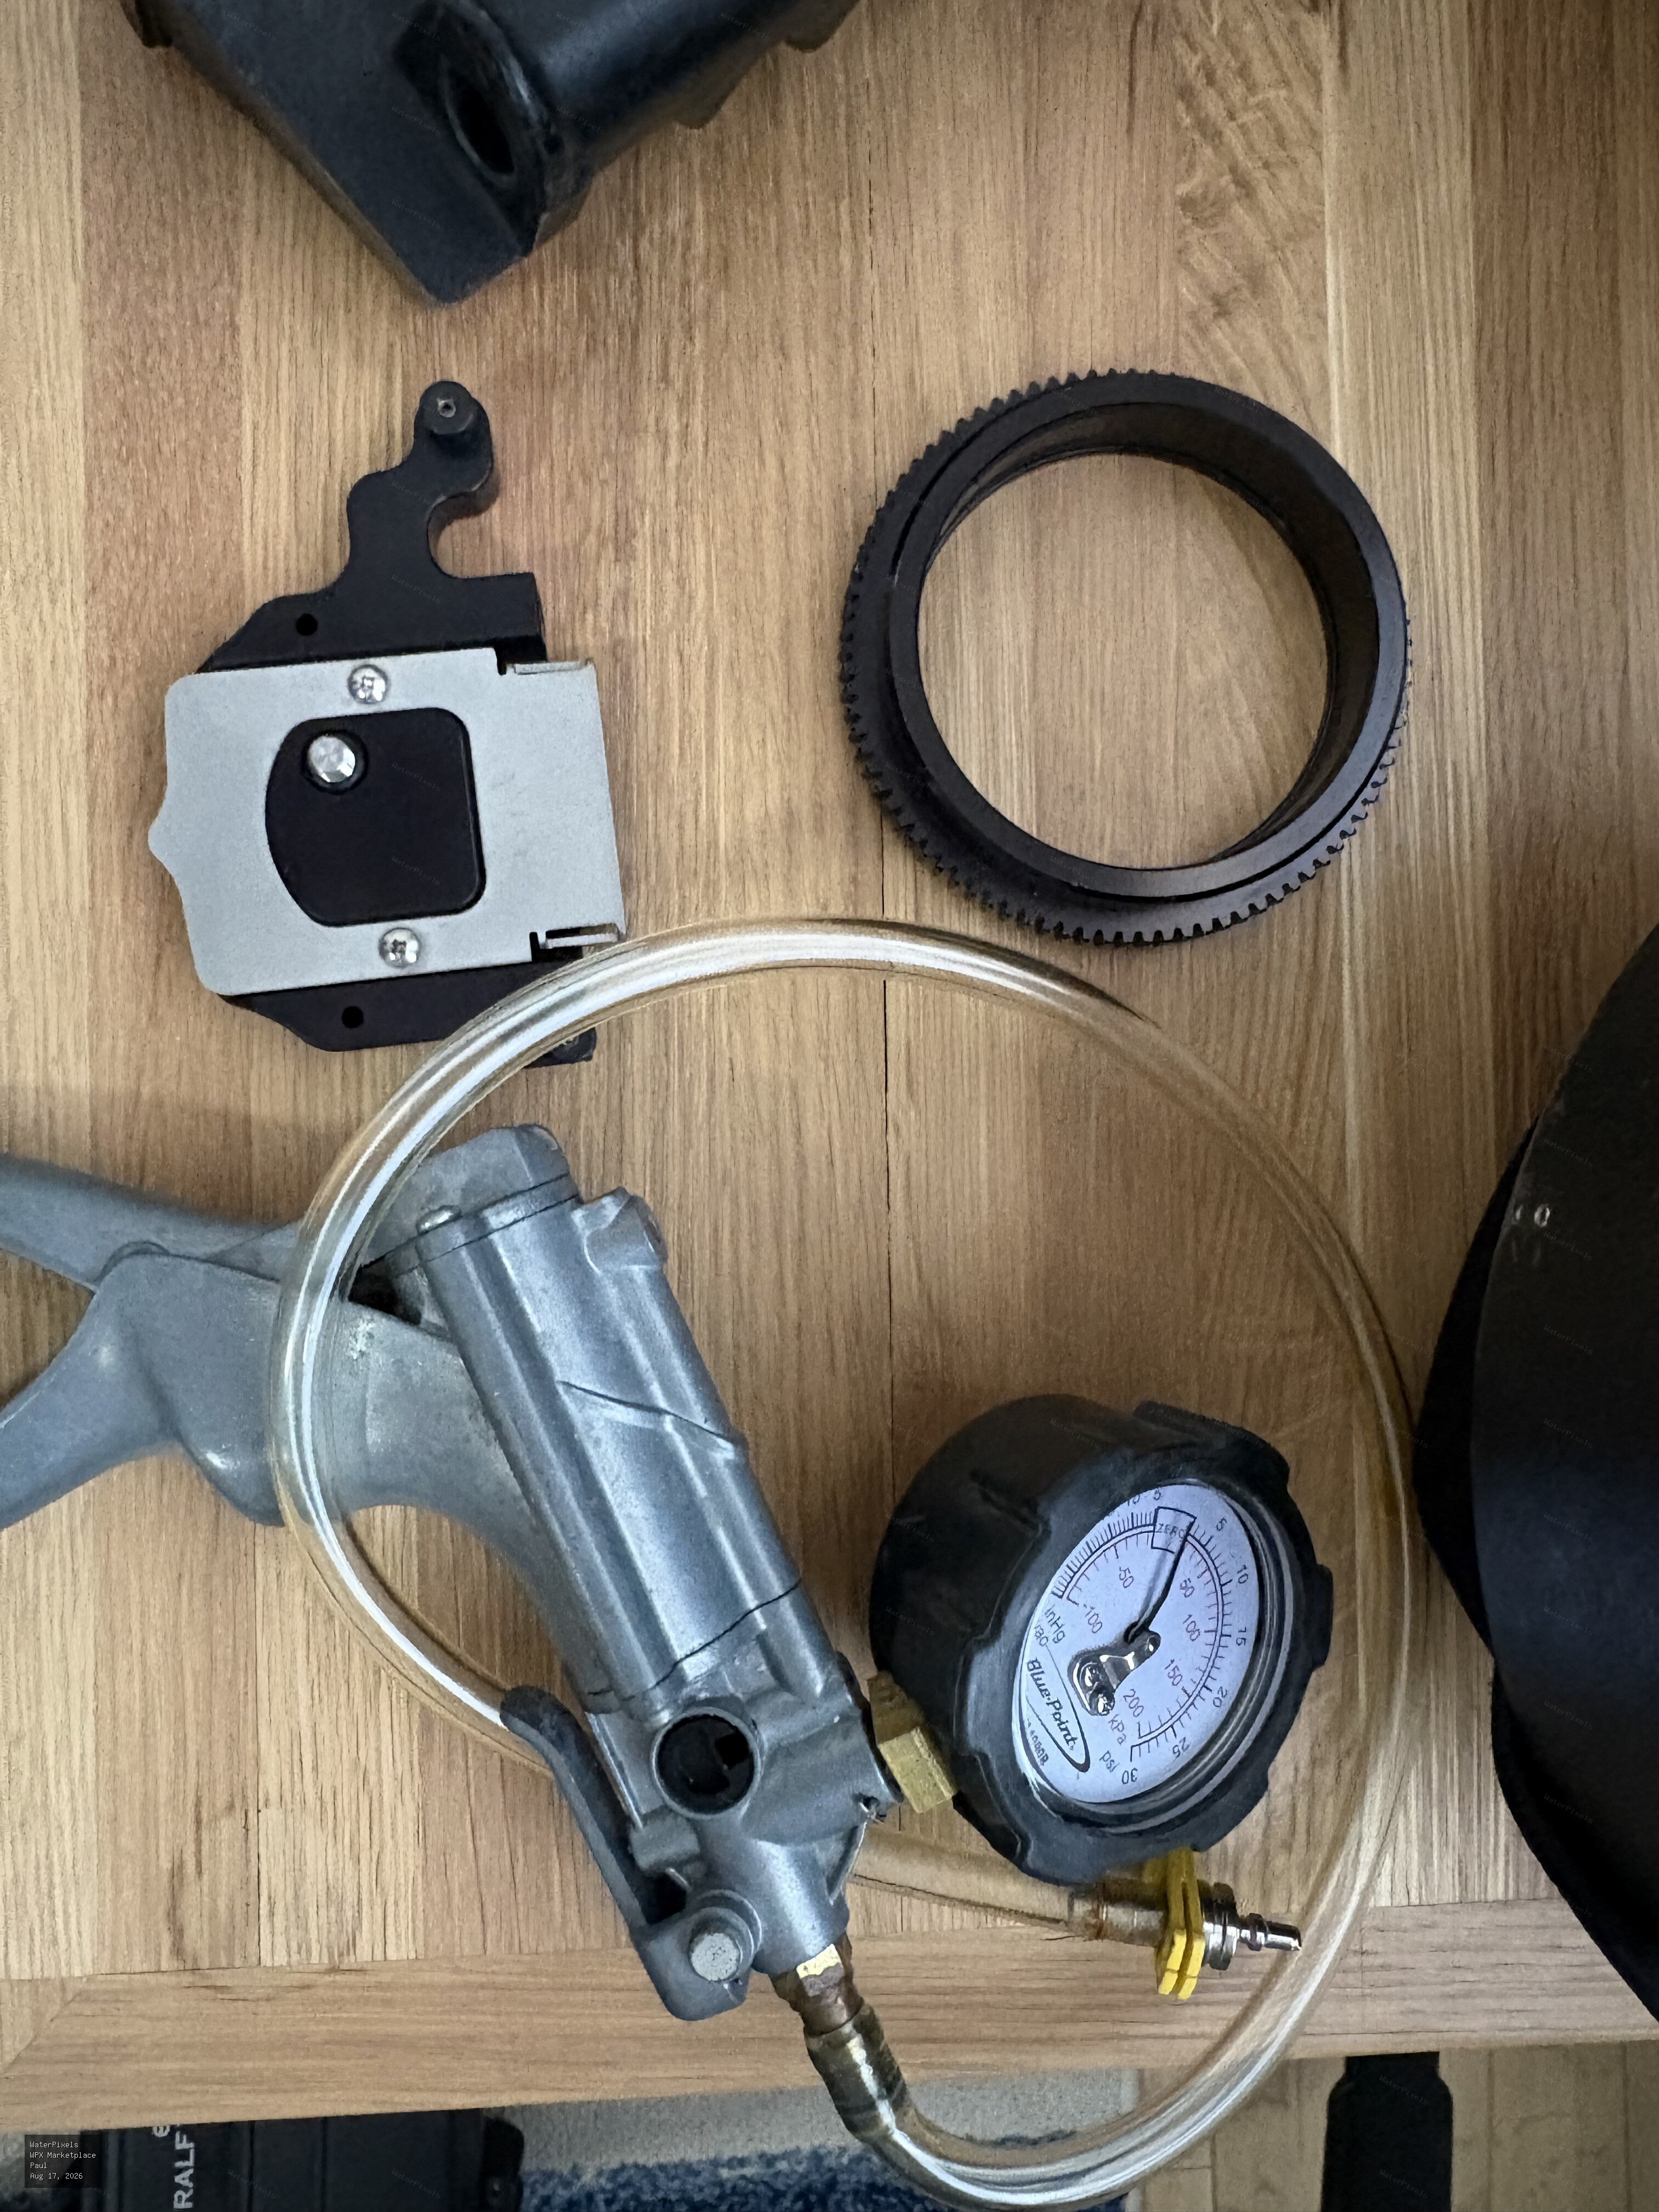
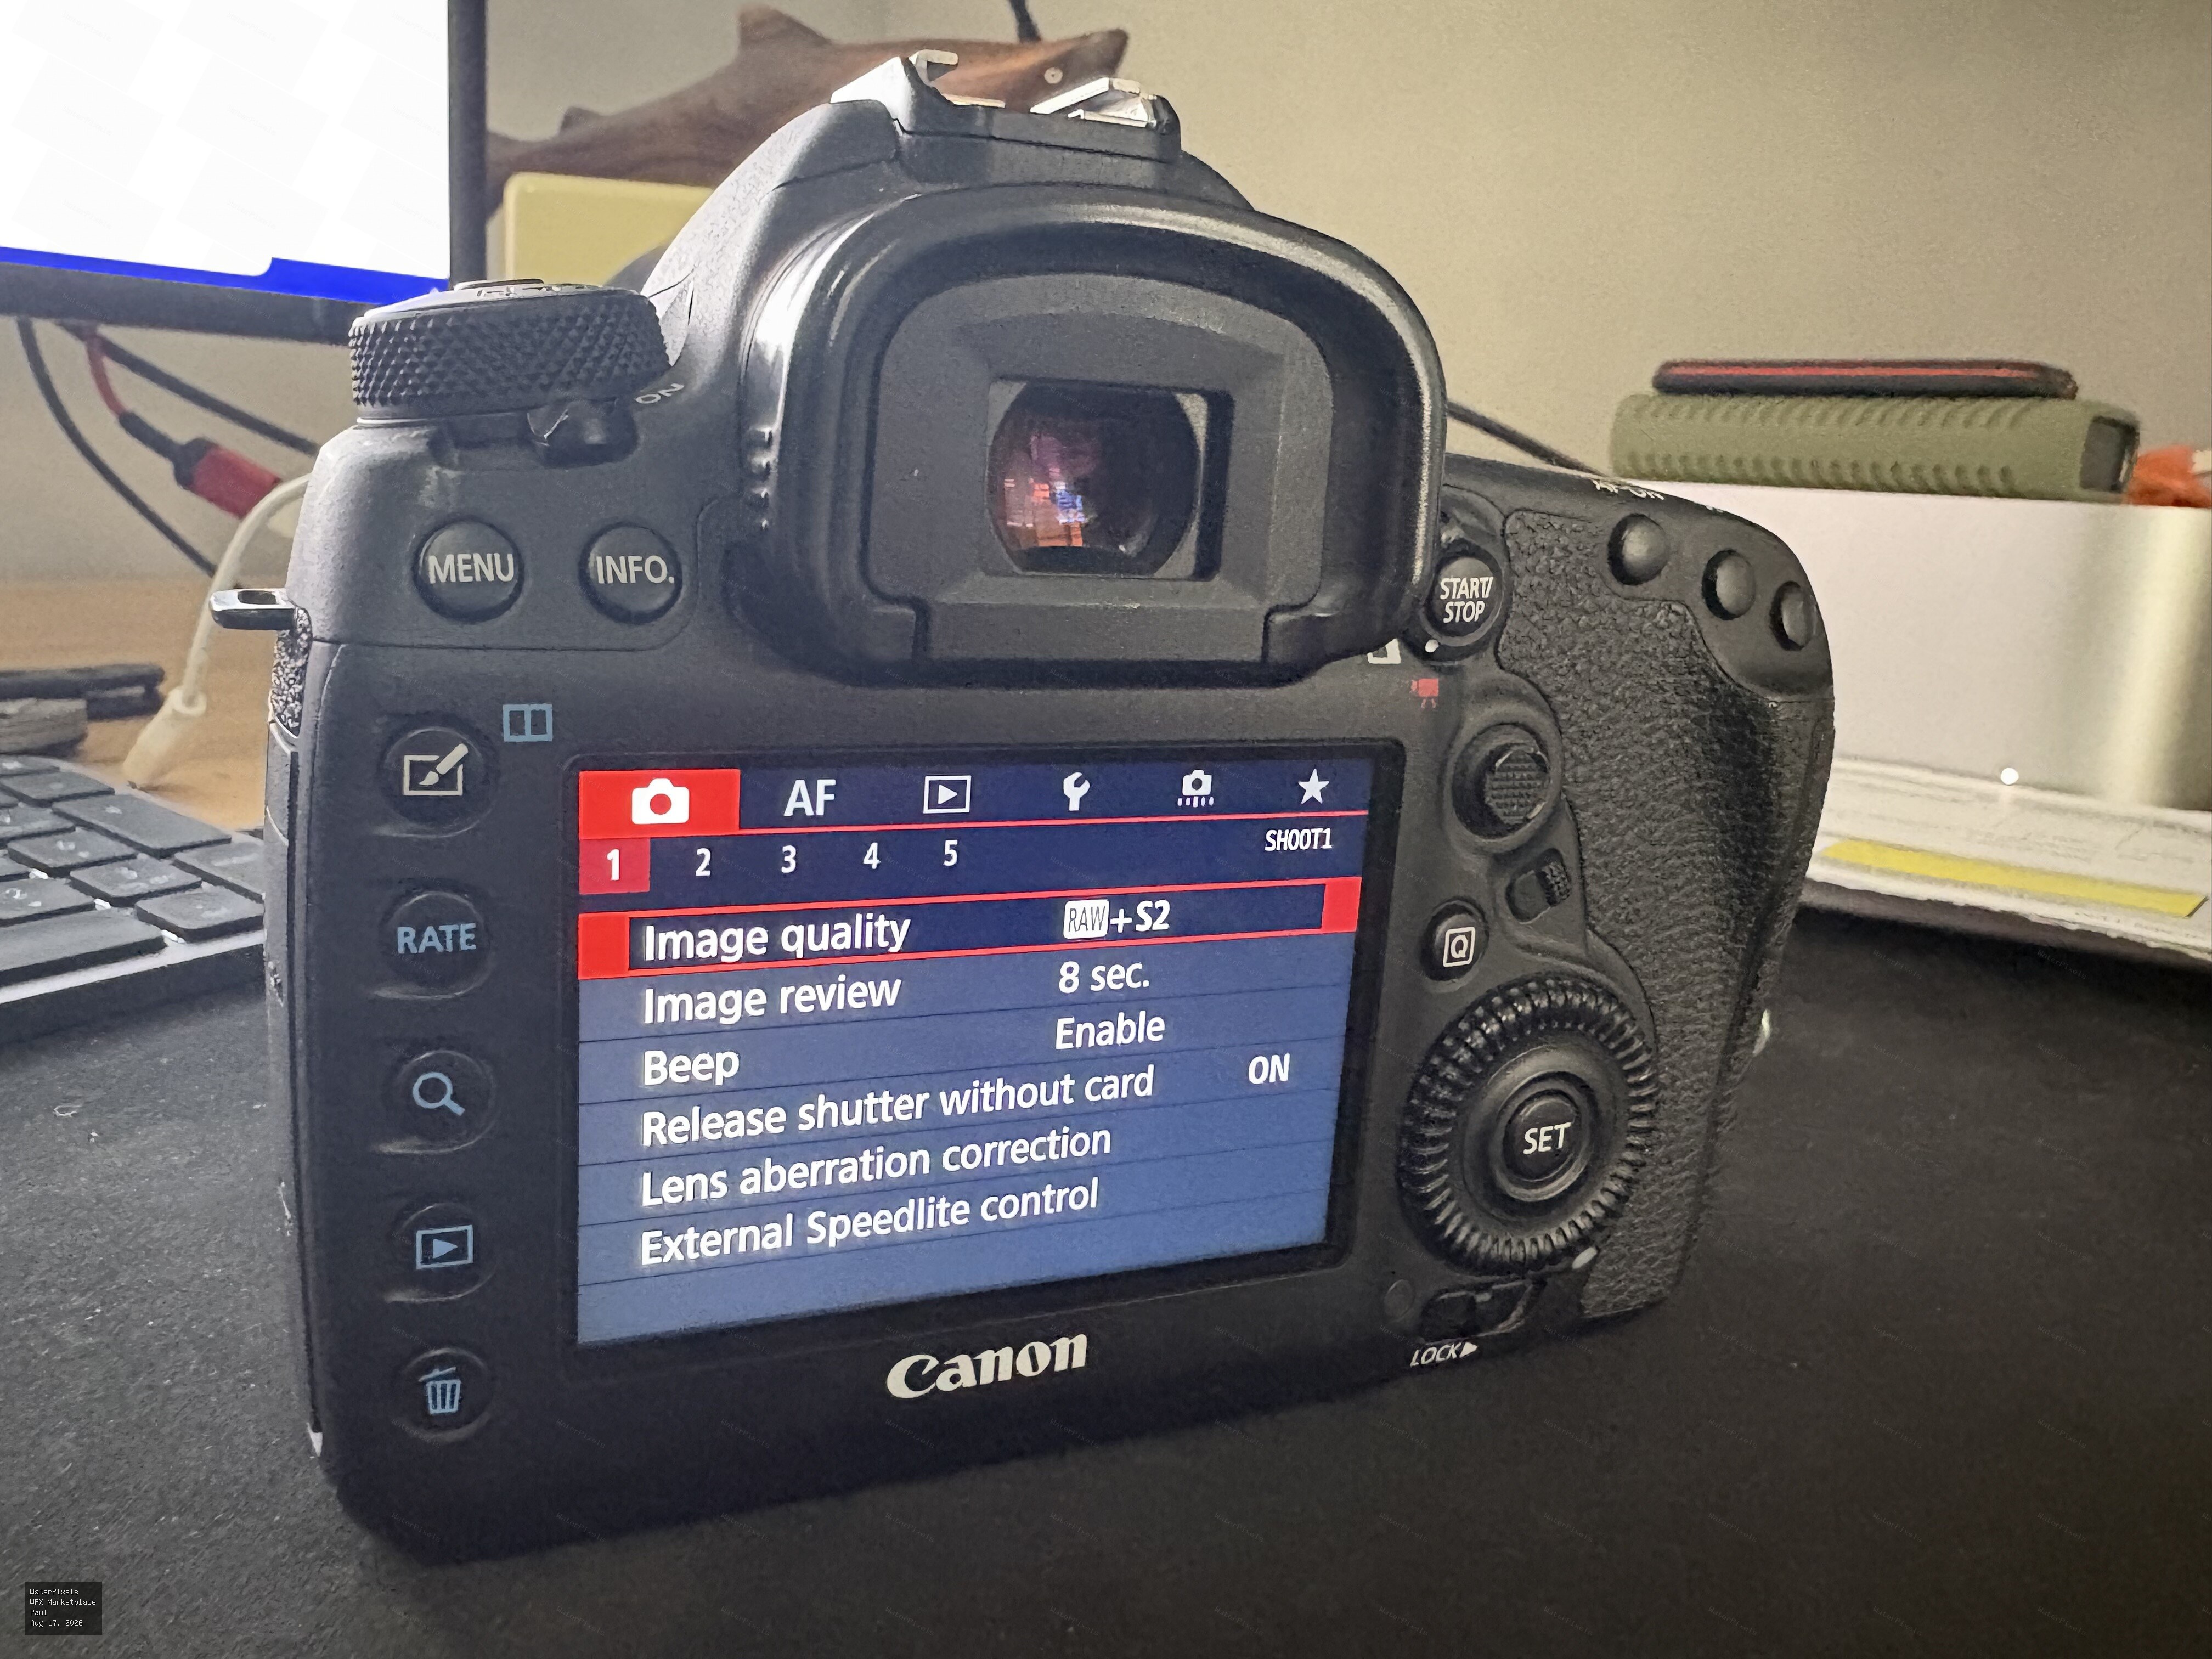 For Sale CA$3,250.00 Canada, Onatrio
Canon EOS 5D Mark IV DSLR camera body with Paid for Firmware upgrade to 4K Video C-Log1. It has a low shutter count of 11,640 actuations. It's paired…
-
Yeah, RAW workflows can be challenging, especially when they first came onto the scene. Back then, most editing packages couldn’t handle RAW footage natively, so you had to render or transcode everything into a workable format before you could even start editing. It added a whole extra step to the workflow and took up a lot of time and storage. If I’m shooting stock or working on my own projects, I’ll usually go through the footage, dump anything that’s unusable, and back up everything worth keeping. I have several RAID 5 systems that I use to store my footage, and when you’re dealing with RAW files, that storage gets expensive pretty quickly. :) When I’m shooting for a production, it’s a different story. I generally hand the footage over to the production team and they take it from there. They’ll dump and back up everything, then catalogue and detail each clip before it makes its way into the edit. Working with RAW today is definitely much easier. Most modern editing packages can handle multiple codecs and formats on the same timeline, which makes life considerably easier than having to transcode everything into a single format before editing. That said, you still have to be smart about your workflow. Just because you can edit everything at the highest possible resolution and quality doesn’t necessarily mean you should. Start throwing multiple streams of high-resolution RAW footage, effects, colour grades, and graphics onto a timeline and things can get complicated—and demanding on your system—very quickly. Proxies and optimized media can still be your best friends.
-
I've used all three of the editing packages mentioned, and at this point, DaVinci Resolve is by far my preferred choice. Adobe Premiere has become far too buggy and unreliable for my liking, and I feel Apple really dropped the ball after Final Cut Studio 7. As David mentioned, YouTube is an excellent resource for DaVinci Resolve tutorials. There’s a huge amount of information available covering everything from colour grading and compositing to masking, tracking, effects, and more. Resolve has become an incredibly powerful all-in-one platform, particularly when it comes to colour and finishing. @Davide DB — In your previous post, you mentioned using a red filter. If you're shooting with a camera that doesn't give you much control over colour temperature or white balance, then yes, I would definitely recommend using one. It can make a significant difference underwater and give you a much better starting point in post. I shoot on a RED Helium, which gives me extensive control over the camera settings and produces excellent results underwater. Pairing that with the flexibility of shooting RAW is where it really shines. In post, you have tremendous control over colour temperature, tint, exposure, and the overall colour balance of the image, allowing you to recover and bring out colours that would otherwise be difficult to work with. This is also where DaVinci Resolve really excels. Its RAW workflow and colour-grading tools give you an incredible amount of control over underwater footage, particularly when you're dealing with the colour loss and shifts that naturally occur as you go deeper.
-
I’ve been shooting video underwater professionally for the past 20 years, and I’m still a firm believer in manual focus underwater. There are simply too many variables between the camera and the subject that can interfere with autofocus—suspended particles, bubbles, low contrast, changing light, foreground objects, and poor visibility. Even with the latest cameras and their incredibly fast autofocus systems, I’ve tested them underwater and still find they can hunt for the subject, particularly when conditions deteriorate. Underwater is a very different environment from shooting topside, and autofocus that performs flawlessly on land doesn’t necessarily translate beneath the surface. When you’re filming a moving subject in limited visibility, the last thing you want is the camera suddenly grabbing a particle or object in the foreground and losing focus on your subject. Shooting at a higher f-stop can certainly help by increasing depth of field and giving you a larger margin for maintaining focus. But ultimately, that depends on the visual style you’re trying to achieve. If you’re shooting wide open for a shallow, cinematic depth of field, your focus tolerance becomes extremely narrow—and manual focusing underwater becomes considerably more challenging. For me, it comes down to control and predictability. I’d rather anticipate the subject, understand my working distance, and control the focus myself than rely entirely on the camera to decide what in a complex underwater scene should be sharp.
-
-
Hey there I’m Paul Wildman. Based in Canada. My main focus is underwater cinematography but also shoot photography. Still have lots to learn on the photography side. I’ve been shooting video underwater now for over 20 years.