


-
Many thanks for the tips, I think I'm going to make a hole on the top of the buoy to put a light inside. Also, one of our dive partners is a biologist high school teacher, so he will love also to come with us and share his knowledge.
-
Well the boat is big enough to dive comfortably, 2 engines, close cabin, and fuel capacity enough to sail through the islands. Anyway between Ibiza and Formentera is very shallow, not more than 50 meters, and spots with only 8 meters, plus the marine traffic, which in summertime looks like a highway, it's not the best place for BW. Instead that we think the north of Ibiza, near Tagomago, there are places with 150 meters depth and walls starting in 60 meters descending quick to 120, and it's closer to the port where the boat is based. And a lot less of marine traffic, so it's worth a try.
-
I'll do it when we start, and I hope I can post here some pictures.
-
Thank you very much. I'm not worried about the current, i'm in Ibiza, so the currents here are very very light, but we will take care of it. My "pumpkin buoy" is a yellow rigid 40 cm wide buoy used to mark beaches, and we plan to add an strobe light on the top. What i didn't plan is to study the bottom, I guess looking for deep walls etc. My plan was simply go to a deep zone and put the lights, but it makes sense to study the spot. There are spots here "close" to the harbour where looking at navionics there are walls starting in 90 meters depth which quickly reaches 250 meters. I think that are the places where we will head to.
-
Hi all, I want to start doing blackwater diving in my hometown, we have the proper boat and the lights, but I'm not sure how to organize the lights line. We are planning to go to a site almost 100 metres depth and place a line with a big buoy on top, 25 meters long line with weights on the other end, and with an arm 75 cm long with a powerful light on each end every 5 meters. Our plan is to leave the line in the sea for a while and dive with the boat skipper following us close enough to take care of ourselves. Do you think is the right way ? or am I missing something ? It's our first time doing blackwater diving
-
Well, I bought it in January, I guess the things haven't changed so much. Anyway I paid it with PayPal so if I had any issue I was covered. You won't have problems with that adapter, the dome fits perfectly in the Sea&Sea housings, I have an old Sea&Sea housing for Canon 40D and I first fitted the dome in that housing, no issues at all.
-
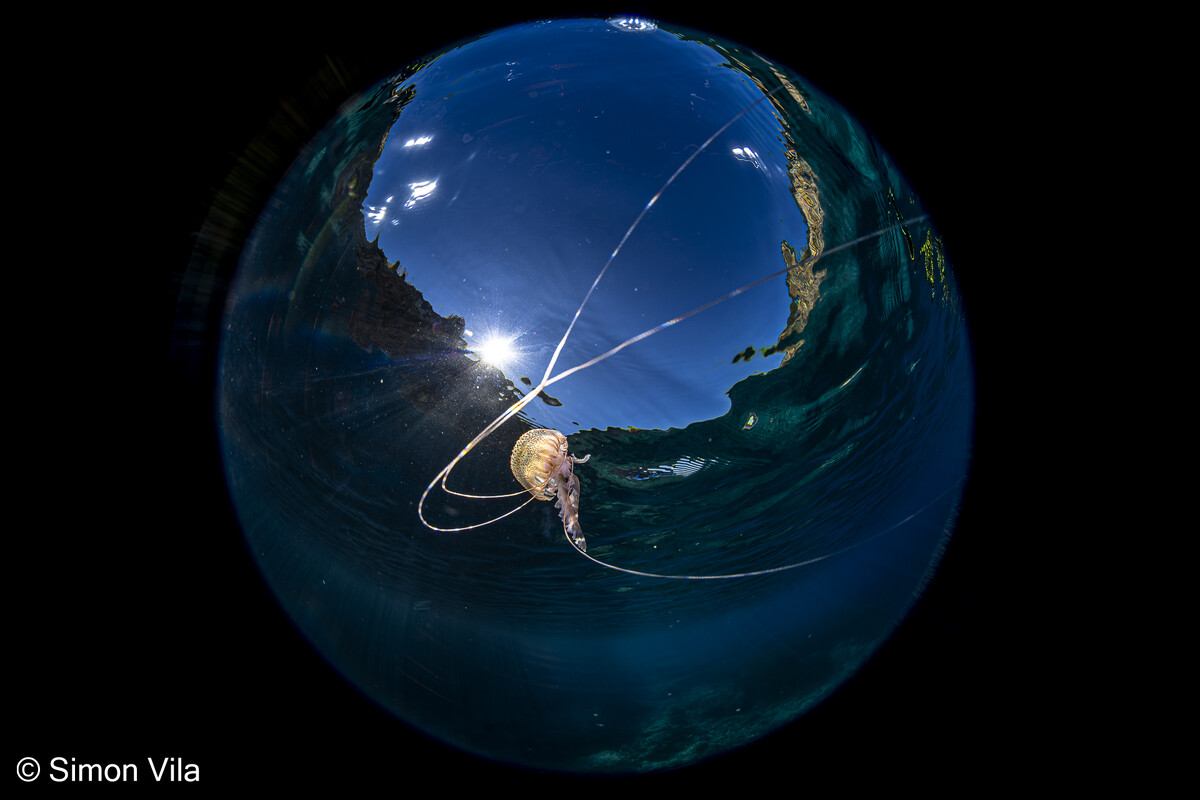
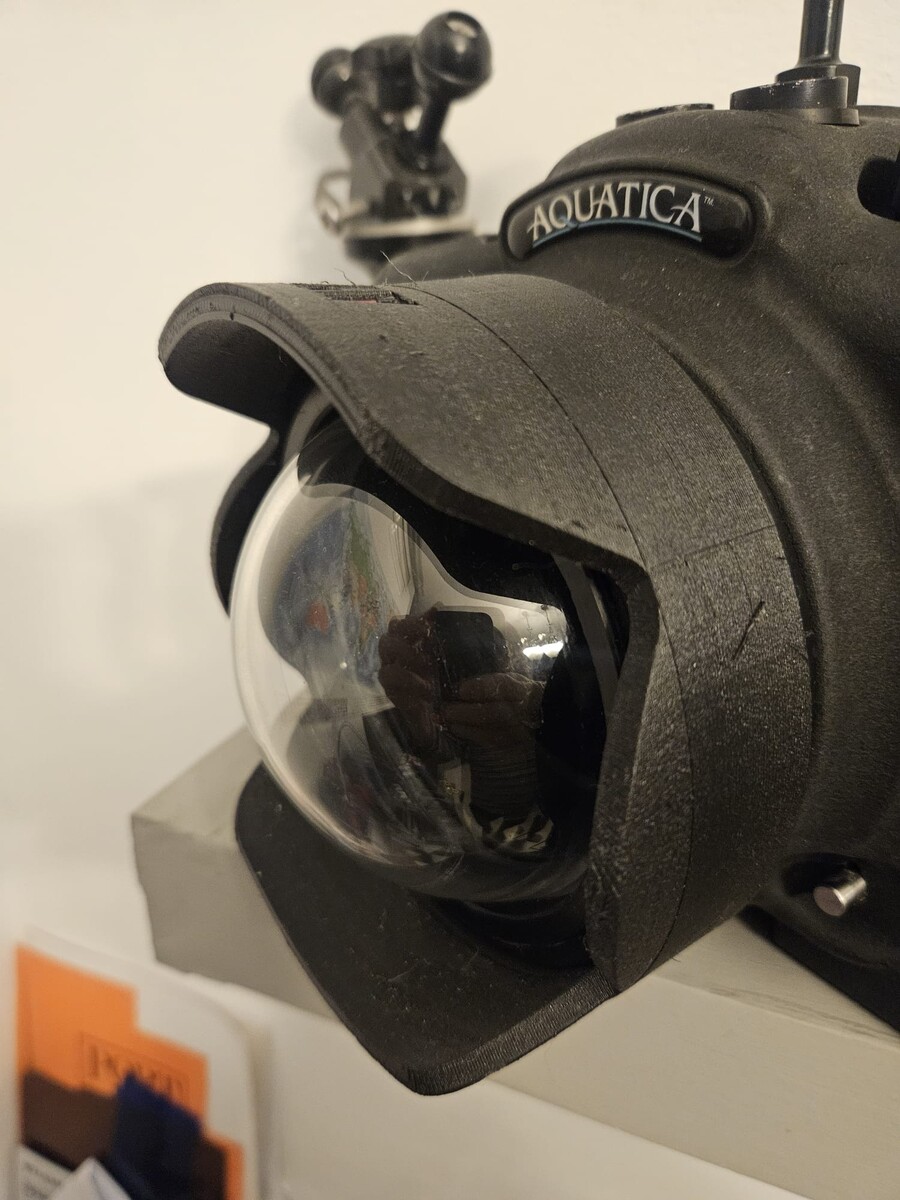
Hi, I didn't have so much time for diving in the last weeks but I have test the dome and compare it with the Nauticam one which my dive buddy has. There's no difference at all in performance, in terms of construction is very solid and there are only two differences with the Nauticam one, the howshot shade can be removed by hand because you can release the screws with just the the hand, they have knobs. But if you prefer it they also send the prisoner allen screws to handle the shade. In the Nauticam dome the lug is machined in the dome body, in the Howshot one the lug is screwed, so yo can use with Sea&Sea, Nauticam and even Isotta by changing the lug. Here you can see two pictures with this dome, both with Canon R6 MkII, one with the Canon 8-15 fisheye lens at 8 with the extension ring which Isotta recommends in his port chart. The other one with the same camera, same lens and Kenko 1.4x converter, the picture is taken at 15 mm with no crop. As you can see the corners are not perfect but there is a huge difference comparing with the 4" dome port, and as I said I can't find any difference in terms of performance with the Nauticam one. I would buy it again.
-
Thank's for your comment, I didn't experience any issue about the waves, etc. But I always used it with flat sea, if you have to take splits the waves are a pain in the ass. What I use to do is to put underneath the housing any kind of flotation device ir order to balance the camera the more I can, if not, it tends to submerge the housing and leave the dome above, which is difficult to manage and very tiring for the hands. I deal with this dome the same way any other port, I make the vacuum and leave it the more time possible before go into the water, it never loosed it. But to be absolutely honest if I had to do it again I would look for any way to block the ring which connects the dome with the housing. The fact it's threaded in addition to the leverage exerted by such a big plate has give me more than a scare when I carry the rig because it's easy to unthread the dome accidentally. But I have plans to make any kind of blocking latch, it's not a big deal to install it
-
I also thought the same, but after choosing the size you have to choose the type of material, between aluminium or acrylic and the only option appearing is end cap, So this leads me to guess that you can choose only the rear cap and in the front the only difference is the flange they send with the enclosure, but the dome port is always 4". I hope I'm wrong.
-
I have tried to find it on their web, but I didn't. What I have found is different enclosures in 4", 5", 6" and 8", but when at the dome end of the enclosure looks like there is a flange which reduces from the 8" enclosure to the 4" dome. I also have found a flat "macro" port which is 8" wide. Looking at the Panasonic camera integration for cinema, when i read about that and looking to the pictures it looks like there is a finished dome port to fit the housing, but when I try to buy it I don't find it. I will have to ask to my dealer, he knows about bluerov way more than me. In fact my one is an integration with Poseidon Robotics which converts from battery powered to AC current, which gives me unlimited bottom time.
-
I didn't see this until now. Yes, they are perfect for the work. I also have a Bluerov and the dome ports are cheap, they are around 3 mm thick, I have go with the rov up to 100 meters depth with no issues. They are exactly the same that I ordered to the plastic manufacturer. If I knew about that domes before buying the bluerov I would used it. That said, I didn't found out a big lack of definition in the corners of the image when I used the 4" dome port with the DSLR, but once I bought the FF Mirrorless this lack of definition has become a lot worst. I have ask here in the forum and to two professional underwater photographers that I am friend of, the issue is the dome diameter, 4" is to small, so now I'm using a glass 5,5" and it's not perfect but is good enough. I'm always talking using it with the Canon 8-15 fisheye, with and with no teleconverter.
-
Well, if you are David Doubilet, working for National Geographic you probably have a lot more of resources that any other current underwater photographer. I personally know pretty well Manu San Félix, another National Geographic explorer and I have personally seen the tones of equipment they carry, both for diving and for taking pictures and video. There's no secret, money is the key.
-
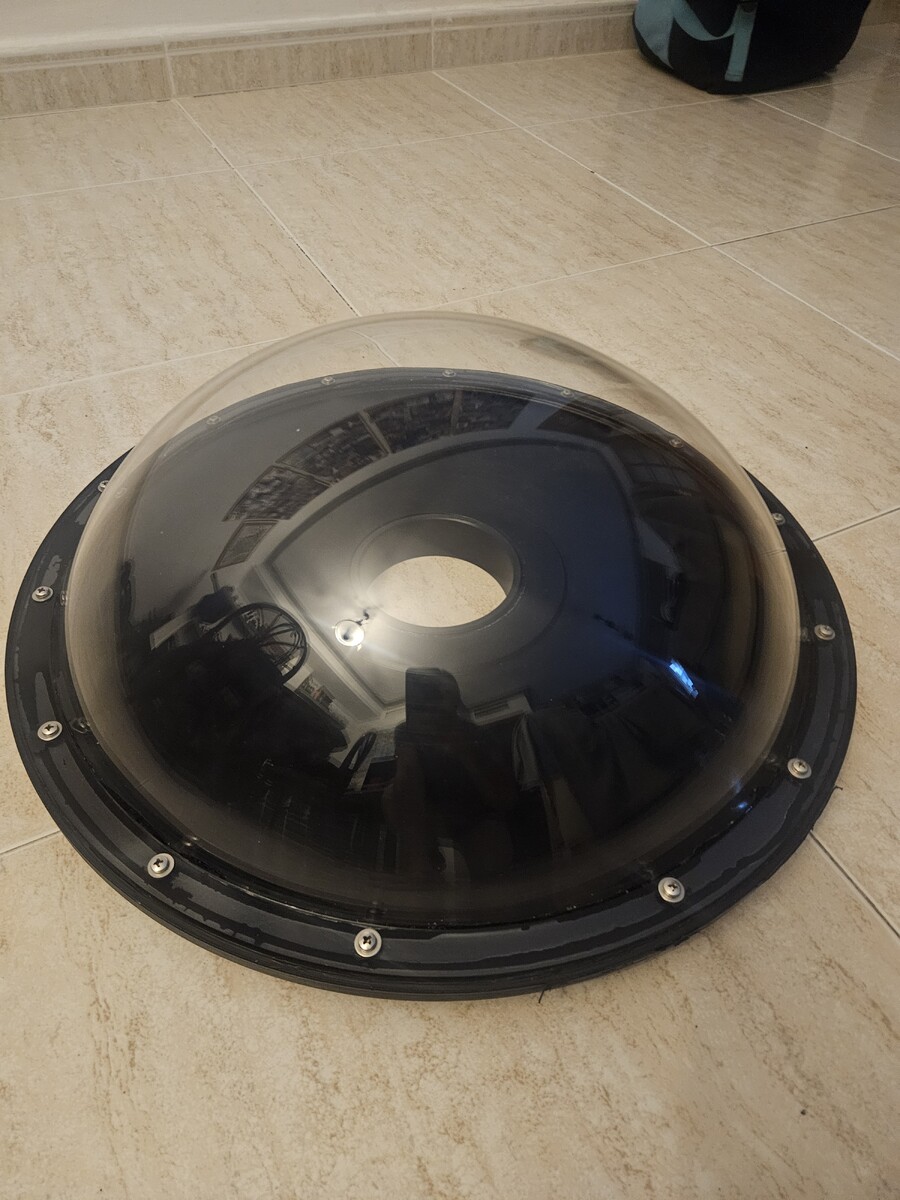
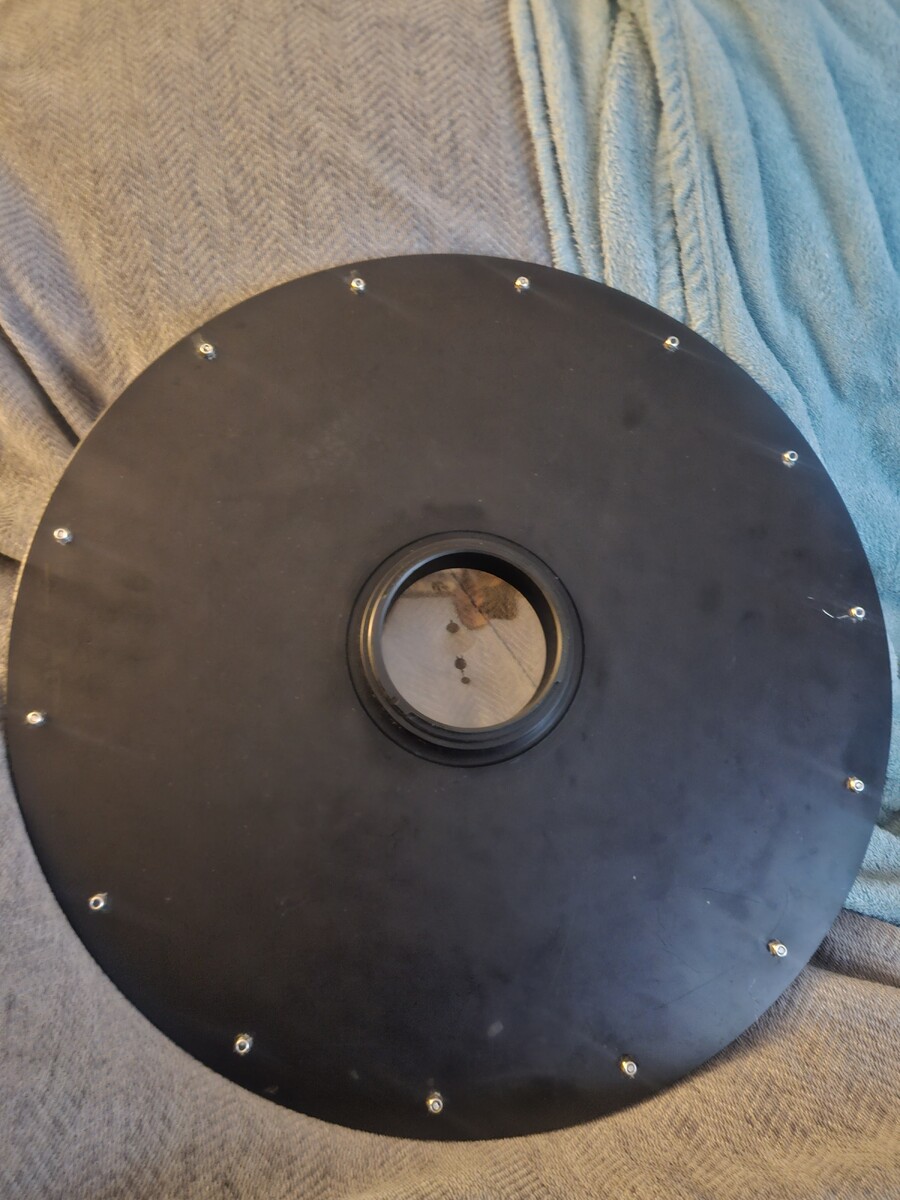
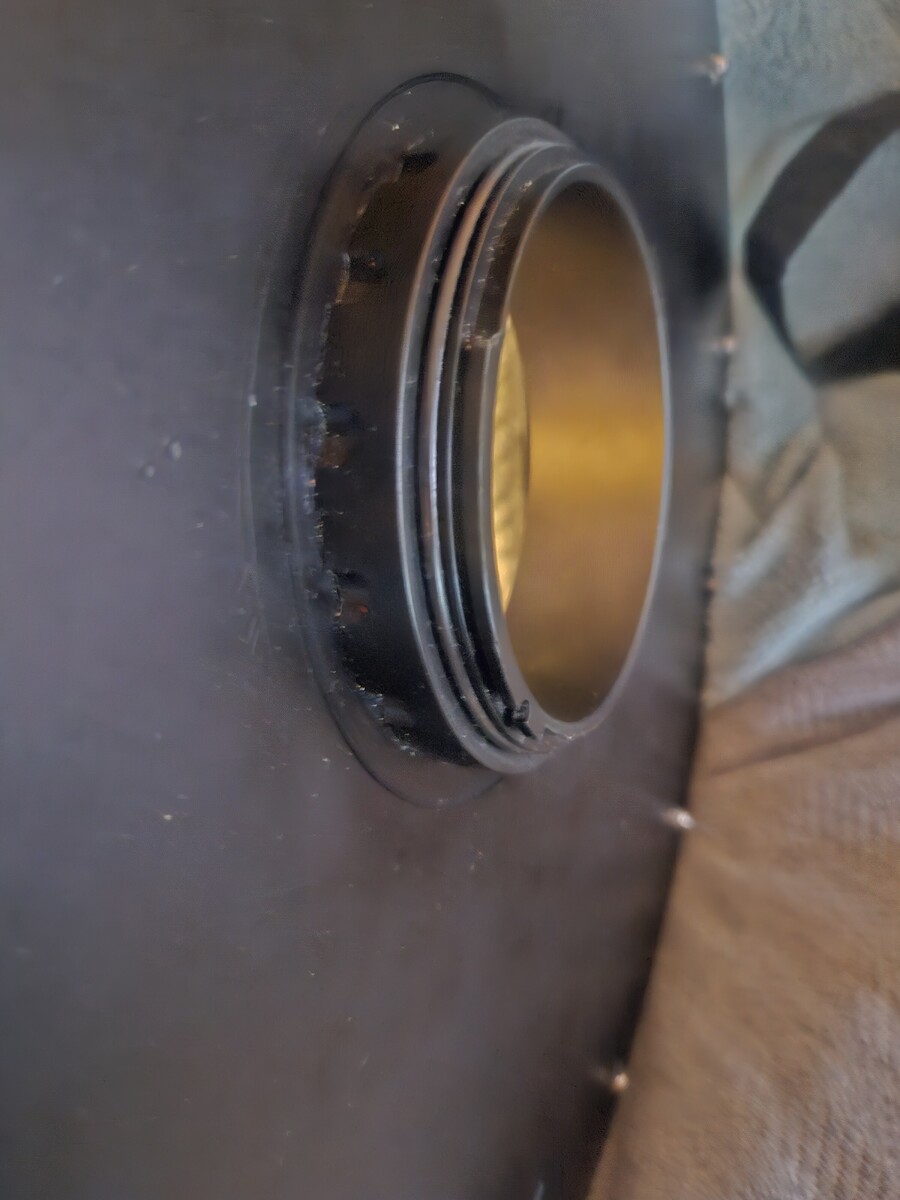
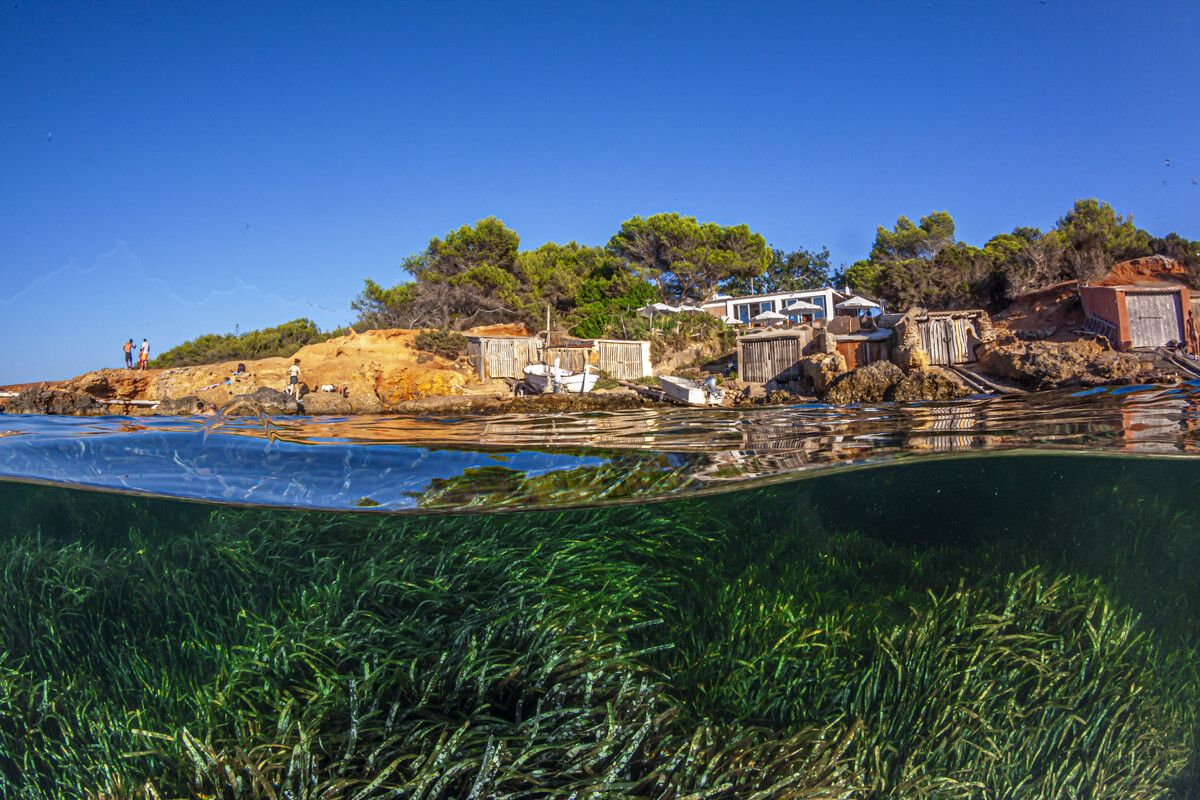
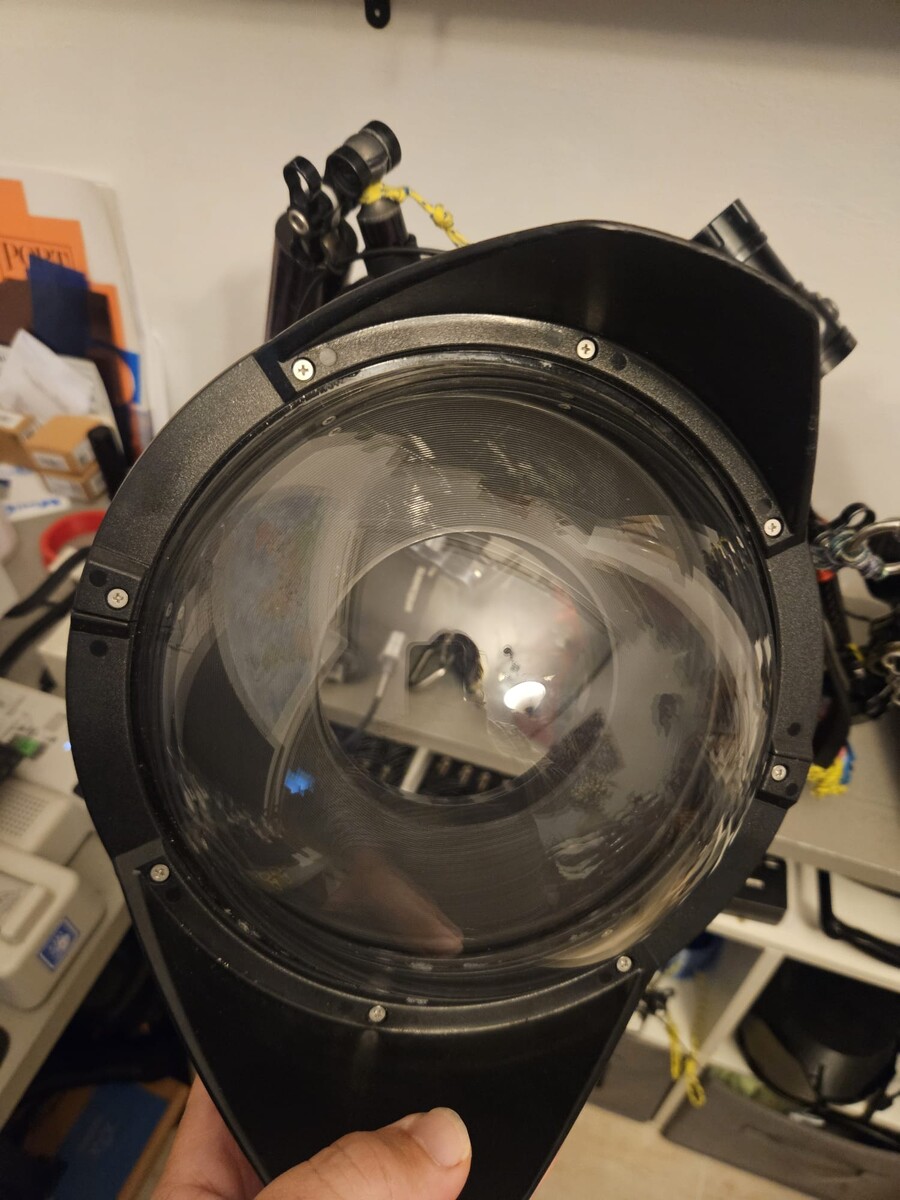
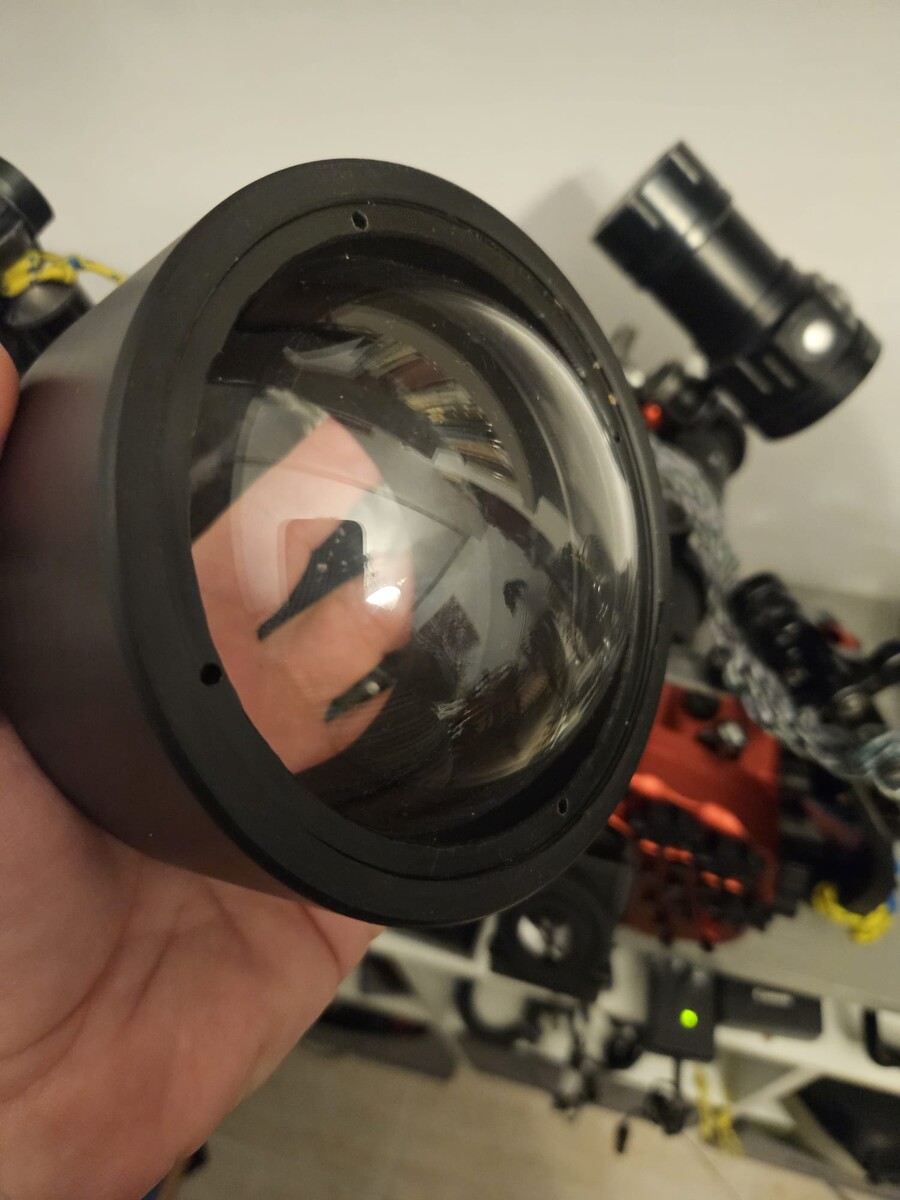
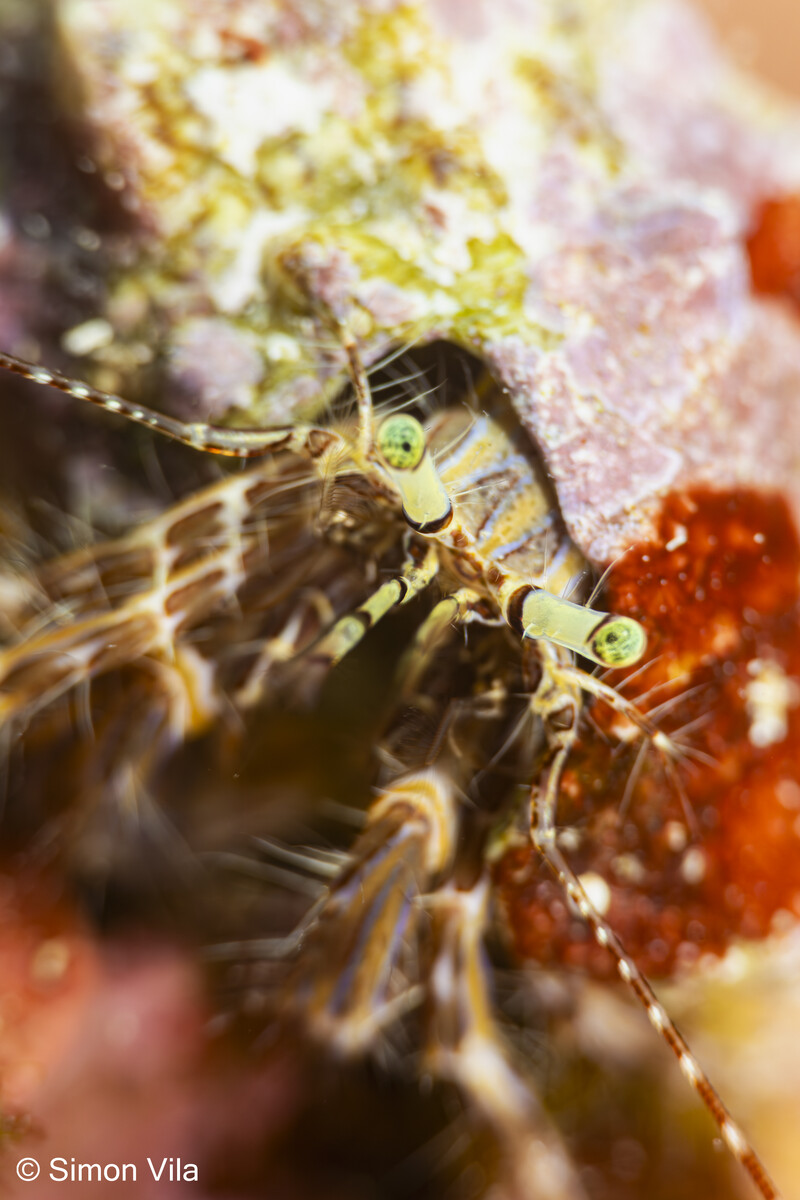
I finally managed to take pictures of the big dome. My goal when i start thinking about doing it was that me and my two dive buddies can use it. At that time I had a Sea&Sea housing, and my buddies Nauticam and Subal each. So i had to make a system that can fit in 3 different housing. I first contacted to a plastic manufacturer specialized in manufacturing custom domes for security cameras and this sort of things. I told him the exact measures of what I wanted and in 3 days i had it, I can't remember exactly but the price was really inexpensive, something like 50€. After that I went to a friend who is miller turner, I explained him what I needed and he did it in aluminum, after that i sent the aluminium piece to anodize, again, this was inexpensive, about 50€. After that I assembled the dome with screws, for sealing it the miller did a groove in the edge of the aluminium where I poured polyurethane. For the fitting to the housing, I took a macro port of each housing manufacturer and again the miller turner cutted the front part and machined a male thread and a groove for an o'ring, the same thread is the female in the dome plate. Here you can see some pictures of it and the first picture that I took with this dome, but to be honest I haven't used it that much
-
I have done my own dome ports, 4" with 3 different plexiglass curvature, I have change the plexiglass to a 8" old Sea&Sea dome port, for which I had to modify the fitting system,and a 17" dome port, which I don't have any picture right now and I lent it to a friend. When I have it again I can send you pictures, but basically is the same design of the pictures above.
-
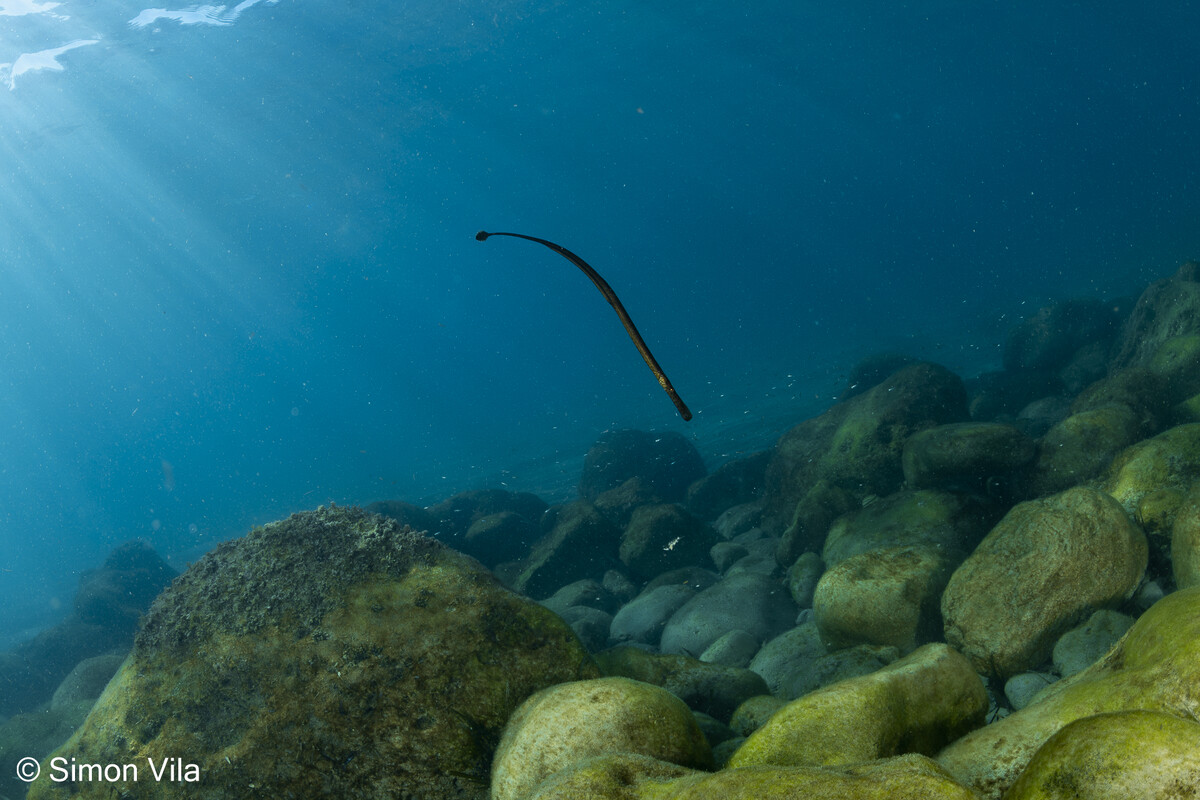
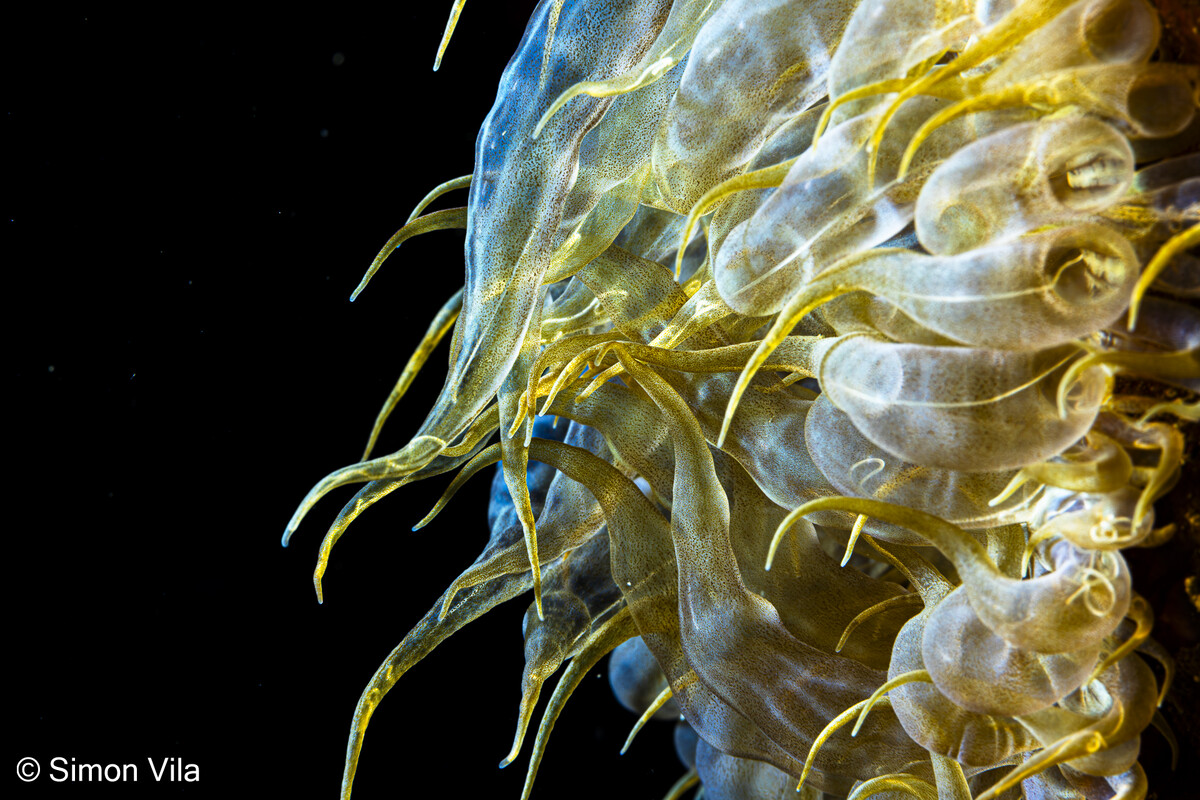
I don't use to shoot macro, not the kind of pictures that I like the most, so grab the camera this morning and take just macro shots it's been like fresh air to me. Water in 15ºC, no sun, and flat sea. The best, as always, share with the friends the after diving at the bar with a couple of beers.


Important Information
Terms of Use Privacy Policy Guidelines We have placed cookies on your device to help make this website better. You can adjust your cookie settings, otherwise we'll assume you're okay to continue.