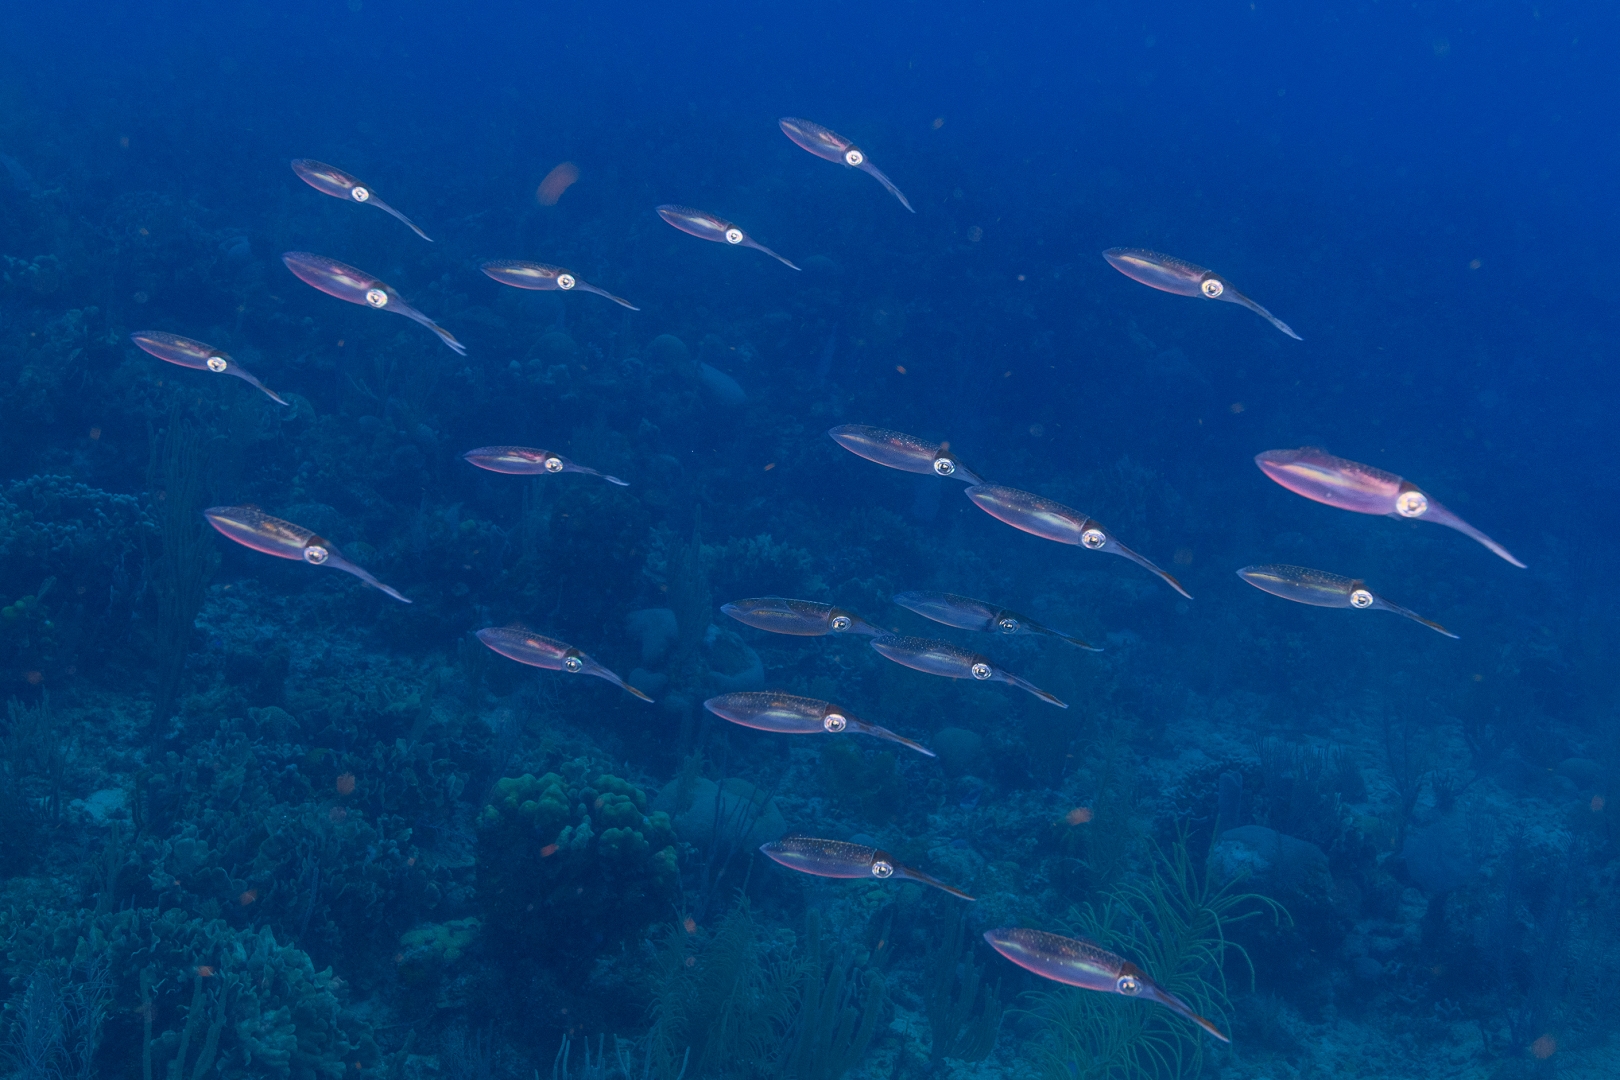
On 3/27/2021 at 2:20 AM, hedonist222 said:
Looking for composition in water as a starting point.
Then PP technique as well.
Others have talked about controlling the light at its source. I have a slightly different path to end at the same point (proper exposure). It actually reverses your sequence. Look at it as an effective way to learn what works.
In short, START with your post-processing, and learn from it. The more you learn in post, the more you can apply that knowledge in the water.
If you don't know how to compose for image in water, it's because you don't know what you're trying to get across in the image. You haven't pre-visualized the image. There is a way to learn composition, and that's simply by cropping the result until it 'looks good'. Or looks like the way you wished you had shot it. I'll come back to that point later.
If you don't know how to compose for lighting in water, that's probably because you don't have a feel for how far away to put them and how to angle them. Again, you can learn this in post, essentially by finding out what's salvageable and what's not. Let me use the example of a simple Sea Rod lit by strobe. It's just an example of a subject that is easily over-exposed by flash. So - what can be done with the flash, and what can be done in post?
The problem in a nutshell is that you have an extremely wide dynamic range to capture. The bright parts of the coral are extremely reflective and look like they are somewhere between glowing and nuclear apocalypse. The first thing you figure out is that you put the strobes too close or had too much power. But if you drop the strobe power 2 stops to get the highlights under control, you have a well of darkness for the rest. Must you sacrifice the highlights to save the shadows? Or vice-versa? Maybe, maybe not. Let's see what you can get away with in post.
Here's an example: 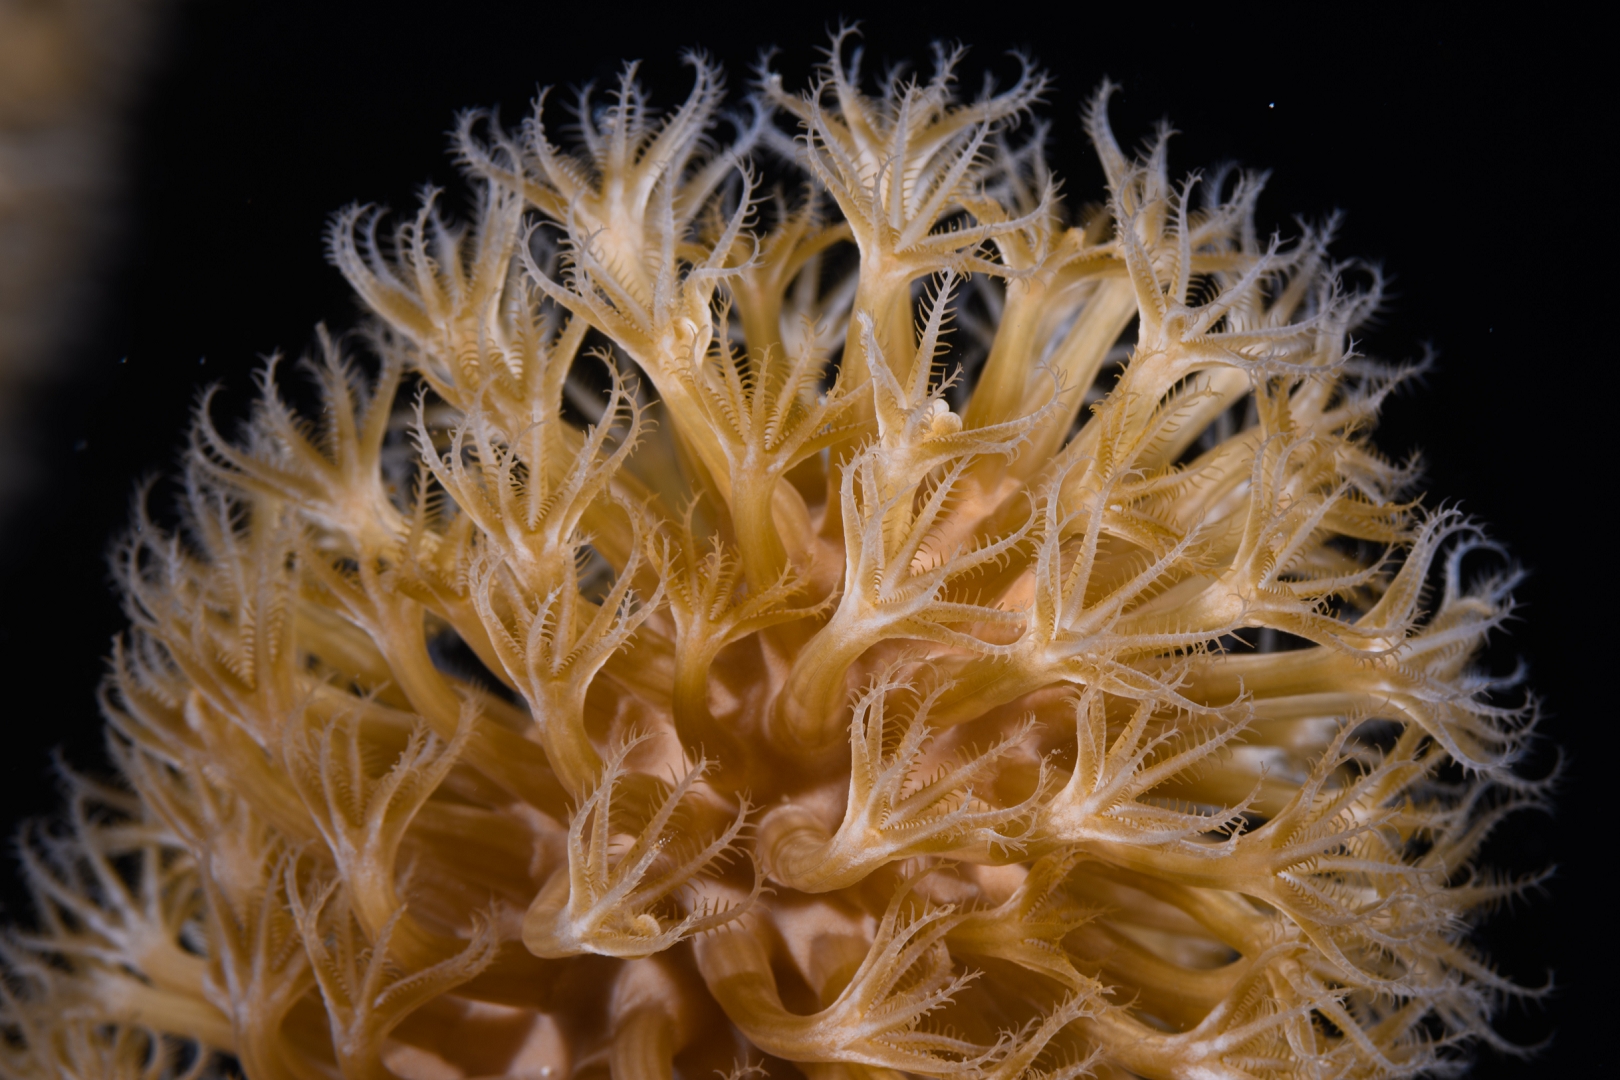
This Sea Rod has been heavily post-processed to try to tame the dynamic range. All those white areas were glowing like the sun and obscuring the details. Essentially I exposed mostly for the highlights, avoiding the blinkies if possible. Still, the original had far too much brightness in the highlights. Reducing the overall exposure helped, but lost the shadows and midrange.
But (in Lightroom), the basic idea is reduce highlight brightness while simultaneously boosting shadows and midrange. It's a bit of an art trying to balance various issues. But I'm not afraid to pull the highlights down 80-100%, boosting shadows as needed and playing with exposure to shift everything away from a histogram edge as needed.
Maybe this works, maybe it doesn't, but you will learn from the process. And then you start knowing what to do in the field to get the results you want on the computer in post.
First: get that ISO low! The name of this game is having maximum capability to capture dynamic range (so you can do all that manipulation later), and maximum dynamic range lives right at base ISO. For my camera, that is ISO 64. Works with macro, not with wide so much.
Second: put the strobes where they need to be. Lots of info out there about all that. Learn from your experience. If you shoot at ISO 400 and keep blowing highlights, either lower your ISO or back off your strobes or strobe power.
Third: compose better. By that I mean that once you've learned the limits of how much you can play with your files in post, you'll be realizing that you can't just stick a strobe too close to a reflective subject. Which means you need to recognize a hotspot before you shoot it, and avoid them. If you now realize putting a strobe where you thought it should go will cause a problem, you'll be more likely to re-visualize the scene with the strobe placed elsewhere. In other words, post-processing taught you something about composition.
A bit on composition. Until you are more sure of your composition, you'll probably shoot a subject from various positions and distances. Here's my simple key to figuring out composition. Rate your images. Make a quick pass through your shots without cropping and without extensive post processing. I like a rating system that only shows you unrated images at first, dropping them from the display as you add ratings. Do a quick pass, then wait a day. Go back after you've left things for a bit and observe your ratings. Which ones do you like more, in general? For me, that's often - "I like the closer ones best'. That will teach you to start shooting closer, or just skip the shots you now know are too far away. Rating your images, then trying to understand what makes a shot a 3-star versus a 2-star can teach you things. If you find a close image has a defect, go back to a more distant one and crop it. Don't worry about pixels, worry if the result looks good in a thumbnail. You can later get closer or perhaps get a camera with more pixels. Cropping is not a sin.
Here are a few examples of before-and-after post-processing I threw together one year after some exclaimed how my camera took so much better shots than their camera. Mostly just crops and white balancing. I had other examples up on my Facebook page before I burned it down. https://www.cjcphoto.net/beforeafter/index.html
OK, in summary, don't put strobes too close to reflective subjects, and use the highlights slider to tame highlights. Shoot at as low an ISO as you can for your lighting.