Everything posted by Klaus
-
Hi Sacha, I recently sourced a used fisheye-dome for my epl-5 setup in an Olympus housing. AFAIK these were made by AOI and the ports are identical. If you can find a used AOI or Zen or Athena dome for a good price, I recommend getting that plus a used Lumix 8mm fisheye for wide-angle shots. You can also start off with the manual Samyang/Rokinon/Walimex 7.5 mm fisheye; it’s a compromise but I got mine for 60 € second hand. I have now taken my dome (Athena) on a trip and this is very compact and light-weight. I have an Inon UWL-100 wetlens as well (without the class dome) but this will likely stay at home next time as it’s feels heavier than the dome+lens I have.
-
A very entertaining thread indeed. Maybe there should be a fishing vest in the waterpixels store? The logo should be on the INside then …
-
My gut feeling is that one big driver behind the computational development was / is to make pics possible WITHOUT all the big and dedicated lenses and so on. To some extent the goal is replacing optics with software as much as possible. Taking this technology into mirrorless cameras is maybe counter-intuitive for these companies? And why bother, given the market size…
-
So Chip… now you have to finish the wine bottle every time?
-
Wow, Ben, this is all so thought- and beautiful… did you use chatGPT for this? Just kidding, but that’s what my kids would have done. I use my phone for messaging, occasionally to pay for parking. But I HATE taking pictures with it. Just doesn’t get me in the mood. However, some kid waving around his IPhone will likely make at least as good a shot than me with a real cam. Maybe smartphones will become the entry-drug into uw imaging, then eventually be replaced by a real camera in the hands? Alas, cameras are almost never made specifically for uw use, they are usually adapted. So, once they’re gone above, they’ll be gone beneath the waves soon after. But for the moment, we can still discuss and vividly disagree about (dis)advantages of some really heavy screw-on optical addition to our gear collection. And worry about the money it costs and WAF required. It doesn’t get any better, no? 😉
-
The iPhone sales numbers are almost scary, but Apple does not only develop the camera of that device - it is also a quite powerful computer with everything that goes along with this, in particular software development I suppose. Still, this is a huge advance in numbers over interchangeable lens cameras. I would not have expected this to be so large. I wonder if all the software-magic for the image processing can one day be applied to (raw) images taken with other cameras afterwards? In essence will Apple transfer this all to a photoshop equivalent? Perhaps they already did and I just don’t know about it…
-
Really nice video, thanks!
-
Did you need to polish the dome after this?
-
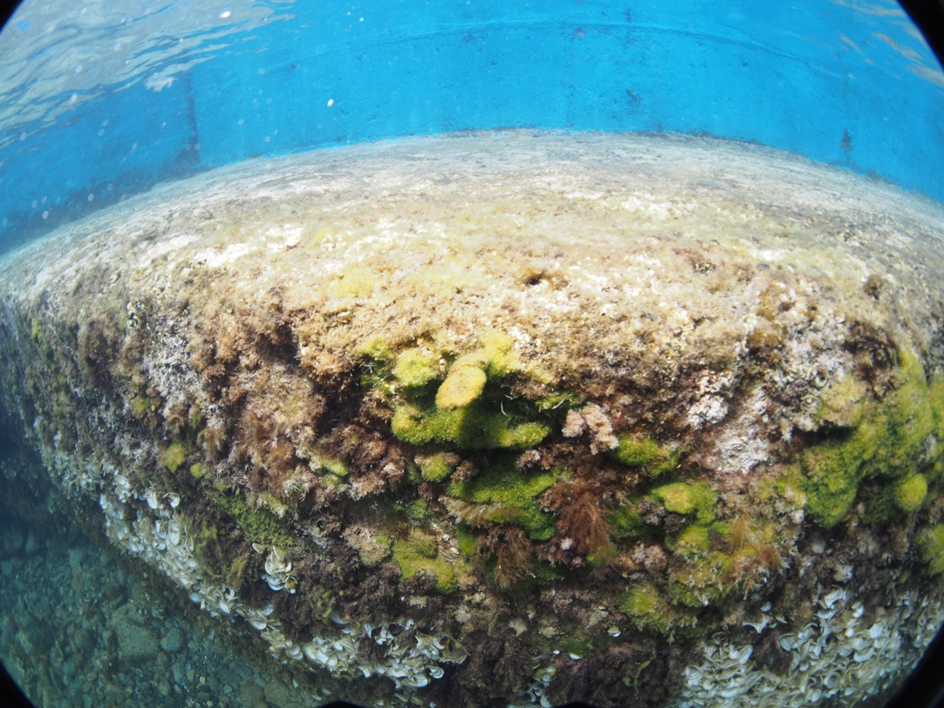
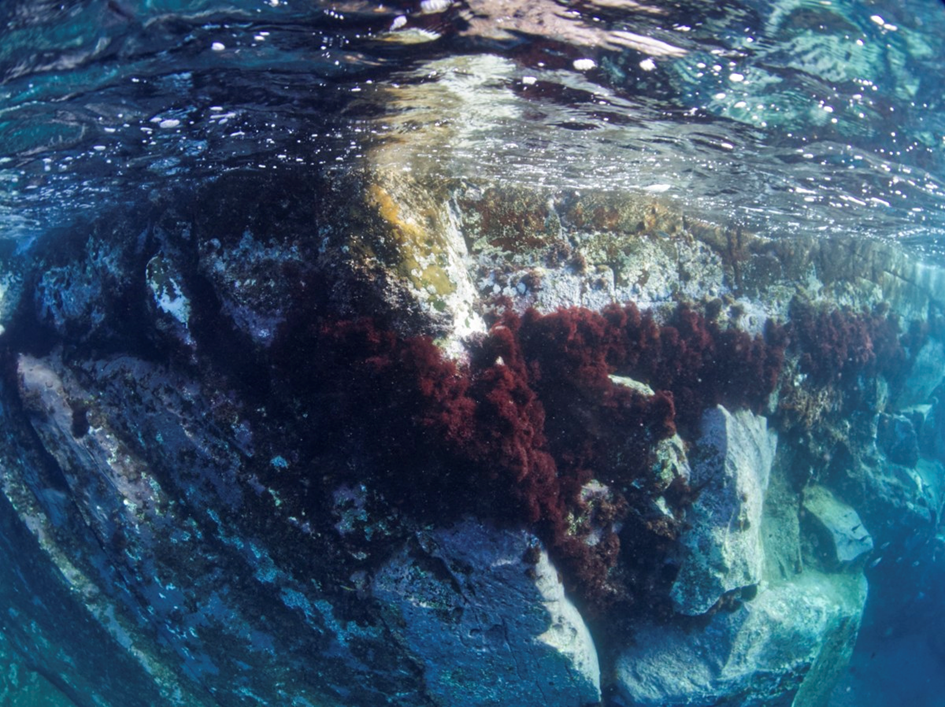
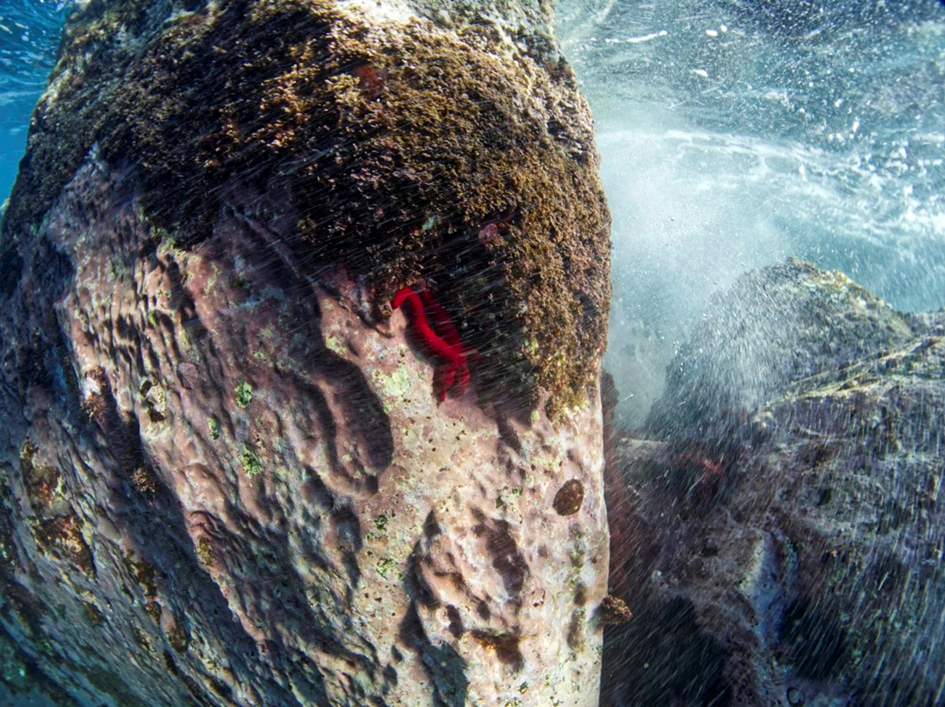
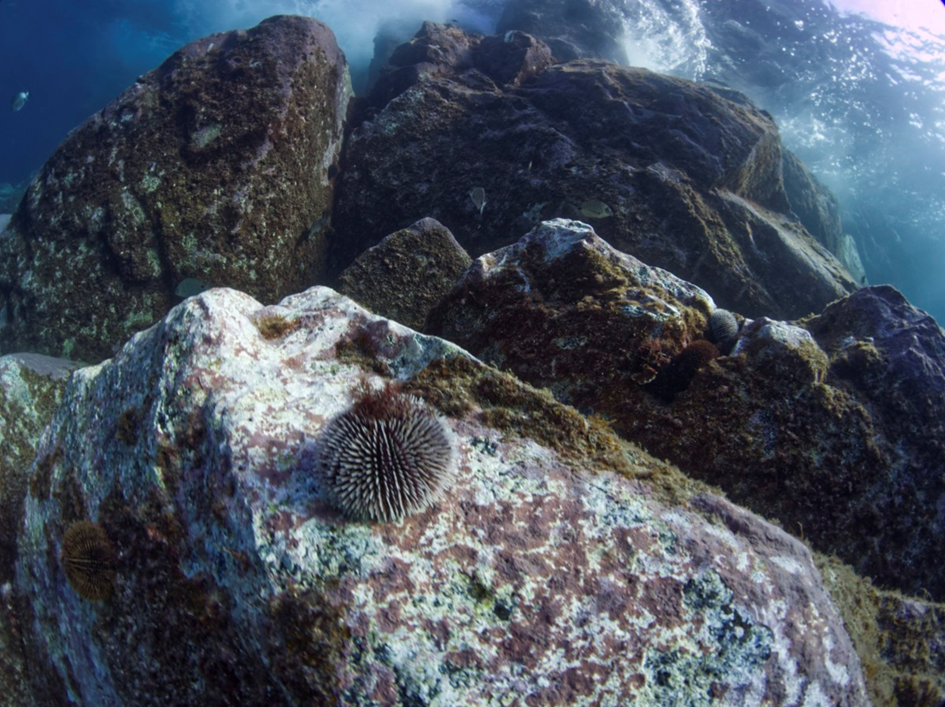
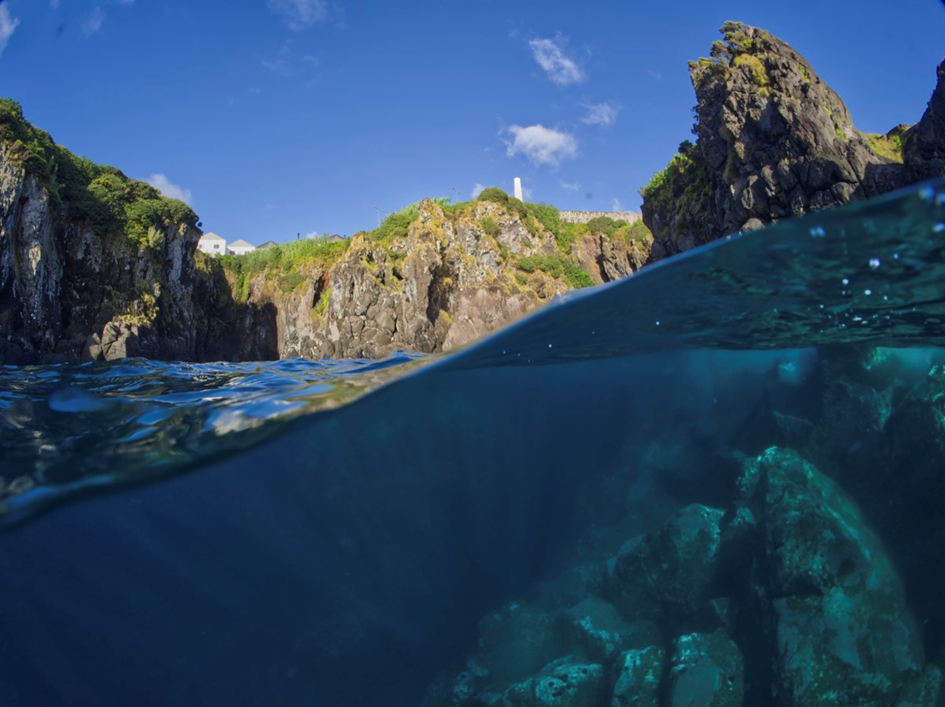
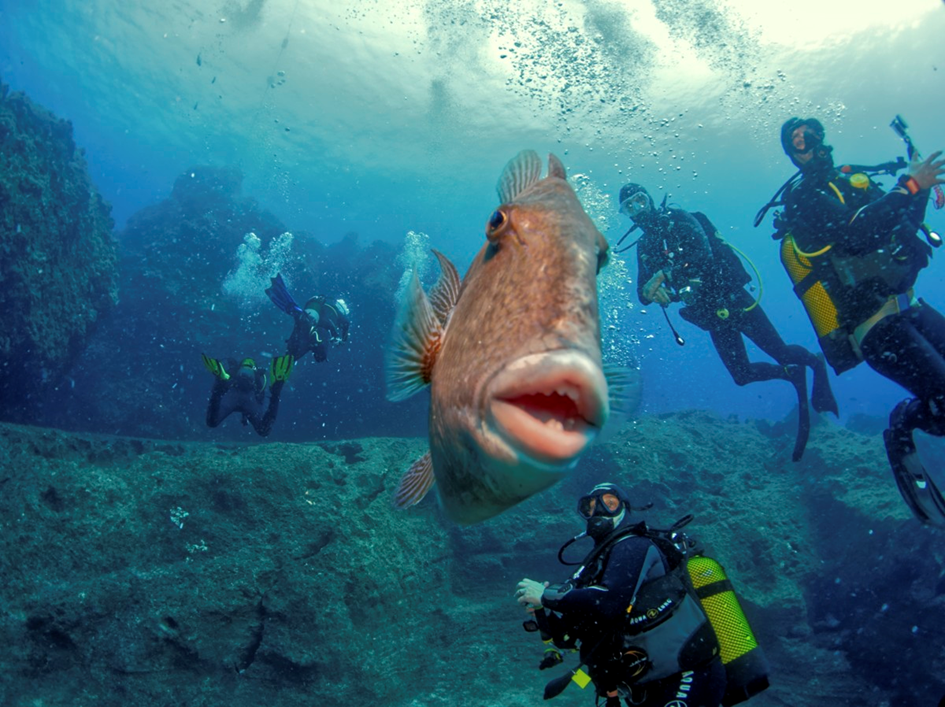
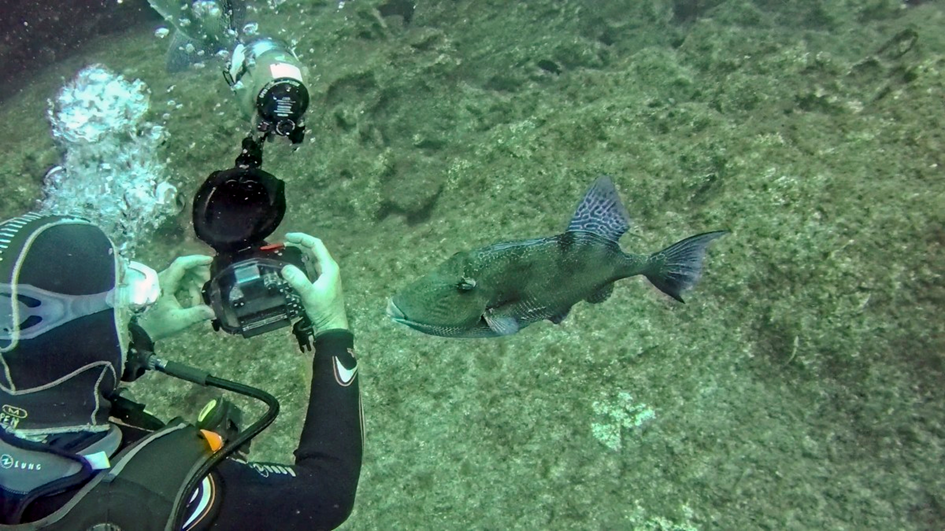
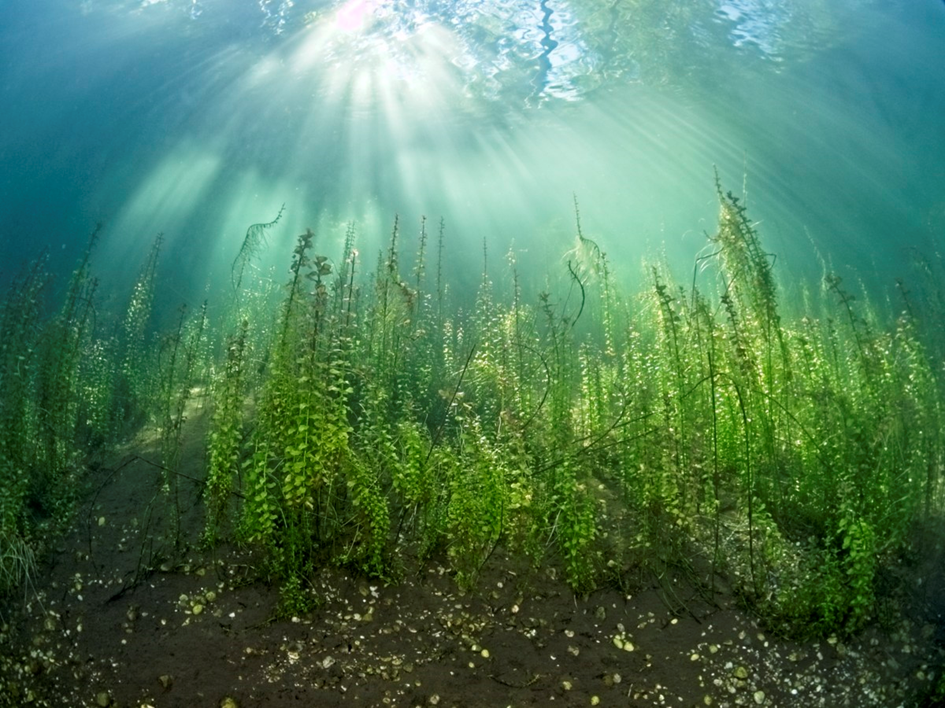
1) So how does it work under water with an MF lens? I think reasonably well. The biggest limitation is probably that the aperture cannot be changed during the dive. I have not taken it out for a lot of dives yet and will start with a picture from a „natural pool“. No tiles for meauring distortion, but a straight out-of-camera jpg, uncropped, with the front oft hat step quite close to the dome. Here I also used a single YS-27DX strobe (with diffusor) for extra light. null The following shot was taken freedivig with the rig (no strobe). The rock wall was reasonably parallel to the sensor plane: null I have no comparison to the Lumix or Olympus 8mm fisheyes, but to me this seems to limited more by visibility than the lens not „getting along“ with the dome. null Getting closer, the rock wall is imaged with at least decent quality. Newer bodies may give better rendering, crystal-clear water probably would have helped as well. But the viz not certainly not bad here. null This is an example of a (moderately) close focus wide angle shot. It is possible to get sharp images from about 15-20 cm to infinity. null And here is a split shot – certainly the waterline is not flat, but in this particular shot one could consider it a feature rather than a bug. It is possible to get the waterline crisp in focus, but then the topside background (Flores Island, Azores) becomes slightly blurred (aperture set at the click between f8 and f11). So, what about AF vs. MF? It’s still early, but I think I can get by with only two focus setting – my „home“ one (20 cm – infinity) and a „close focus“ one with ¾ of a turn on the zoom dial (I placed another mark there). This will then have everything in focus from about 5 cm away from the dome to about 1,5 m. Switching is possible but not fast – cleary, AF is better. I might in the future get a lumix 8mm lens, but maybe more for setting the aperture than the focus. That said, here’s a picture where MF is clearly too slow: null (1x YS-27DX strobe) Focus is perfect on the eyes … of the diver below the triggerfish (Mrs. K.). I am not sure the AF on my E-PL5 would have mastered this one either, though. The triggerfish was attacking the dome glass. IQ is good enough to identify the dive computer model on my wife’s wrist. Remember those? Here is the „making of“ that particular shot, just before the „Ouch!“: null The rig is quite compact, in particular in combination with the YS-27DX strobe. This, btw, is comparable in intensity and recycle time to the YS110a, but a bit more compact. The coverage of both (with difusers) is also comparable but that is based gut-feeling rather than testing. Finally, a shot from our local quarry (Echinger Weiher). The Samyang/Rokinon lens has received very favorable comments about its resistance to flares in top-side tests. I am not sure if this shot would be prone to flares with the Lumix fisheye, but it definitely was not a problem with my copy of the Rokinon lens. null (1x YS-27DX [left] and 1x YS-110a [right] for the foreground) Conclusion: Taking pictures with a fisheye is a lot of fun and not comparable in any was to what I have been using before (14-42 kit zoom with Inon UWL-H100 w/o dome, i.e. ~100° field of view). This was definitely worth the rather moderate investment. So far, the MF has not been a big issue – fish-eye lenses are very forgiving on that. That said, fast moving fish swimming up to the dome are not ideal. I may invest another ~300 € on a used Lumix 8mm fish-eye in the future, but dialing in a different aperture and getting the live view with the OPEN aperture are probably more important reasons for the upgrade than the AF.
-
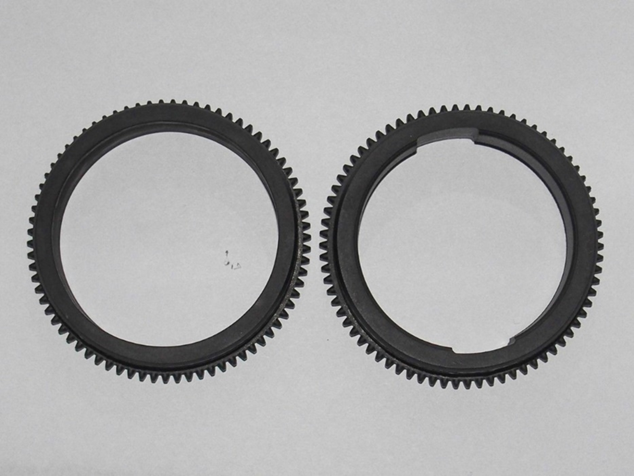
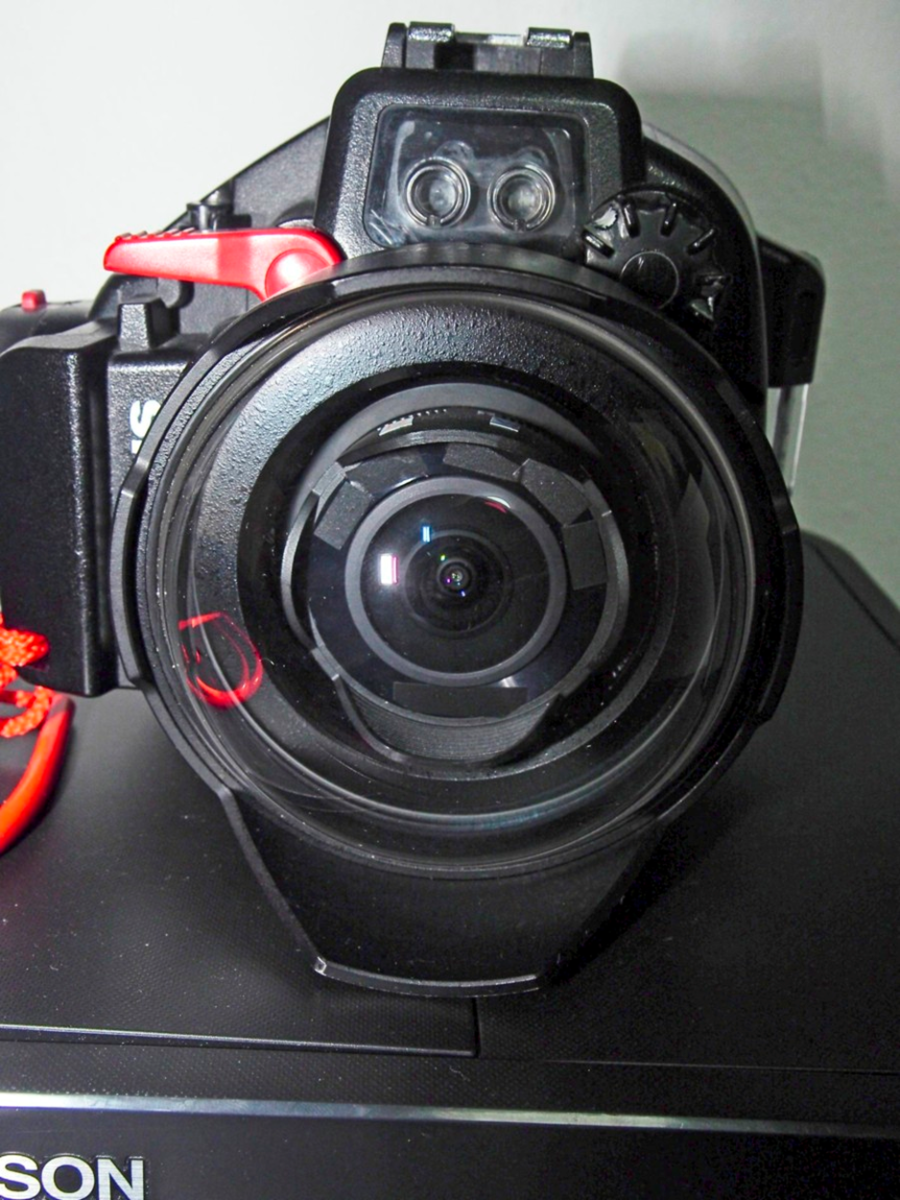
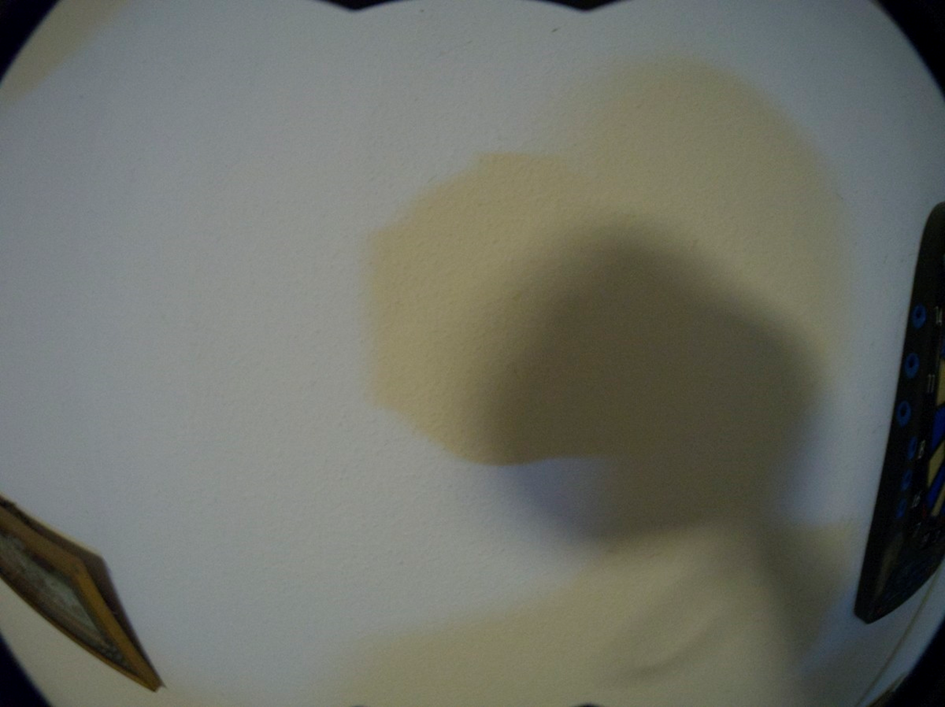
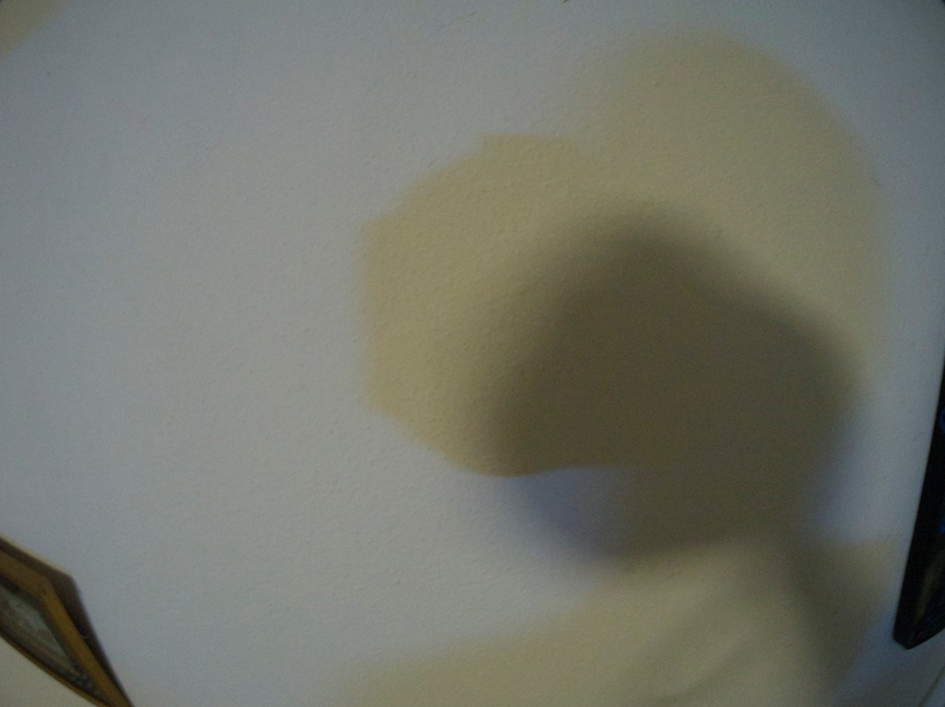
1) Setting up the lens I could acquire the Athena fisheye dome port, desigend for the Lumix 8mm fisheye, in the classifieds locally. This port has a enough distance to the port hole on my housing (PT-EP05L) that it does not require any modification to the silly target light button. The other available fisheye ports for the Pen-housings (Zen and AOI) come a bit closer. There’s nothing specific about attaching the Samyang/Rokinon lens to the body, I am describing what I did to use MF in the housing (PT-EP05L) via the zoom dial. I acquired a Olympus zoom gear (seoncd hand) for the 14-42 mm kit-lens. A friend helped to machine this out and widen it such that it can be slipped onto the lens from the mount side. A small step machined in the rubber prevents the aperture-ring from turning at the same time as focus, but when I pinch the rubber at the gear level, I can change the aperture. This piece is not easy to modify without a machine shop (and even with), 3D-printing this part is likely another option. The lens is also usable with fix-focus setting and no focus control at all (see below). null (left side: widened piece, right side normal Olympus zoom gear) For setting the aperture, I painted a small white dot on side of the aperture ring, this can be seen from the mount together with the original red marking and the F-stop can thus be verified. My copy of the lens has its „sweet spot“ at f8 – f11, which is quite useful under water I think. The F-stop needs to be set before the lens is attached to the body and cannot be changed during the dive. null (towards the top – here, the white dot ist just a bit off to the right side from the red dot, this corresponds to the intermediate click between f8 and f11.) For the focus, I start with a „fix-focus“ setting that will result in a depth of field from about 20 cm (from the dome) to infinity with the aperture setting shown. That corresponds to this distance setting on my copy of the lens: null I placed some marks on the lens barrel to get this dialed in quickly. With the camera set up like this, I place it in the housing. I painted a white mark on the zoom ring, which I turn straight up before placing the camera inside. That way I can quickly return to my „home“ setting during the dive. nullnull In addition, the marks placed on the lens barrel can also be seen through the port just in case. I covered the white labels on the front of the lens with electrical tape to prevent reflections. null So how does this all work now? First a dry image: null (uncropped frame) There is a small amount of vignetting in my „home“ position. This lens is not perfectly centered; I am using an E-PL5 in the housing designed for the E-PL3 (very minor modifications necessary), but the centering is not better when I use an E-PL3 body (PM me if you want to see that). Once cropped, the image ends up at about 14 Mpix rather than 16 Mpix, the field of view is corresondingly reduced. By far the worst consequence, however, is that I cannot discuss corner sharpness in this forum ☹ !!! One way of dealing with the vignetting is to pretend shooting in full frame i.e. setting the camera to 3:2 ratio. The vignetting is almost completely gone then (will only affect the jpg, raw stays full sensor). When the lens is focused even closer, the front element moves out and this also reduces vignetting in close focus wide angle images. All things considered, vignetting is not a big problem and the other Pen fisheye domes (Zen, AOI) should have less vignetting. nullnull (vignetting cropped in 4:3 ratio) OK, so how much did it cost me? All prices second hand, including shipping. Athena dome: 130 € (really good deal I think, looks like new) Rokinon lens: 70 € Zoom gear: 23 € + 2 beers for widening it up In sum 225 € (not counting the housing and camera, these can be sourced for about the same price together) As you can tell, I don't know how to insert the images at their right place, but I hope it's useful as is.
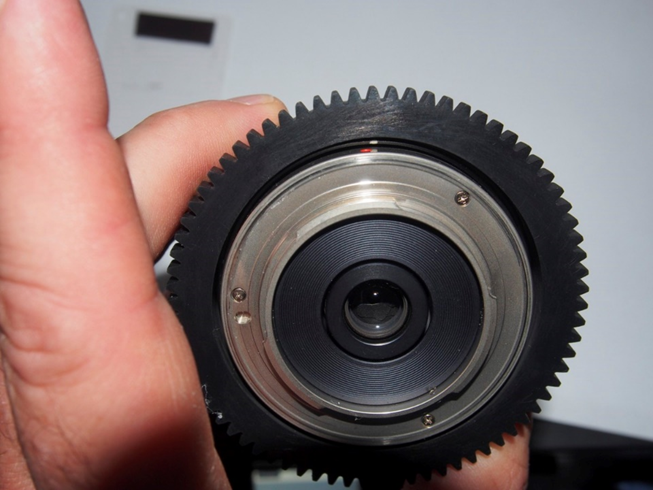
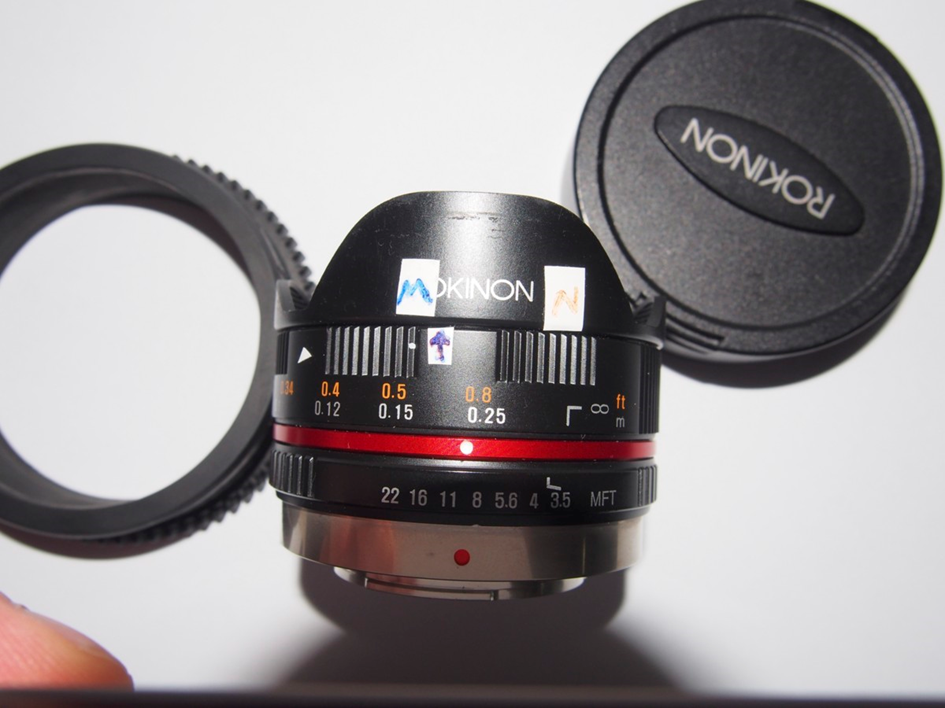
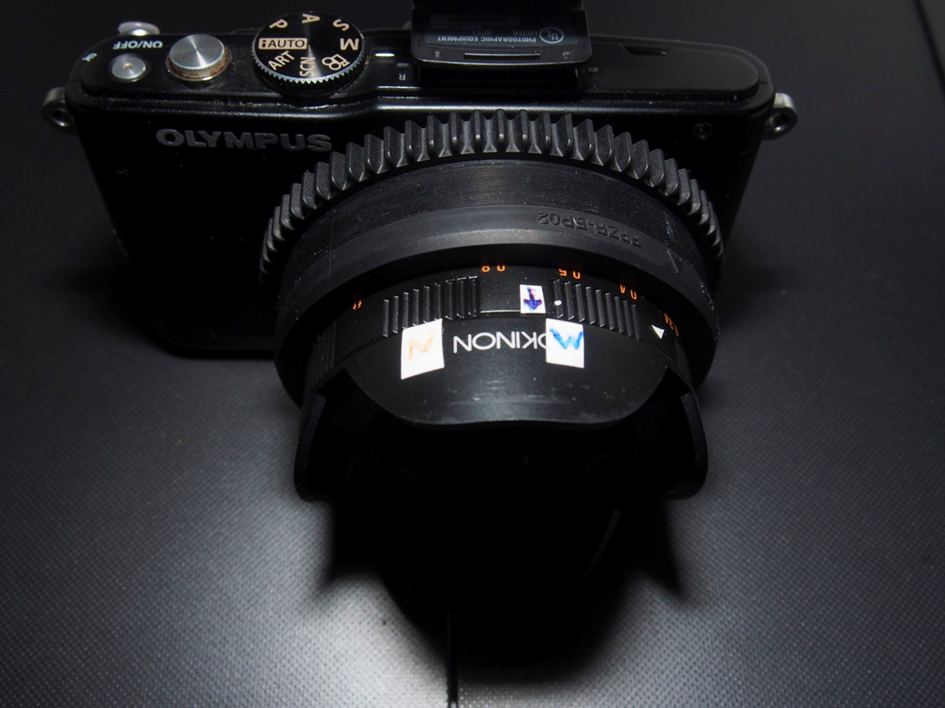
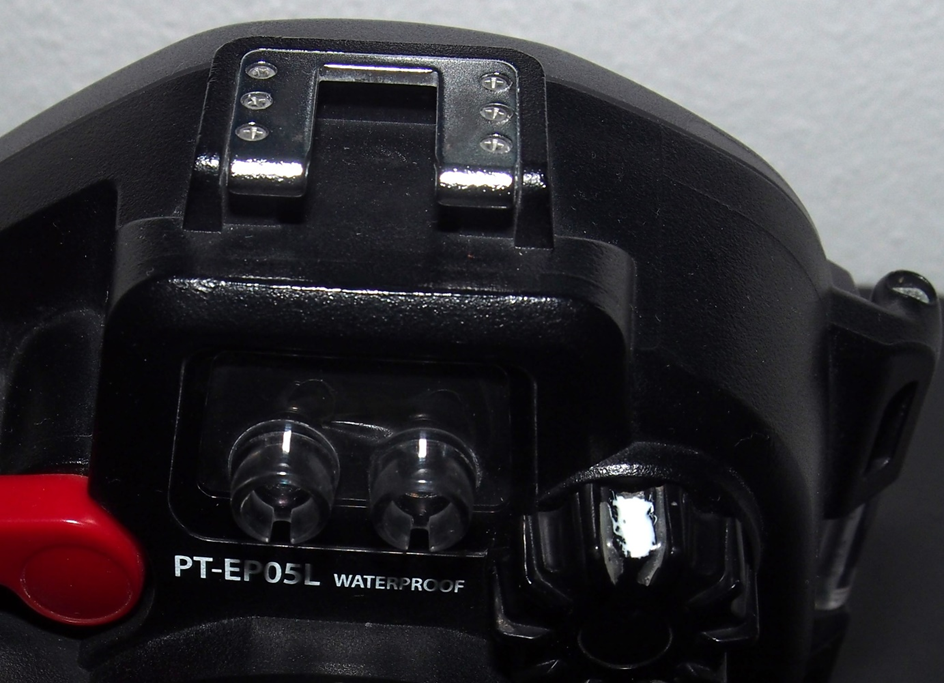
-
I want to share information and images on using a MF fisheye lens for the M43 system through this post. This concerns the Samyang / Rokinon / Bower 7.5 mm f 3.5 lens – it is sold under these three brand names (at least) but as far as I know all of them are identical; mine happens to be a Rokinon. It is very slightly shorter than the Lumix 8mm fisheye and can focus close (9 cm from the sensor plane). While that should make it suitable behind a small dome, I could not find any details on its use under water on the internet. When I had a chance to source a fish-eye dome (Athena ~ 10 cm) for a good price, I decided to simply give it a try. I am using it in combination with the Olympus E-PL5 – certainly not a new camera, but the raw images might live up to the ones from the more recent E-PL10; both have a 16 Mpix sensor, though probably not the identical one. I did the „half-filled box“ already in a previous post on this forum when I found the Geomar-publication on this – you can look it up if you are interested; @DreiFish has meanwhile developed the approach to perfection, mine was very simple. The conclusion was that the dome should be a bit further out, but that is not desirable because of vignetting. I am now posting real-life pictures so that anyone interested can judge for him/herself. I have never used the Lumix or Olympus M43 fish-eye lenses, so I cannot say anything about relative strengths. There will be two posts follwoing this one: One for the technical setup and one for the first UW images I took with the lens. Maybe this can be helpful for someone.
-
Thanks a lot for such a systematic test! I can only imagine how much time you spent with that box… I especially like the rectilinear vs. de-fished comparison, I always thought this de-fishing would lead to heavily degraded IQ. I guess the quality of the lens plays a big part in this. Was there anything special in how you de-fished the images or will this be similar no matter which software is used?
-
I don’t think anyone claimed « magic » here. but if you prefer, certainly this is useless - but I got the point.
-
The particles that cause my grieving are so big that they probably reflect rather than scatter (for what my blobs are concerned at least). The milk -effect may be what I would call haze in an image. This may be influenced by the pull-back as well, but I still have a long way to go before worrying about this.
-
Oh c‘mon it’s obvious - same idea as uplighting when you shoot vertical without moving the strobes. You need to turn down the power of the bottom strobe to avoid blasting bottom-up. Nothing to to with the edge of the beam, it‘s a separate thing. Backscatter comes from the particles close to the lens and as nicely described above will be affected much more by pulling back the strobe than the object further away. This does not make the backscatter disappear, but helps to make it less offensive! Sure there is no magic recipe or setting - but every little bit contributes and together they can do a lot. And of course it will depend of the situation. Will the pull-back help when shooting Macro? No, because the particles and the subject are at a similar distance from the lens. And shooting from a close distance is most beneficial anyways. Will the pull-back help for CFWA? Perhaps not for the backscatter between the lens and the subject (as in macro) but the cone of light gets wider and that may be desirable. And there are lots of particles at a similar distance than the subject above and around it, maybe these will become a bit less visible. Will the pull-back help with wide-angle at a medium distance (say 1-2 m)? I think yes, but I suppose it should complement rather than replace moving the strobes out on their arms. So at that distance, moving them out AND back may be best. Then as things get even more distant, the situation may ask for moving the strobes out as much as possible with the arms you brought, leaving no leeway for also pulling them back. But this is a situation I have never tried myself.
-
Brilliant and thanks for spelling this out in detail for once! It makes perfect sense now - and I wonder why I didn‘t get this by myself but just kept wondering about this strange advice of pulling the strobes back to avoid backscatter. It will be much easier now for me to remember this below surface! Klaus
-
Exactly, hence I think this can only work up to a certain depth where you still have some red left in the ambient light. Full spectrum strobe light throws a lot of red into the mix, hence the reflected colors pop. But only as far as the strobe reaches. As far as I understand, when you reduce the strobe’s red content (I am fairly certain that these filters diminish but do not completely remove the red) you get a more equilibrated color balance between the strobe-lit part and the background. The picture will then be blueish at first, but as long as there is some red left in the ambient light, you can push that in post processing. I think that will result in deeper, but not infinite color penetration, as well as more noise in the red channel. I suppose one would not leave this blue filter on for the entire dive?
-
Again, quoting Alex Mustard here: You will always see particles giving backscatter when you fire a strobe. But if they are further away, the spots will be small and irrelevant or easy to clean. In contrast, if you light the particles CLOSE to the port, then they make big blobs that ruin the shot. I think he called this „terminal backscatter“. I‘ve also done this topside when taking family pics during snowfall, not pretty. But I am not sure they would have let me bring out the UW rig just to move the strobe out further… And yes, arm length is also for me a compromise between convenience and efficacy. But in my limited experience every little bit helps and when you have lots of particles in the water then large landscapes are not an option anyways. Perhaps it may be wise to angle out the strobes a bit when you know that the arms should be longer than the ones you brought?
-
This is true when the filter is on the camera lens - but the backscatter one is ion the strobe. So it removes the red from the strobe light, hence you can push the red channel in the camera image without turning the foreground pink. No?
-
Sure - getting close seems to be the first thing that you read in any book on UW photography. So yes, if that is not possible (I still scare the fish much more than I‘d like to) then the image will be a compromise no matter what. I do cherish these as souvenirs, but I know that they are not ideal.
-
I unfortunately don‘t know what you are referring to with „ambient light“ filter, but it certainly looks nice. And shallow, too - so there is at least some red left in the ambient light coming from the sun.
-
I am certainly dry good at producing backscatter - I‘ll spare you of the image proofs. Whether one calls it edge lighting or simply moving the strobes out is semantics, not physics. I really prefer the wording in Alex‘ book: reduce the illumination of the VOLUME between the lens and the subject. The light of the (two) strobes should reach the subject, but not the water in front of it. I think that is only possible when you get only the outer parts of the cone (to avoid „edge“) on the subject. And if you use two strobes, then you make two edges converge on the subject. The theory is easy, putting it to practice is difficult for a beginner like me. But when it does work, it makes a HUGE difference. At least in the quarries I dive when not traveling. Would it be possible to get back to „pleasing lighting“ and leave it with that?
-
Ahem, red or not so red - I‘ve seen many really nice pictures of fish schools in this thread. The best way to bring back color to a Rouget is to fry it in a pan, IMHO (that‘s the French name, no idea what fish that is in English). Delicious! I am intrigued by the concept of a blue filter on the flash. I assume this works by allowing you to adjust the white balance with more red overall, hence recovering more of the remaining red from ambient light in the „non strobed“ parts of the frame. If you used a warm color strobe, you would cool the rest of the frame, which gives the nice negative space blue. If you used a cooler color strobe, you could push the red further overall, hence deeper penetration of color. Thus, do I understand this right: It‘s like the red filter, just inverted logic? Then, do I also understand it right that this will work best in shallow waters (say, up to about 15 m) and that in theory you need to get the right blue filter for the depth you are shooting? Maybe we‘ll see a new line of magic filters, this time for the strobes?
-
Thanks for you efforts to spread the word that a scientific approach is key to approaching the challenges we are facing! For prevention of diabetes or lung cancer this is somehow easier, but getting public awareness for ecology at a planetary scale remains a tough nut to crack. Keep going!
-
Chip, I really, really like that manatee shot - because the manatee is crisp and the trees are blurred. That is a unique look and it immediately focused my eyes on the manatee. With the trees in focus, it would not be as strong because the manatee does not have too much contrast with its surrounding. The focused trees might have been a distraction. So, perhaps the WACAP is what made this shot so nice?