



Skip to content

Photography Gear and Technique / Archived topic

Best Salted Line Combo for a6300

Started by Rslb75 ·

  • 49Posts
  • 49Replies

Read-only discussion

Best Salted Line Combo for a6300

49 posts
  1. 6 hours ago, nuraman00 said:

    Sure, can you adjust an image so I can see?  Let me know which software you use, and how you did it.

    For White Balance, should I try the "Underwater Auto" setting?  I just tried some test shots right now inside a large room.  I didn't see a difference between regular Auto and Underwater Auto.  I realize I'm not underwater right now, I just wanted to see if I could see a difference in some test shots.


    Possible White Balance settings are:  Auto / Daylight / Shade / Cloudy / Incandescent / Fluor.: Warm White / Fluor.: Cool White / Fluor.: Day White / Fluor.: Daylight / Flash / Underwater Auto .


    Even within those settings, I can still adjust the settings manually using a 2-dimensional axis.  For example, up is more green, down is more magenta.  There's also left and right adjustments I can make.

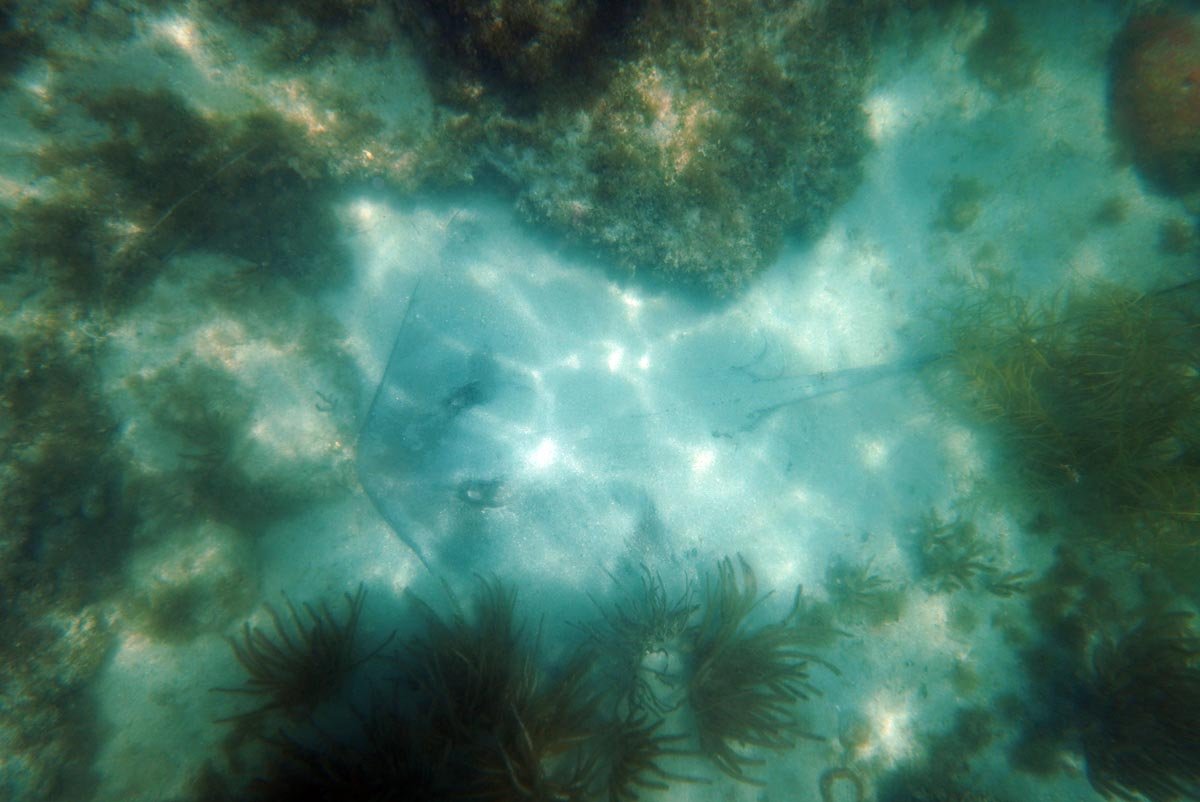
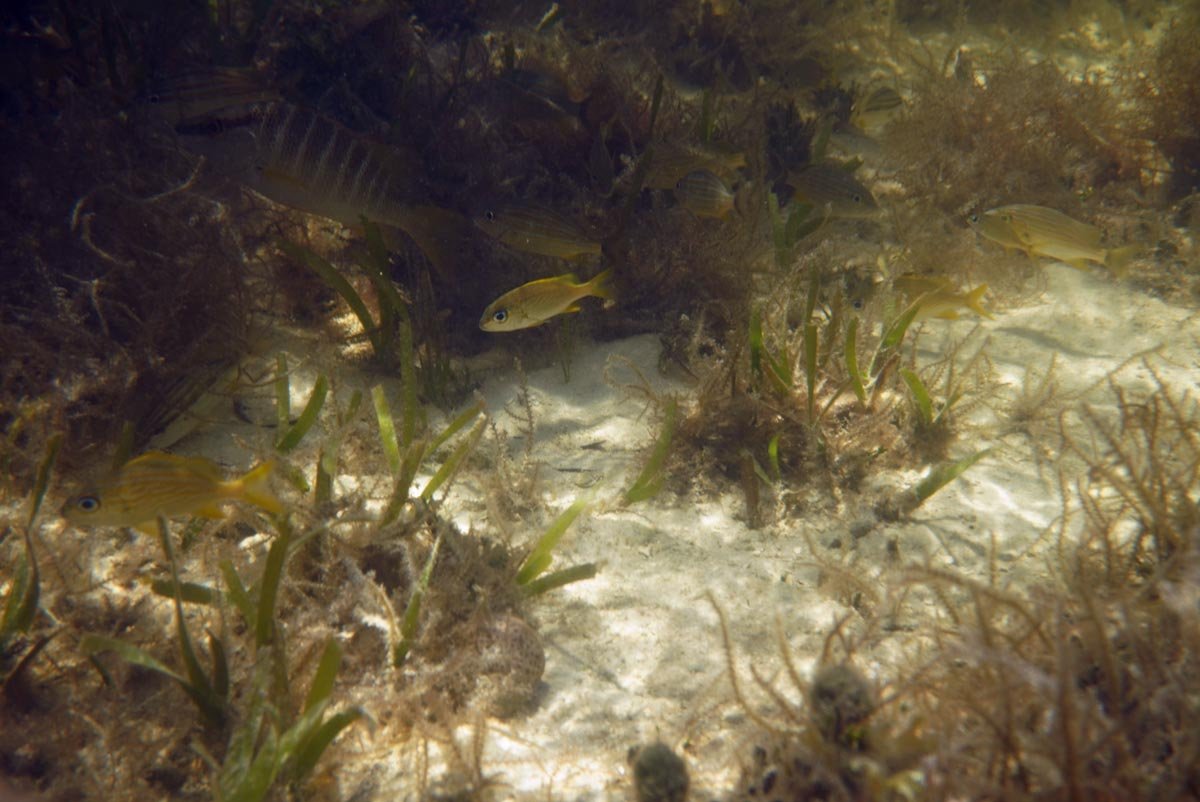
    OK, here's a couple of your images, this is just to demonstrate colour balancing with levels, the description on how to do it is in the link I provided before you just go through channel by channel and slide the markers at either end of the histogram up to meet the histogram.  It works best if the image is correctly exposed and you can make some minor adjustments to that in raw processing if needed.  For example you could boost shadows and pull back highlights in raw. Often you can see a small excess of green mainly and you can correct that with the center midtone slider.

    I did this in photoshop, but any package that includes levels can do it.  Lightroom doesn't have levels, but the free Gimp software does.  I also applied alight "s" curve to improve contrast.

    Best thing to do for UW work is do a custom white balance -  this is Sony's description, but I'm sure there's plenty of videos and other guides explaining the steps.  You do this on each dive and ideally you'll have a white slate to shoot.  https://helpguide.sony.net/ilc/1950/v1/en/contents/TP0002670804.html
    zc7uIPP---Imgur.jpg

    tV9sVt8---Imgur(1).jpg

    Edited by ChrisRoss
  2. 18 hours ago, Barmaglot said:

    I tried it and found it basically unusable with a dive mask. YMMV.

    No target market for it. If you're sinking $5k+ into a housing and ports, why would you save a couple hundred by buying an A6100 over A6400? Regardless, with a Nauticam mirrorless housing, you won't get mounting rails for an LCD magnifier - their solution is to use an add-on viewfinder, like https://www.nauticam.com/collections/viewfinders/products/nauticam-180-straight-viewfinder-for-mil-housings or https://www.nauticam.com/collections/viewfinders/products/nauticam-45-viewfinder-for-mil-housings


    Thanks.  I also got a response from Nauticam, they said they don't have one for the A6100.

    The Nauticam housings also looked too bulky for snorkeling anyways.  I think my Salted Line housing is a little bigger than desired, but once I'm in the water, it's manageable.  In comparison, when I borrowed someone's Canon G1X and their WP-DC44 underwater housing in 2021, their underwater housing was a little less bulky than my Salted Line one.

    I guess I could try the eye sensor, maybe it's easier with a snorkel mask.  I guess I'll have to try it once.

    Edited by nuraman00
  3. 13 hours ago, ChrisRoss said:

    Best thing to do for UW work is do a custom white balance -  this is Sony's description, but I'm sure there's plenty of videos and other guides explaining the steps.  You do this on each dive and ideally you'll have a white slate to shoot.  https://helpguide.sony.net/ilc/1950/v1/en/contents/TP0002670804.html
    Would I do this while in the water?

  4. 6 minutes ago, nuraman00 said:

    Would I do this while in the water?

    You have to do it in the water!  It must be done with the same light you are taking images in.

  5. 14 hours ago, ChrisRoss said:

    OK, here's a couple of your images, this is just to demonstrate colour balancing with levels, the description on how to do it is in the link I provided before you just go through channel by channel and slide the markers at either end of the histogram up to meet the histogram.  It works best if the image is correctly exposed and you can make some minor adjustments to that in raw processing if needed.  For example you could boost shadows and pull back highlights in raw. Often you can see a small excess of green mainly and you can correct that with the center midtone slider.

    I did this in photoshop, but any package that includes levels can do it.  Lightroom doesn't have levels, but the free Gimp software does.  I also applied alight "s" curve to improve contrast.

    Thanks.  I installed gimp, and took one of the same original images, the stringray one.  I white balanced it and it came out looking like your photoshop one.

  6. Rslb, I've read that you have already purchased the 10-18, but I also just wanted to share my experience with the Rokinon 12mm f/2 on a6000/6300 in case other people find it helpful. I found that the lens worked great for UWA, with a much better image quality than the 16-50 at 16mm (and wider too, of course).

    Now the lens is manual focus and manual aperture, but for UW it's not a big issue, really, just have to find the right parameters. I typically set it to f/11 and adjusted the ISO/shutter speed instead of the aperture. The focusing distance will depend on the housing and dome. On my previous Ikelite housing for a6000 and 6-inch dome, setting the focusing distance to 27cm was the sweet spot. I had great success using this lens for manta rays or wrecks.

  7. 5 hours ago, nuraman00 said:

    Thanks.  I installed gimp, and took one of the same original images, the stringray one.  I white balanced it and it came out looking like your photoshop one.

    Very good, the process takes longer to describe than to do and is mostly fairly effective.


  8. On 8/1/2022 at 12:30 AM, Barmaglot said:

    It attaches using the 67mm threads on this port: https://seafrogs.com.hk/collections/a6xxx-salted-line/products/macro-port-for-a6xxx-salted-line - I own this combination and can confirm that it's working.

    Asking about this because I want to understand it better.

    If I use the AOI/Fantasea UWL-09, which goes on the outside of the salted line housing, then what is inside the housing?  Just the camera, with no lens mounted to the camera itself?

    Does the camera still stay steady and secure inside the housing?  Because it seemed like I needed the zoom gear with the 16-50mm lens, in order for the camera to stay snug.  I mean I know the zoom gear has a function, which is to enable zooming.  But I'm just saying that in terms of getting everything to fit nicely inside the housing, the zoom gear was needed for that too.  Without the zoom gear, the camera would not have stayed in place inside the housing.

  9. 1 hour ago, nuraman00 said:

    If I use the AOI/Fantasea UWL-09, which goes on the outside of the salted line housing, then what is inside the housing?  Just the camera, with no lens mounted to the camera itself?

    No, inside the housing you use the camera with the 16-50mm lens on it. The wet lens works in conjunction with the camera lens, widening its field of view from approximately 75 degrees diagonal to 130 degrees diagonal.

Account

Navigation

Search

Search

Configure browser push notifications

Chrome (Android)
  1. Tap the lock icon next to the address bar.
  2. Tap Permissions → Notifications.
  3. Adjust your preference.
Chrome (Desktop)
  1. Click the padlock icon in the address bar.
  2. Select Site settings.
  3. Find Notifications and adjust your preference.

