Everything posted by Klaus
-
If you venture toward Olympus, you will likely end up reading some reviews written by Robin Wang. He uses the term „shutter therapy“ - I like that a lot. I own a Nikon APS-C, the D3300 bottom-feeder model. Bought it new as my re-entry into photography (shot 35 mm Film when I was young, nothing when our kids were young) and loved it - humble kit lens and the 50-200 for reach. Then, I bought the pre-owned Olympus housing + Epl system for UW. I thought I should get the Epl out on land to learn the Olympus menu system & controls. I literally haven‘t touched the Nikon since. M43 is great because the lenses are really small and very lightweight. The bodies are almost too small for my hands (also have a 1st gen OM5 now), but the lenses are really nice to lug around. I have both Olympus 14-42 kit lenses (fine) but my favorite combination top-side are the Panny 12-32 and the 35-100 (the slow one, tiny) in a pocket. UW, with the housing, strobes etc the size &weight difference to APS-C may be less pronounced - but if you also use the camera top-side I can say that the system is very attractive. Corner sharpness, contrast, fringes: Not an issue for me at all but AI can anyways straighten that out for you.
-
Dear Tim, I‘m glad to read all this from your own writing and not as an obituary. I will be pondering this for a while. It‘s an expensive hobby with equipment, travel and diving costs - I would be very, very tempted to go and grab the stuff (in particular the memory cards!). One tends to forget that the most important Megapixel is a beating heart. Glad you showed us a good example. That said, have you already thought about the new gear? Mirrorless after all?
-
Sorry to diverge but I‘d like to add an issue that I have with splits - viewfinder? I have more or less a compact setup so only the lcd on the back. It is not only too dim but also „split level“ with half of it above &below the surface.I can‘t even see where the waterline is in the real frame. Any solutions for that other than spray and pray?
-
Looks like the „gangway“ is about in the middle of the frame. In that case, a fisheye would not have distorted the lines much. The distortion is really only very visible towards the „corners“, but interpret the term generously. You can get images that look as if they were taken with a rectilinear, but your composition is limited if that is your goal.
-
I think we‘re already at that point more or less (and getting closer even to the optical limits), but then we like to crop… A new car will also only get me from A to B, but it does feel a lot better. From a buyer’s perspective: I have so far mostly bought used equipment (and really rather old) for probably 10% of the original price or less. But lower-end models, and those loose value more than the pro stuff.
-
Just add strobes and WATER to what you already have…. It‘s the water that will make your pictures better, not the rig. I spend 50 weeks per year on eBay etc. and sadly only 1-2 weeks diving. If it were the other way round, I might have won a couple of awards without changing my rig.
-
Finning definitely will. It‘s impossible to judge what the best compromise is unless one is really familiar with the local situation. I will not participate in these dives, but I understand that they may shave positive effects as well. Not a simple question!
-
Keep cool & save some money for the diving! No use having a perfect setup but staying dry for lack of funds. Have you tried boosting the TG6 images with software in post? Can save you a lot of money & leads to more time spent in the Calanques. Which is, after all, what you wanted to do - right? TG6, nice strobes, maybe a wetlens or two and then get it wet as much as you can! There will be plenty of occasions to upgrade later & keep many of the accessories.
-
I guess that there‘s a contest for everyone out there. Non-processed is not „morally superior“ to AI-sharpened - it‘s a matter of budget (mostly) and taste. But if you enter a contest, you want the judges to make sure that everyone adheres to the SAME set of rules. And in the end, it should be the most pleasing pictures that win, not the most perfectioned ones (my opinion).
-
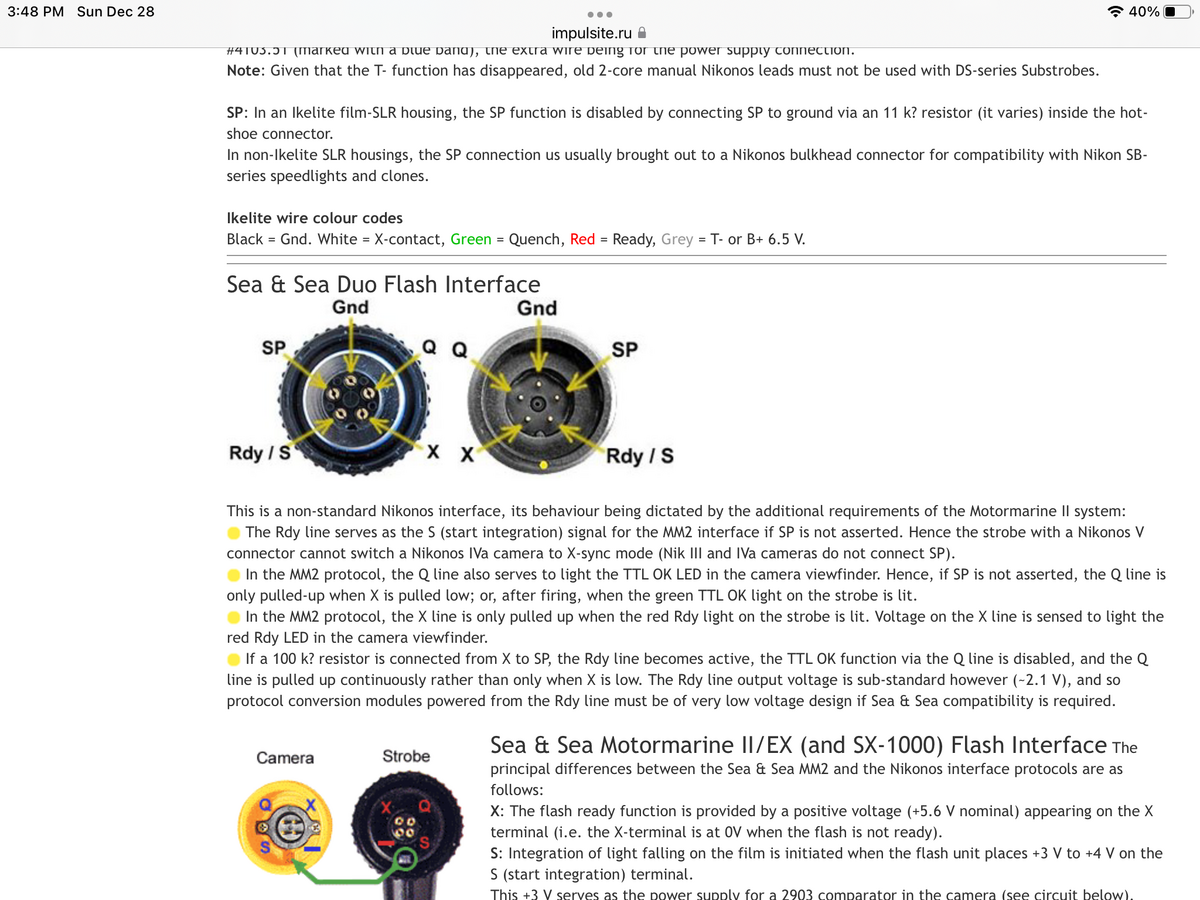
The link above also shows the connectors for other systems, but only follow it if you really need to. It‘s more to cite my source than to invite you to click it.
-
Last resort is to trigger the strobe directly on the 5-pin connector. You connect X with Gnd. I found this info on an obscure site: https://impulsite.ru/viewtopic.php?t=1245
-
I think I pointed this out on a couple of occasions already: current ai-based image processing algorithms (de-noise and sharpening) can improve the IQ substantially „offline“. I own both the 14-42 RII and the ez pancake (Oly) - both deliver results that are certainly ok and can be further improved via ai. I don‘t think that this is a limiting factor in any non-professional setting; but not everyone likes all the post-processing work. Perhaps more important is that the pancake zoom has a reputation of breaking easy, I.e. the ribbon cable wears off by all this automatic extending in and out. The RII is also collapsing, but manually And I just keep it extended pretty much all the time. The AOI PC housing for the OM10 has a port for the pancake zoom, which ist slightly shorter than the manual RII. It may be wise to search the classifieds for a good second hand copy of the pancake zoom in time, or one of the older Olympus pen housings that have a port for the RII. These should fit on the AOI housing, but won‘t match its „style“. I have different wet lenses for wide-angle and cannot comment on the AOI or WWL-1. If a fisheye is what your buddy wants, then the manual Saamyang/Rokinon/Walimex/ etc. 7.5 mm Fisheye is another option. All manual (compromise) but excellent IQ and dirt cheap second hand. Works was a drop-in replacement for the Panny 8mm.
-
Seems you struck a nerve in this community. You can declare in the first question whether you STARTED diving at 50+ or not - even if you choose „No“, you can still fill out the rest of the questionnaire (I was 48). Looks to me like they are doing a survey and compiling arguments to promote our diving hobby among those who are likely able to spare the money. It‘s true after all, our kids (well, young adults) take the greatest pleasure when diving with us because … we invite them. 😉
-
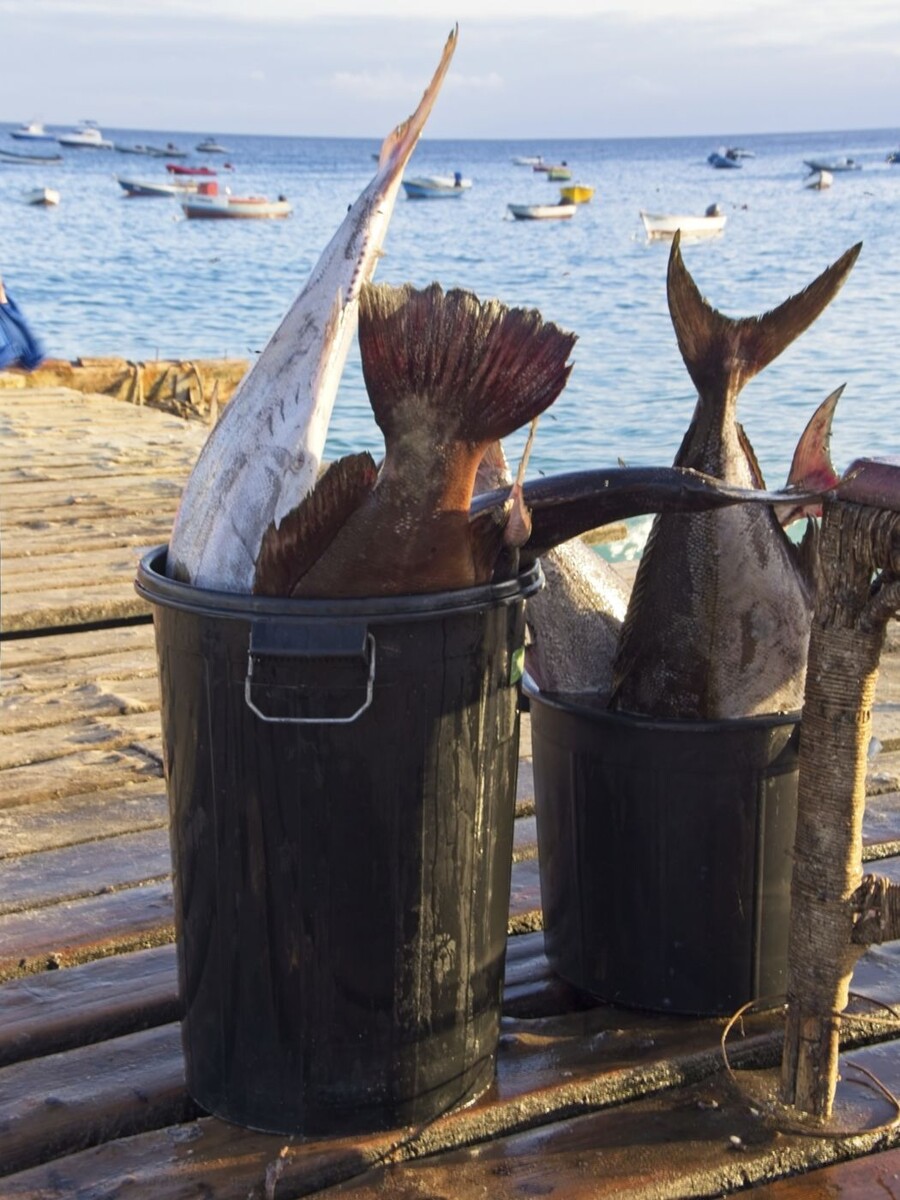
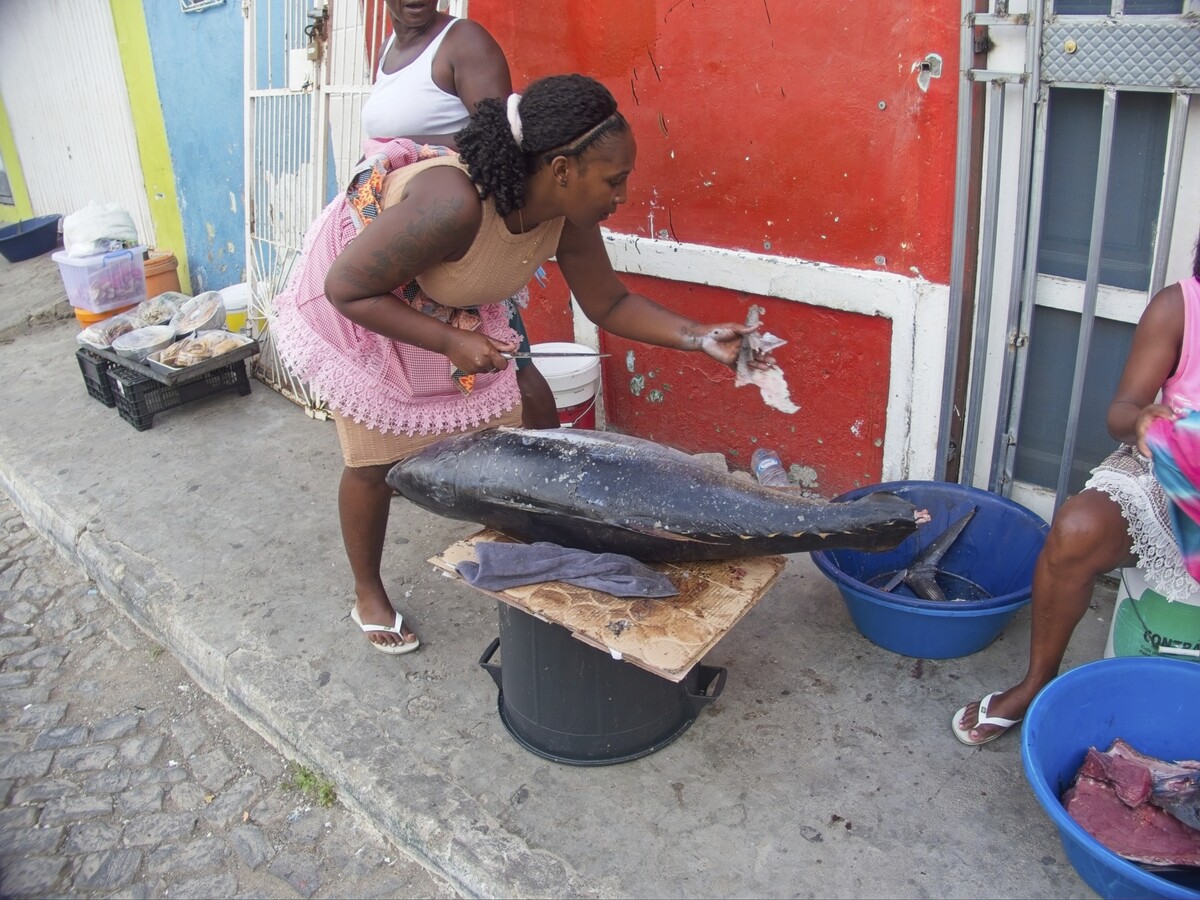
I can understand that you preference fish alive, but that is a kind of luxury that the locals can‘t afford. Fish is one of the few commodities for which Cabo Verde is self-sufficient. They don‘t have their own fleet of trawlers, „fortunately“ the EU as well as China are helping out for this. Google up the details if you are interested. I prefer the work performed by the locals and the intent of the pictures was to convey the „vibes“ you can experience in Tarrafal. I‘m sorry if this offended you.
-
I normally only look at the Waterpixels site on my computer screen, because of the nice images. But I just realized that the Triptychs are very "vertical" and indeed better to display on a smartphone screen (or a rotated IPad).
-
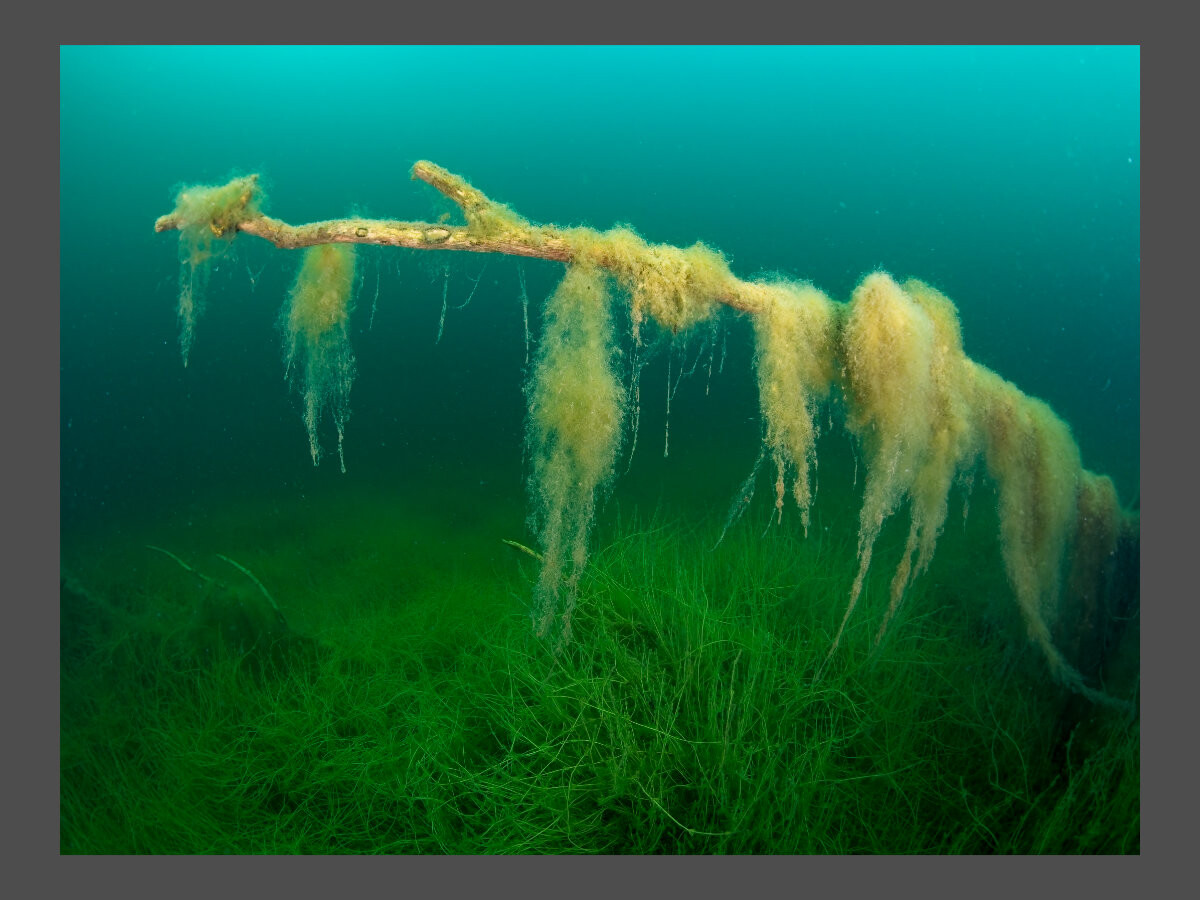
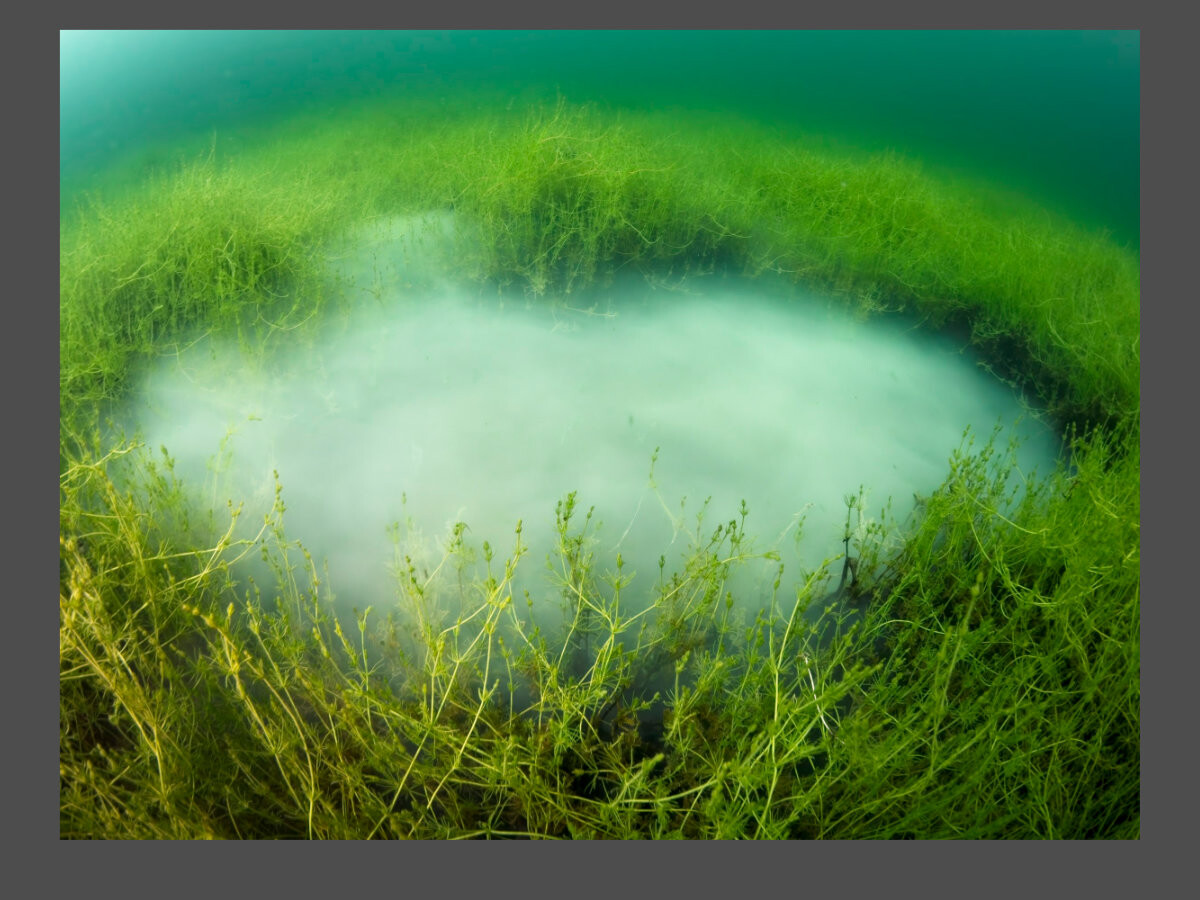
Are you also grounded home after the summer, no upcoming dives and procrastinating on your hard-drive? Here’s a project that could be fun. Do you remember the picture frames sold by a Swedish furniture store that allowed you to combine three prints into one piece of art? Let’s rummage on our computers and see what assemblies we can create on the Waterpixels site! Part of the fun is that we have to cheat around the file size limitations (if they are still enforced), i.e. we need to tile our artwork (1200 pixels long side), hence I call this the “Triptych Challenge”. I am pasting three images on directly adjacent lines and in my browser that seems to kind of work. Hint: It's easiest to do this top-down. Three horizontal images combined into a vertical Triptych probably work best, but who knows what one can achieve with the web editor. As for the selection – no restrictions. Tell a story, combine different colors, go from tiny to reefscape or just blend your favorites. Let’s see what you have on your drives! Here's one to start it off: And maybe another one for creative incentive: All right, take it away!
-
 EPL5 with 14-42 kit lens and Inon UWL-H100 wetlens
 -
 EPL5 with Rokinon 7.5 mm MF fisheye behind an Athena glass dome for Pen housings
 -
 ELP5 with 14-42 kit lens an +5 diopter
 -
 EPL5 with 14-42 kit lens and Inon UWL-H100 wetlens
 -
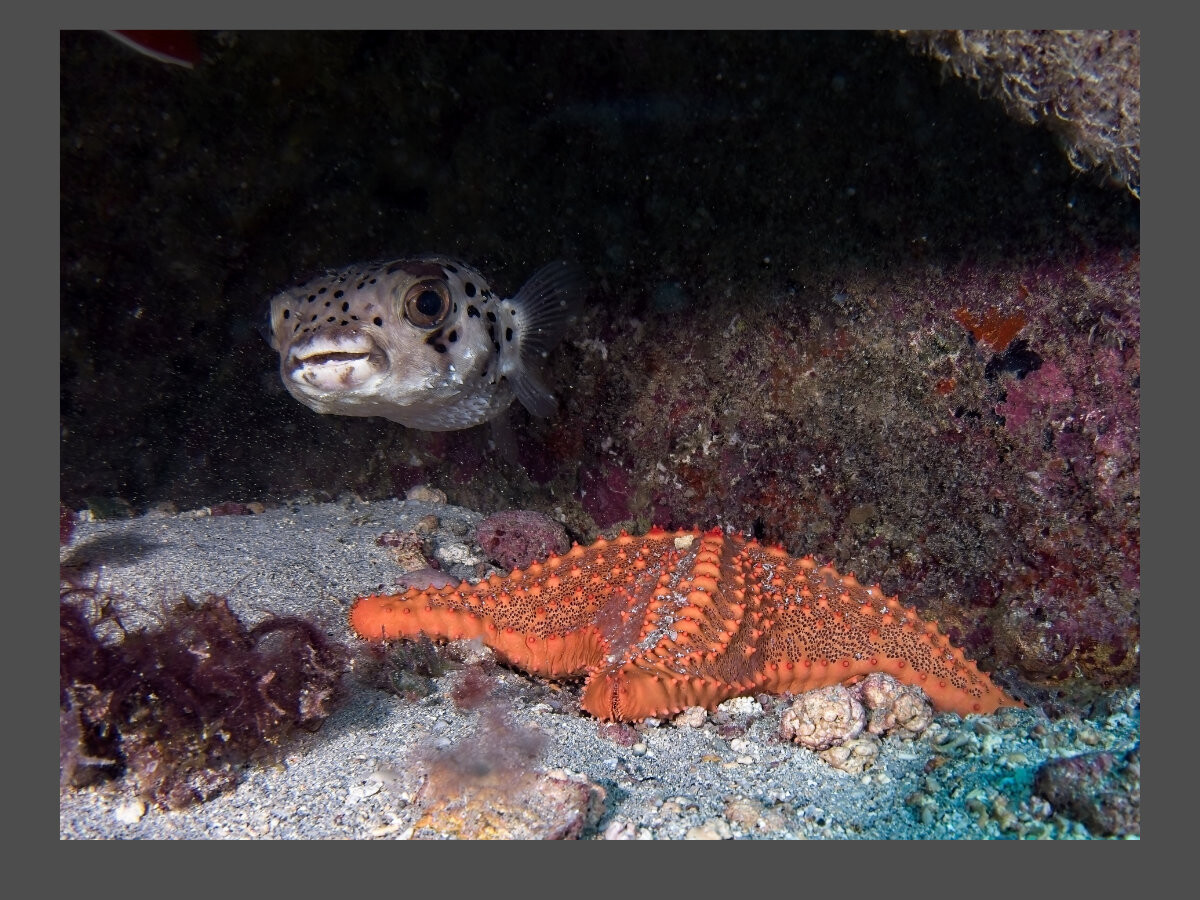
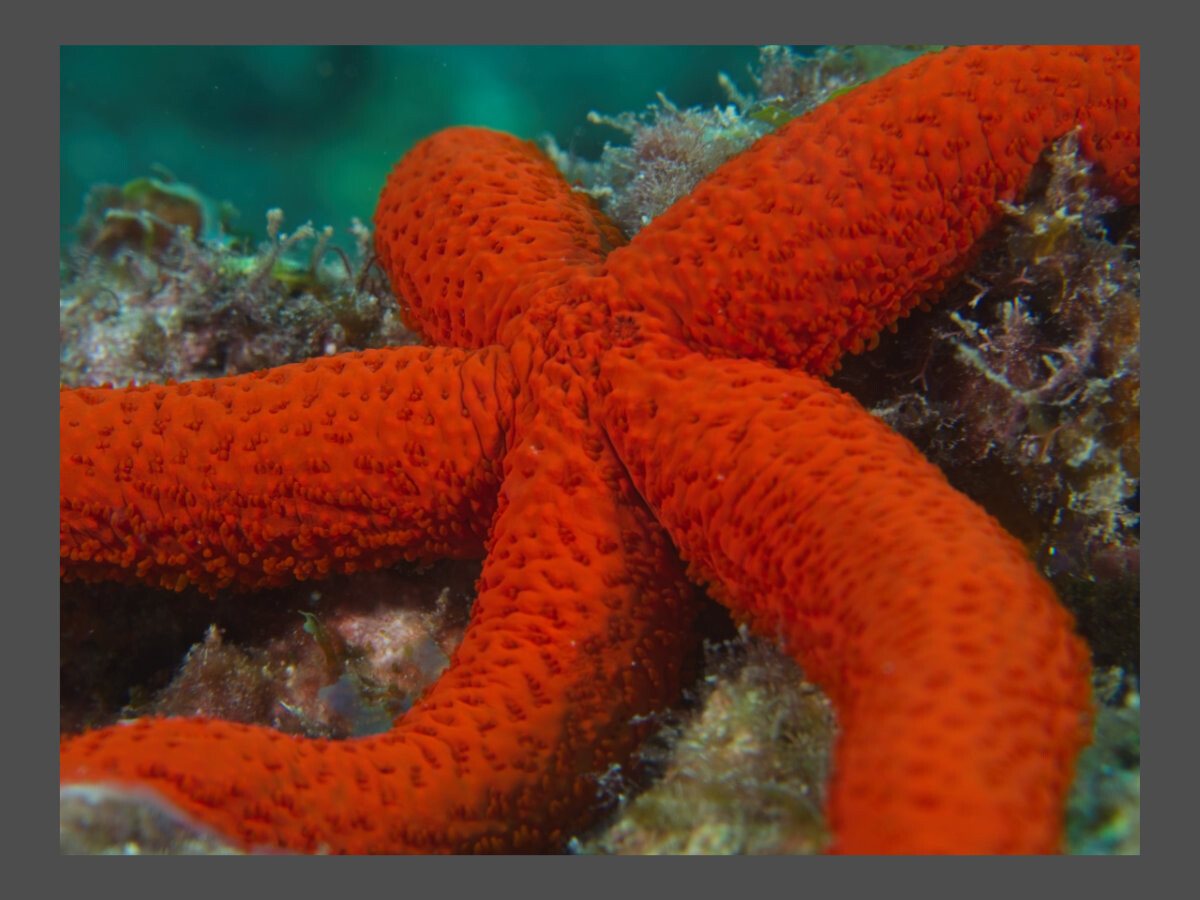
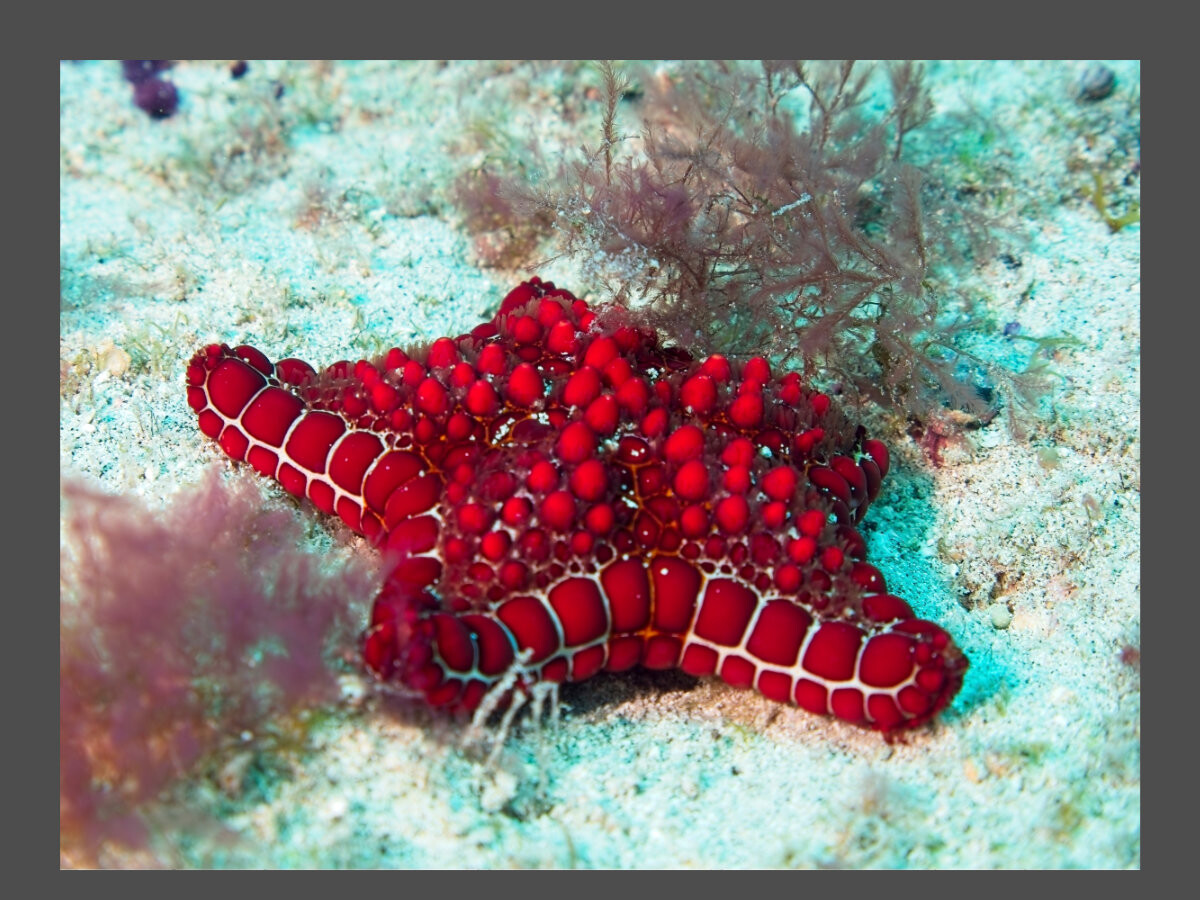
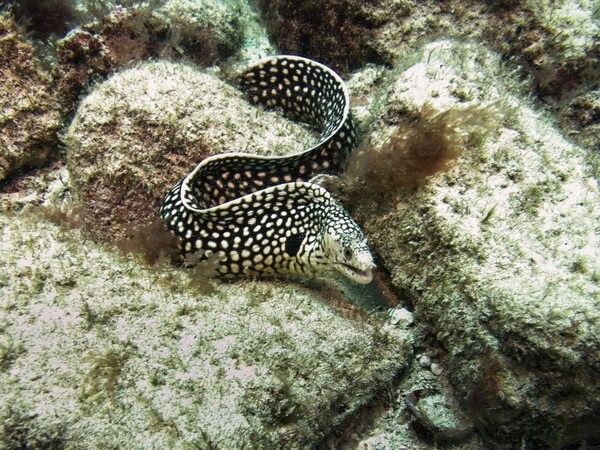
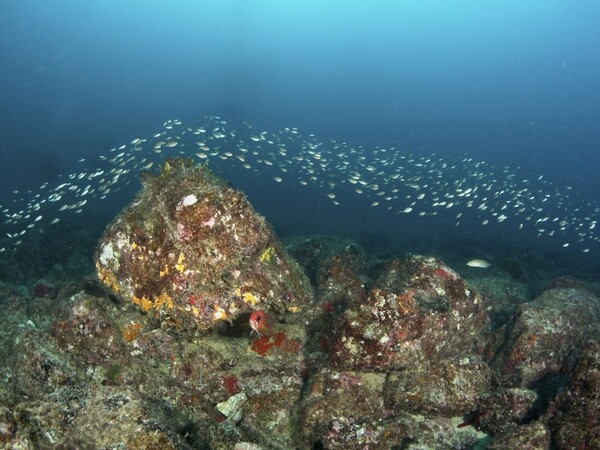
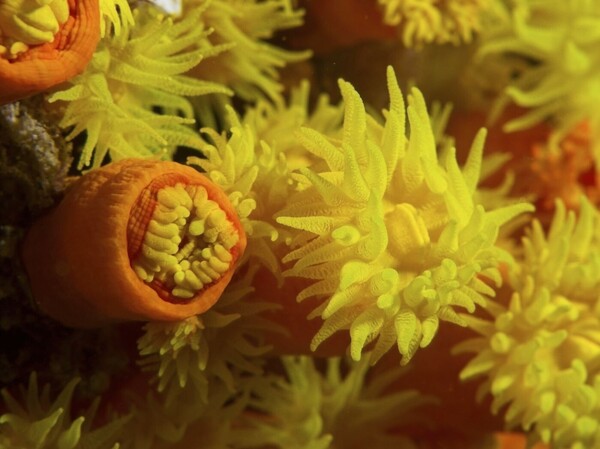
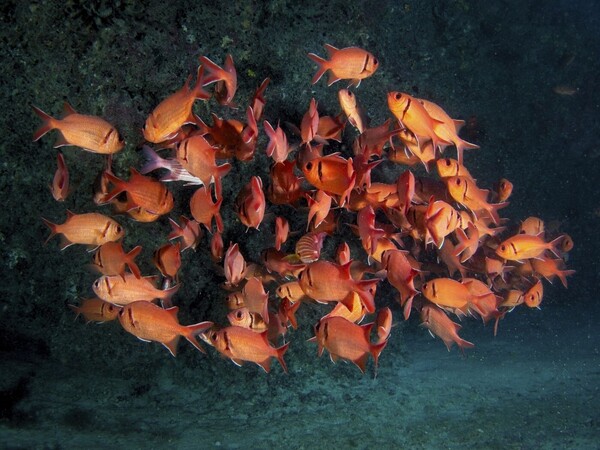
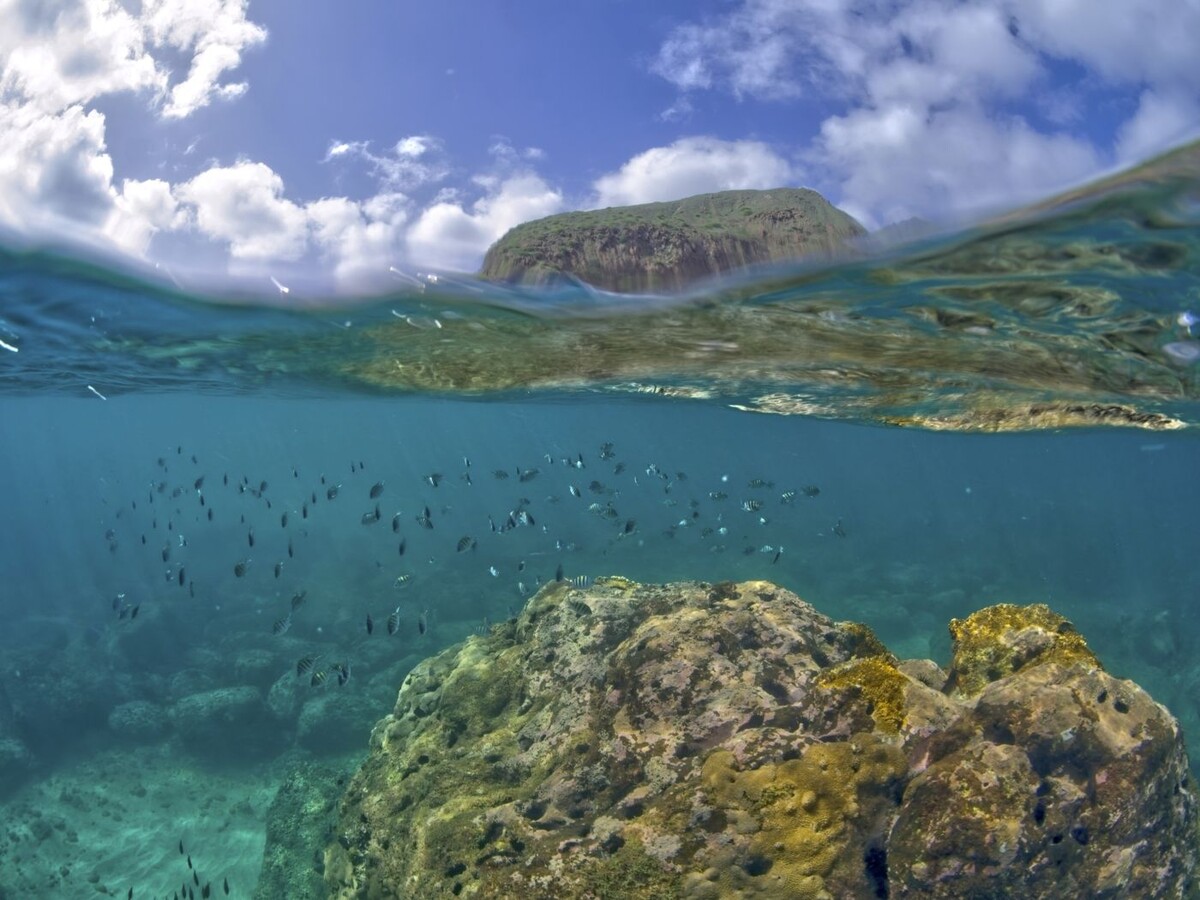
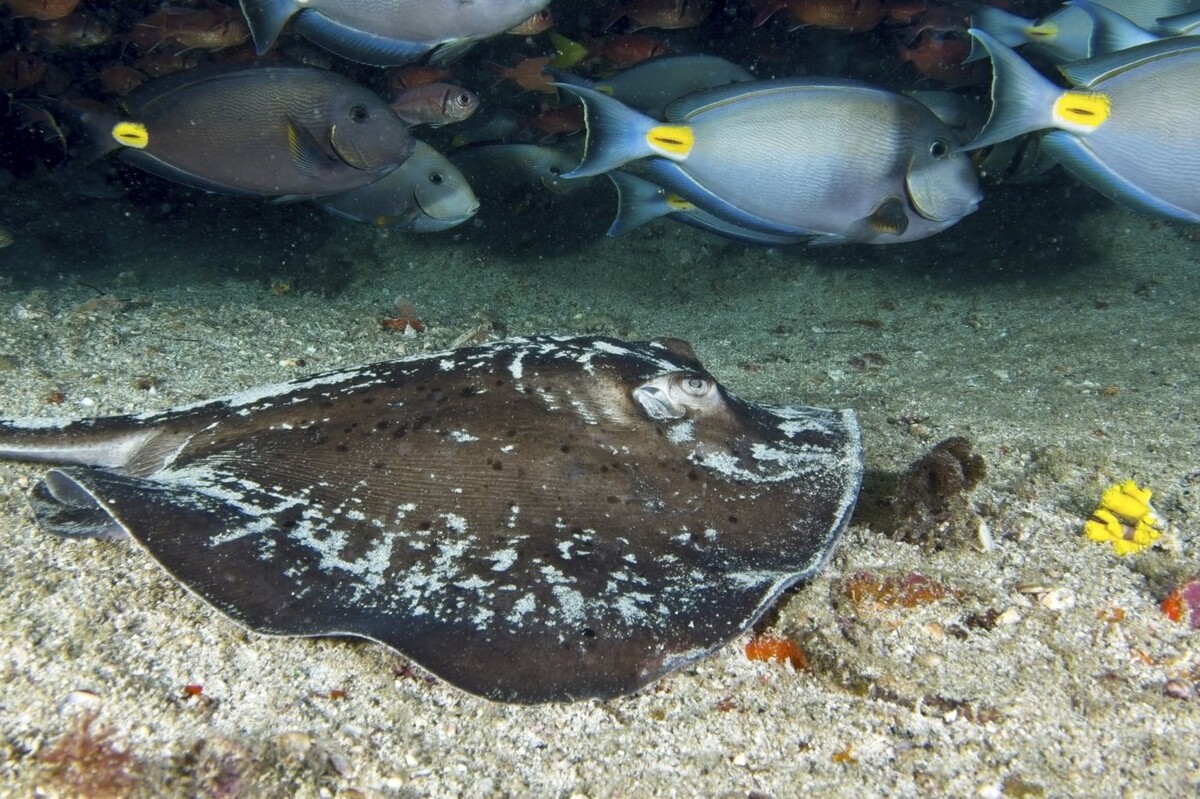
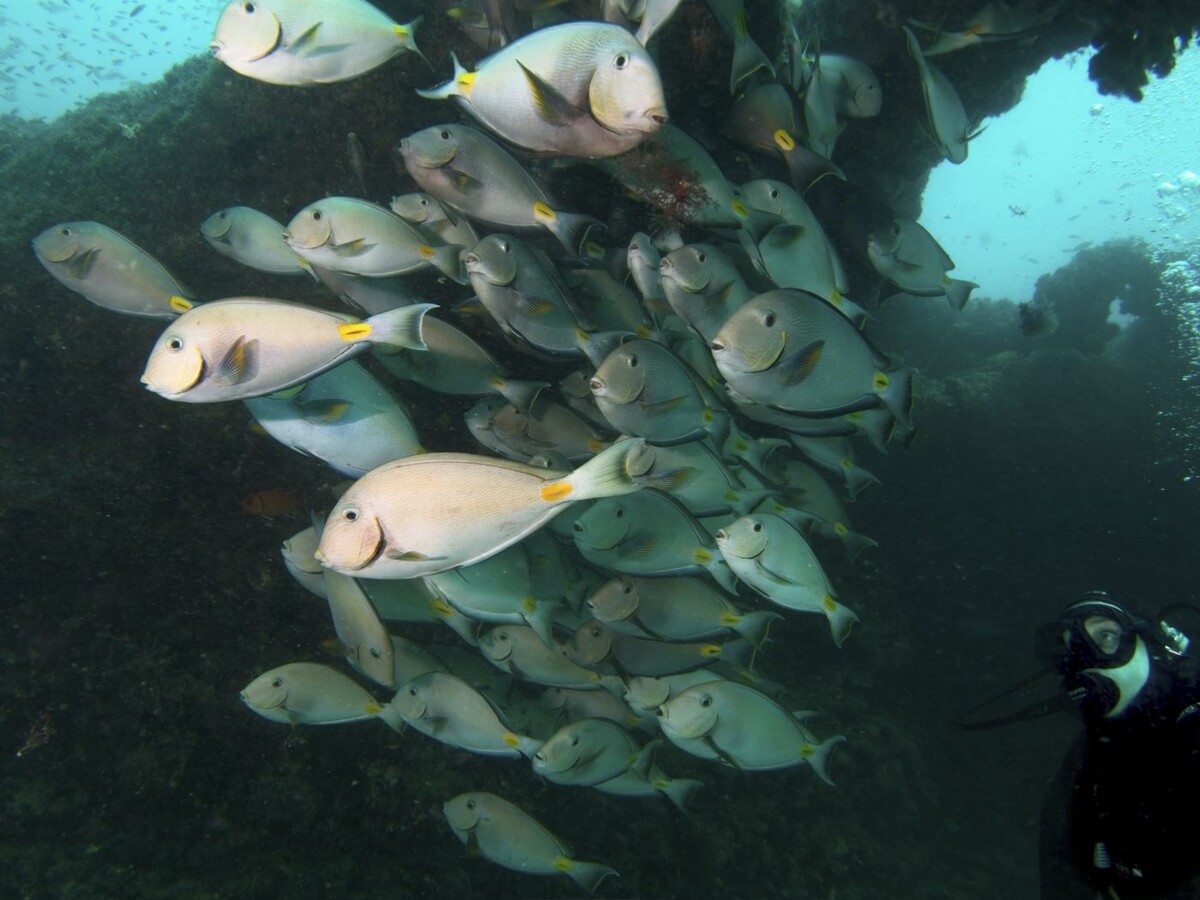
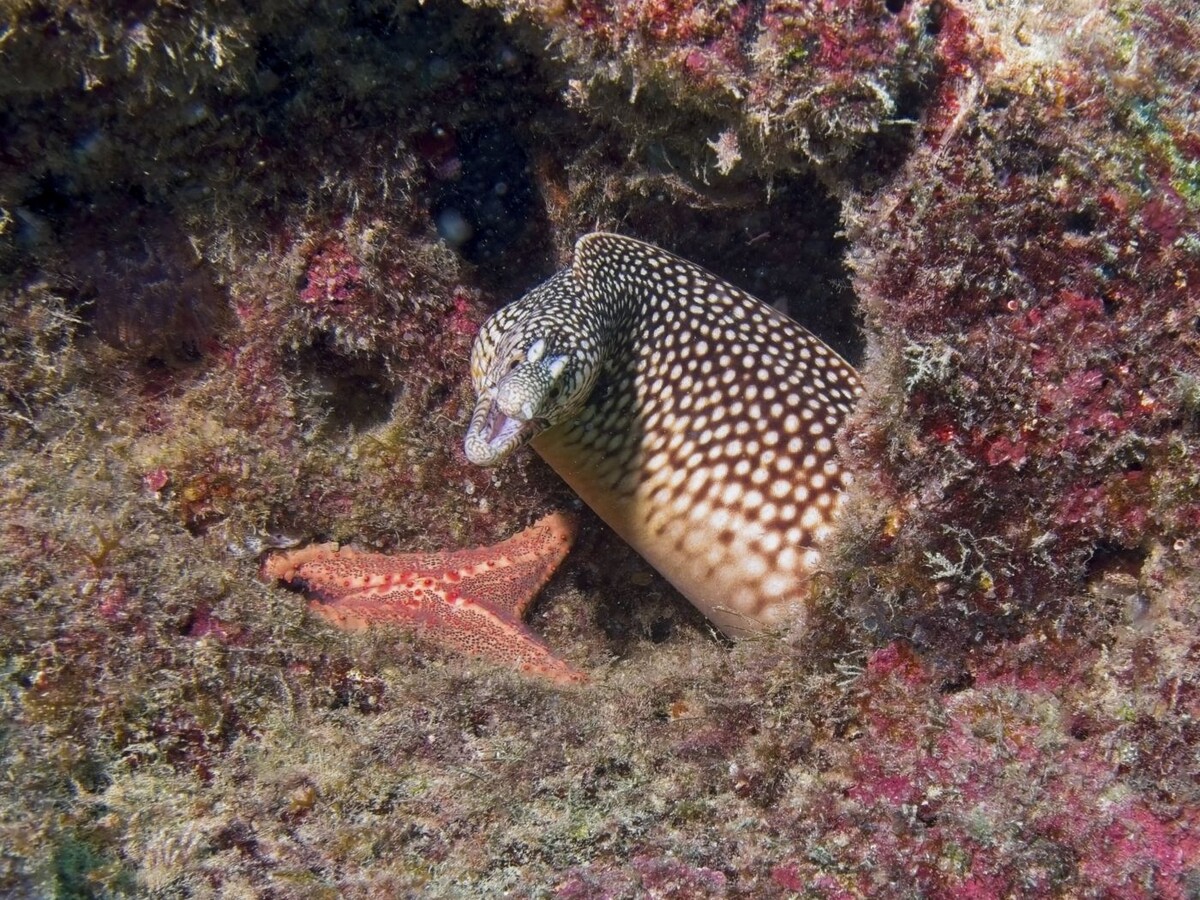
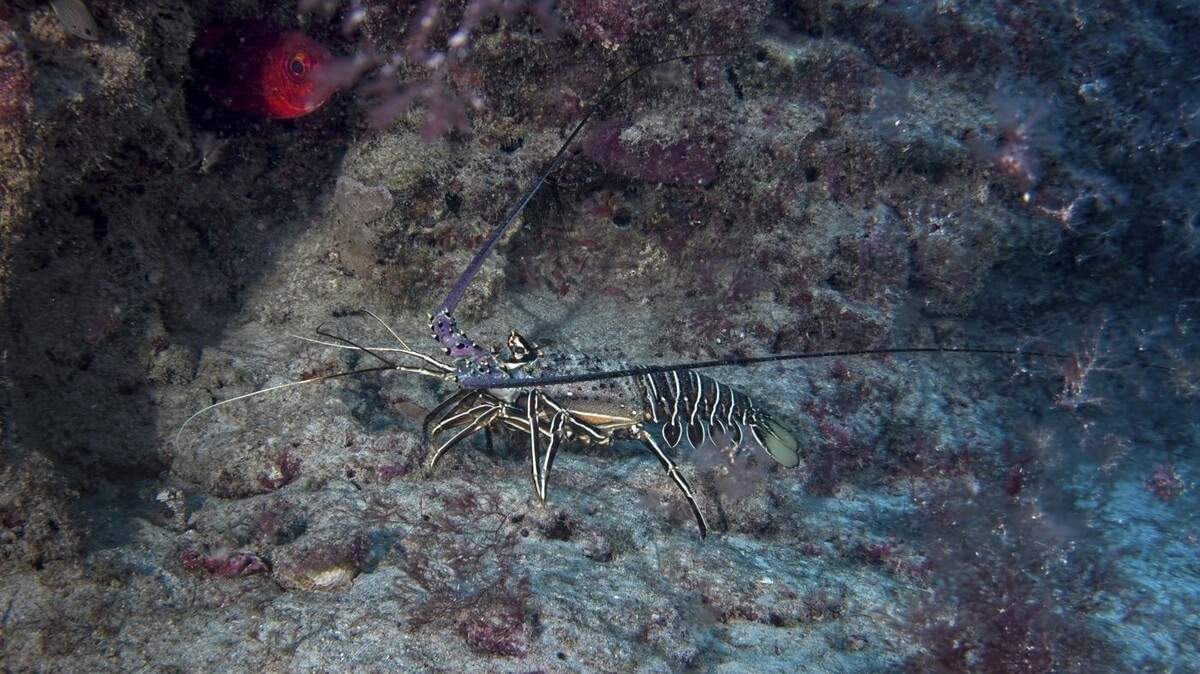
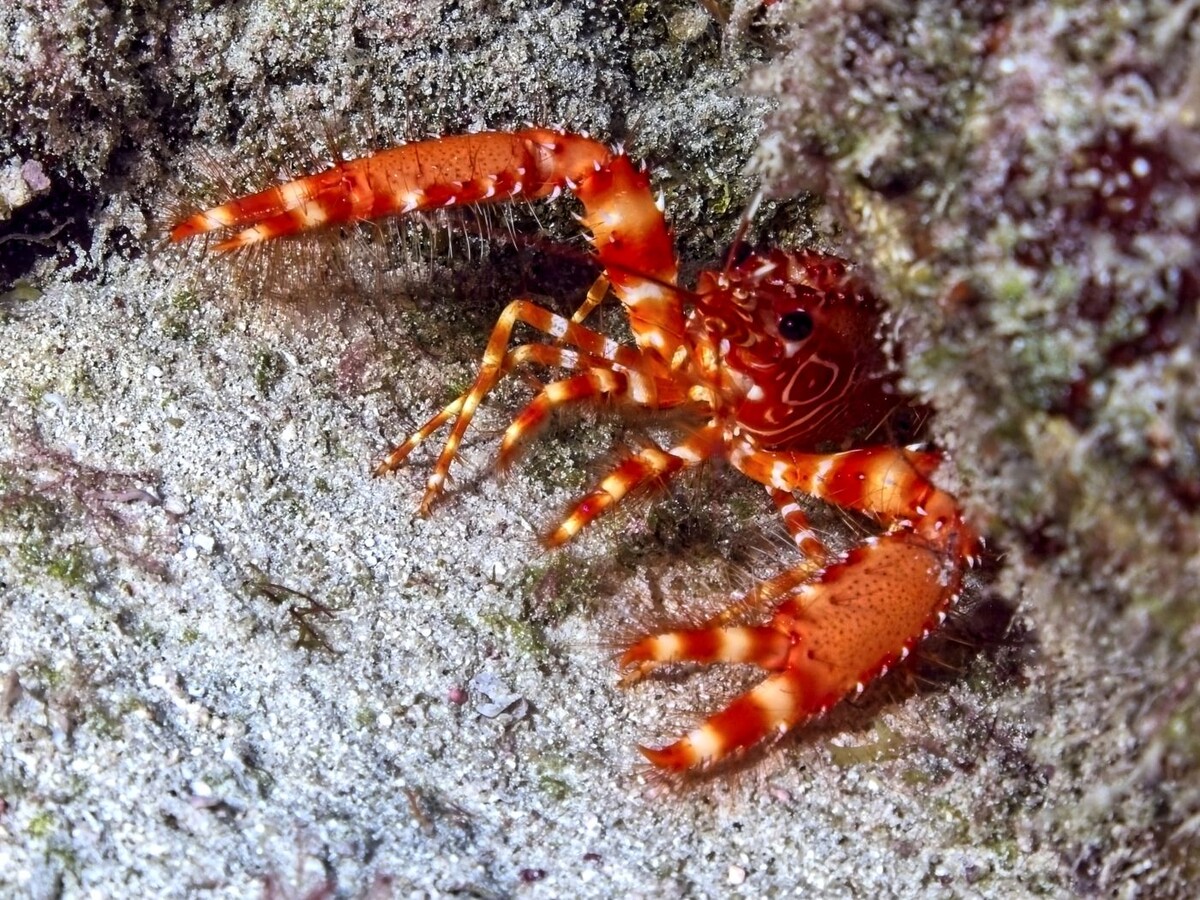
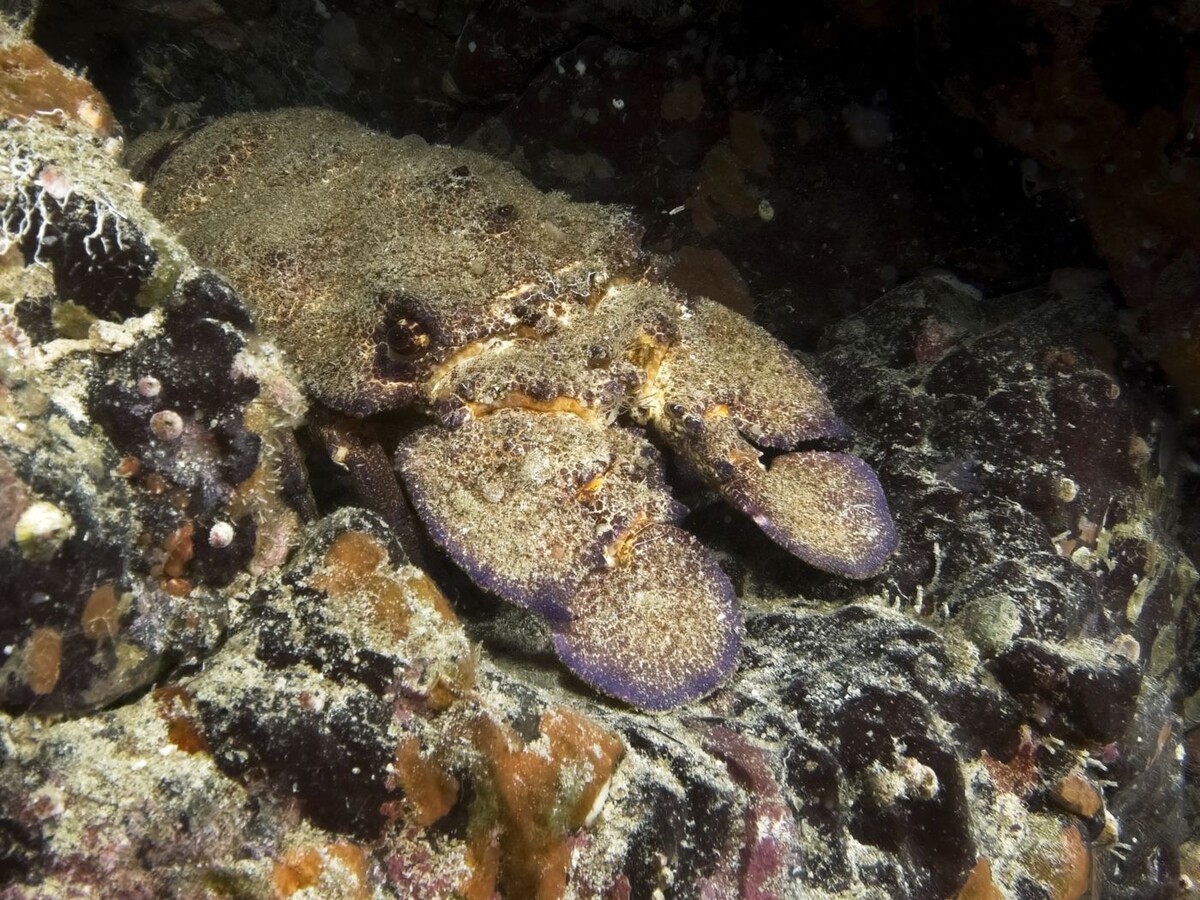
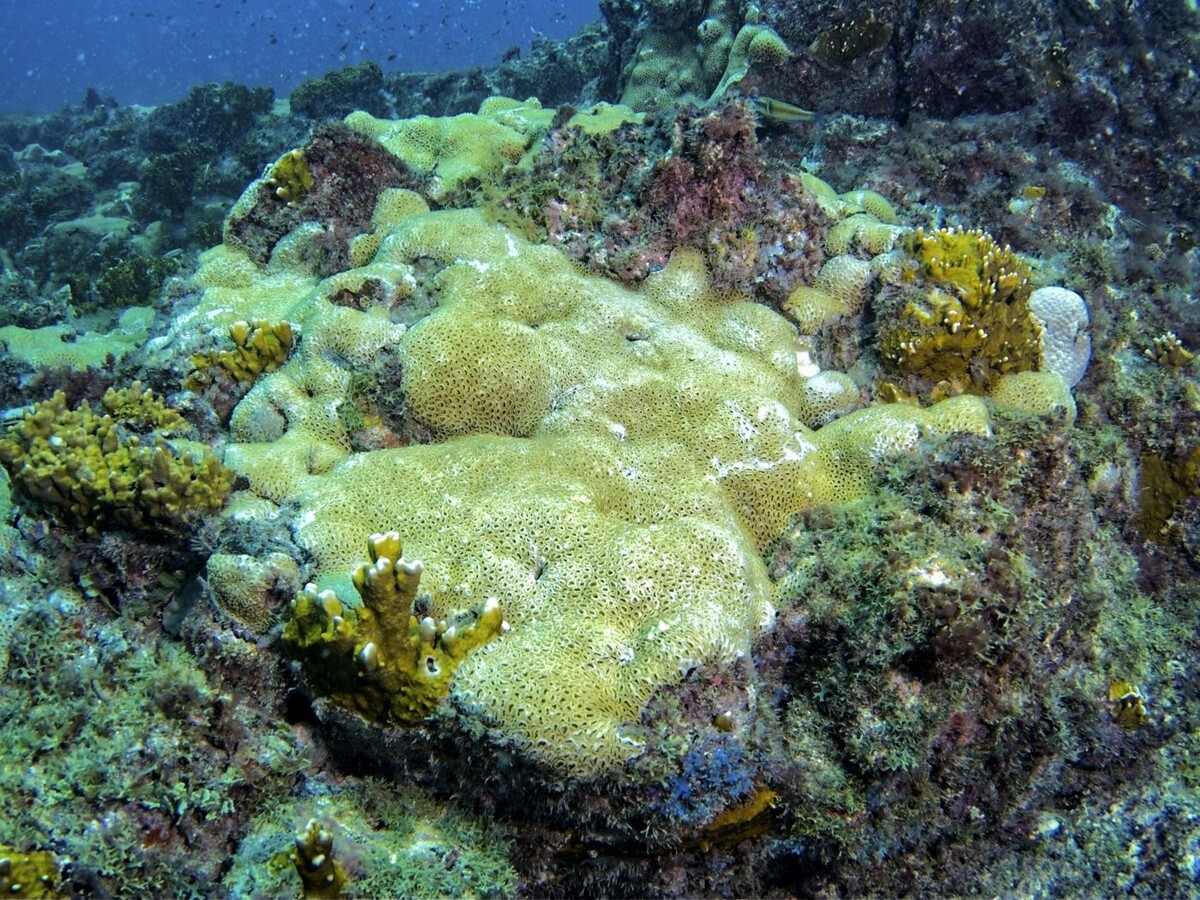
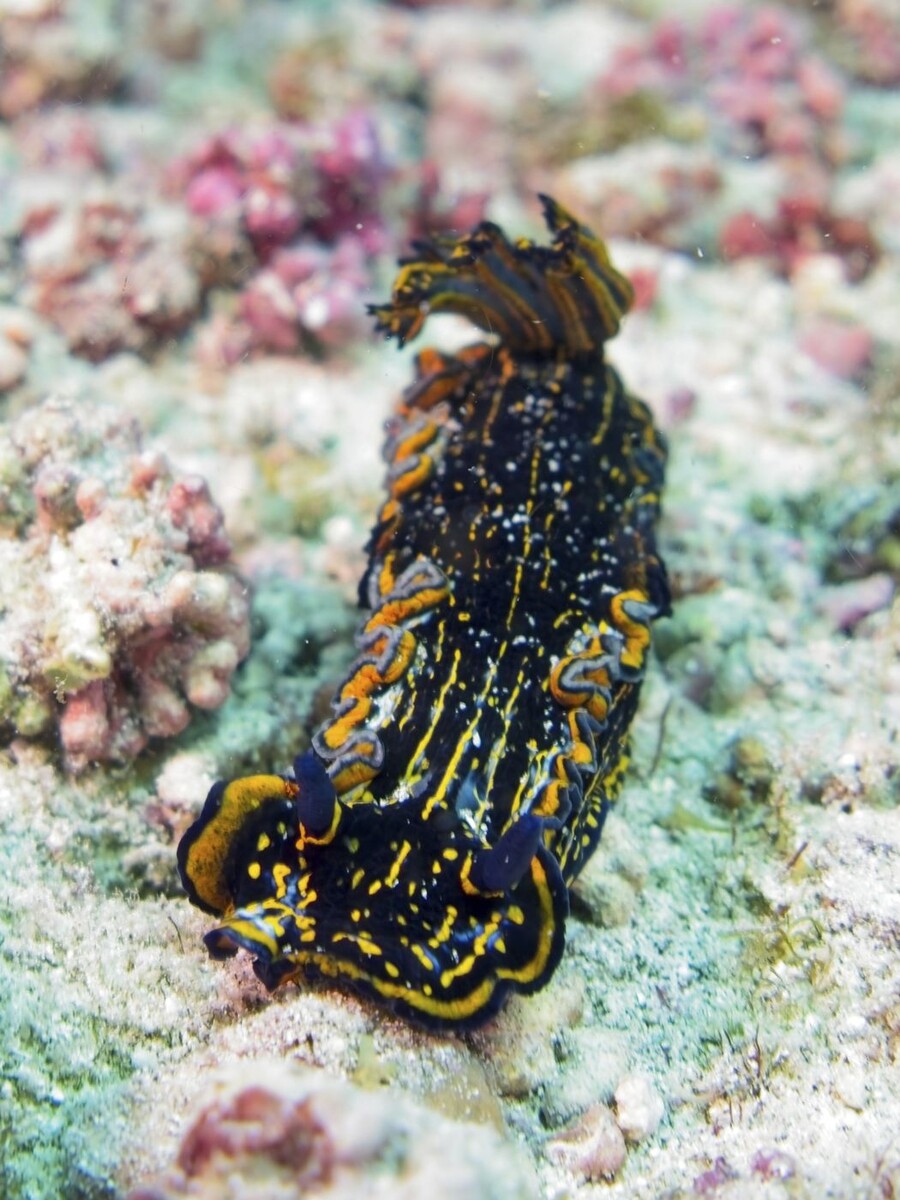
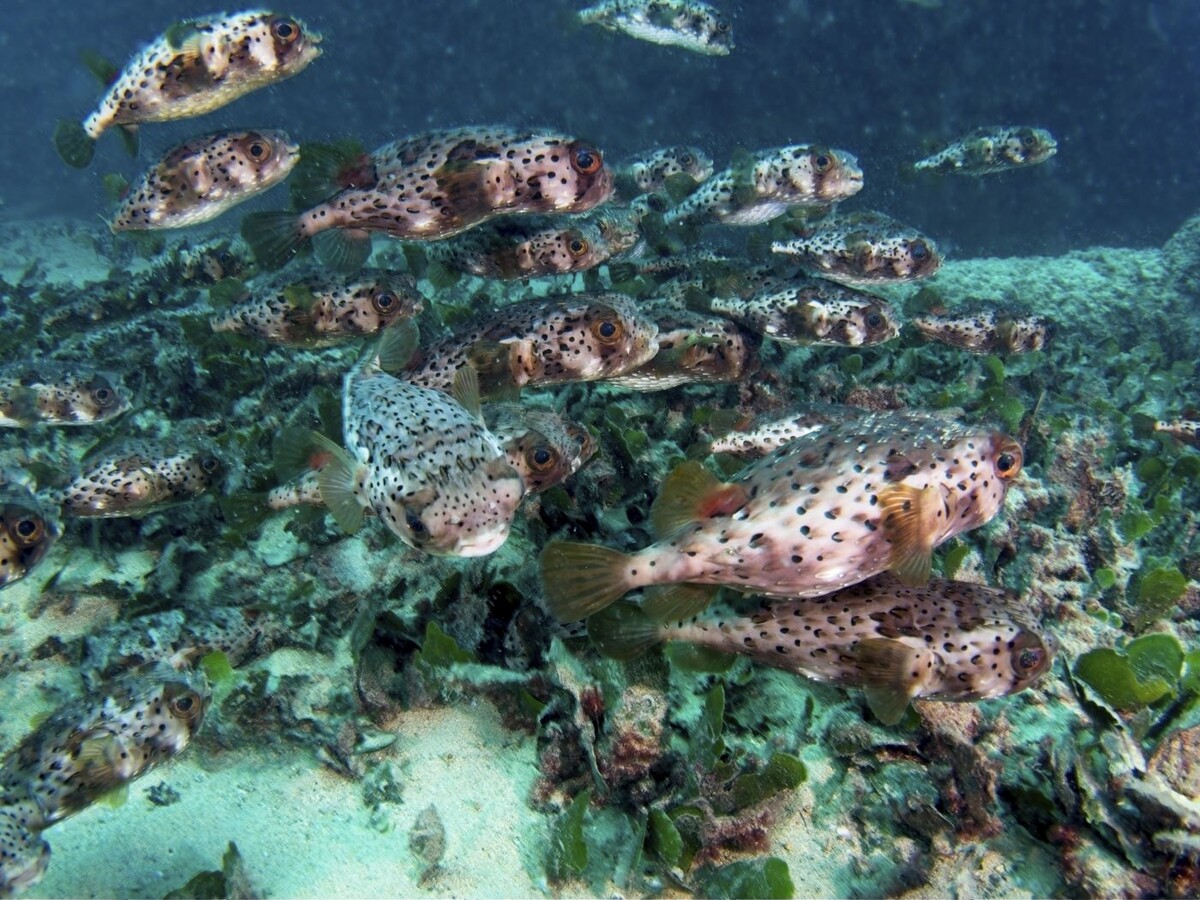
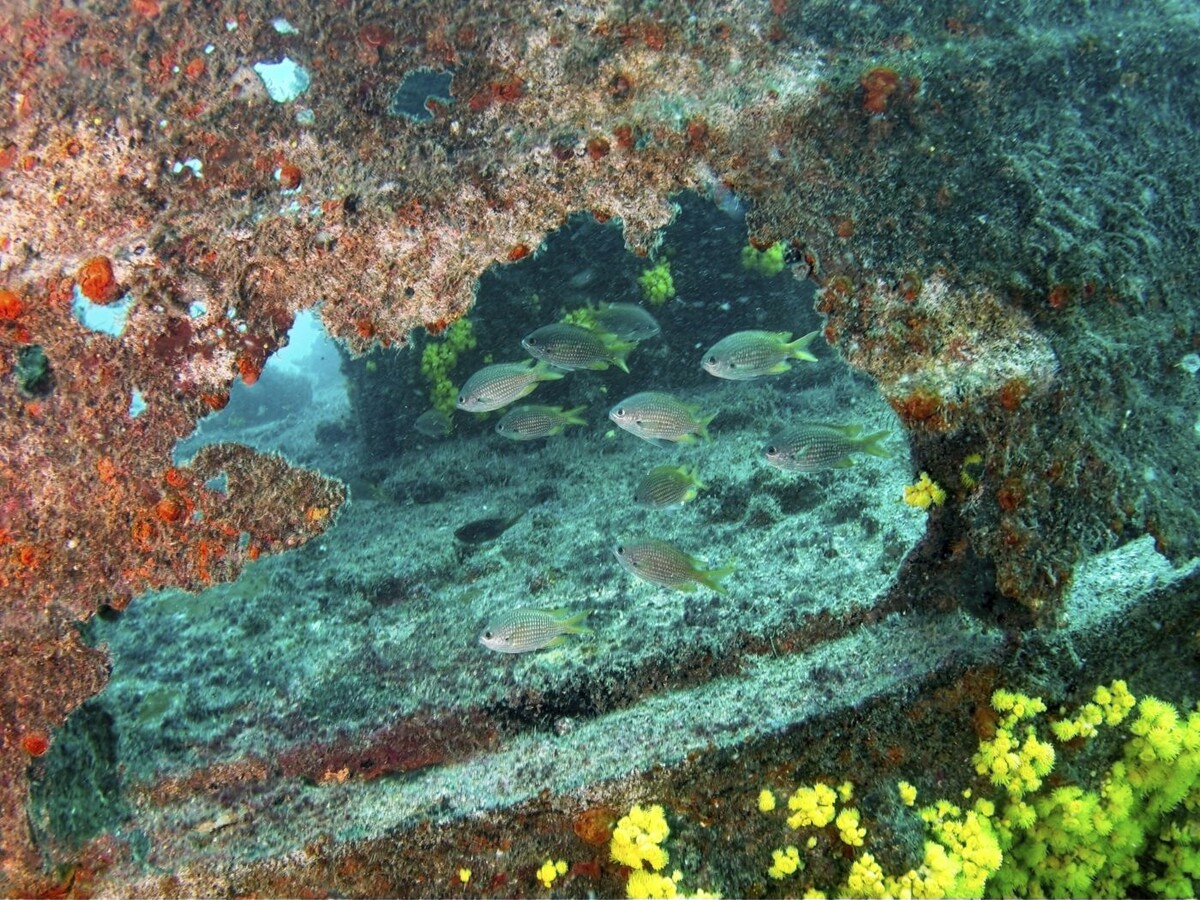
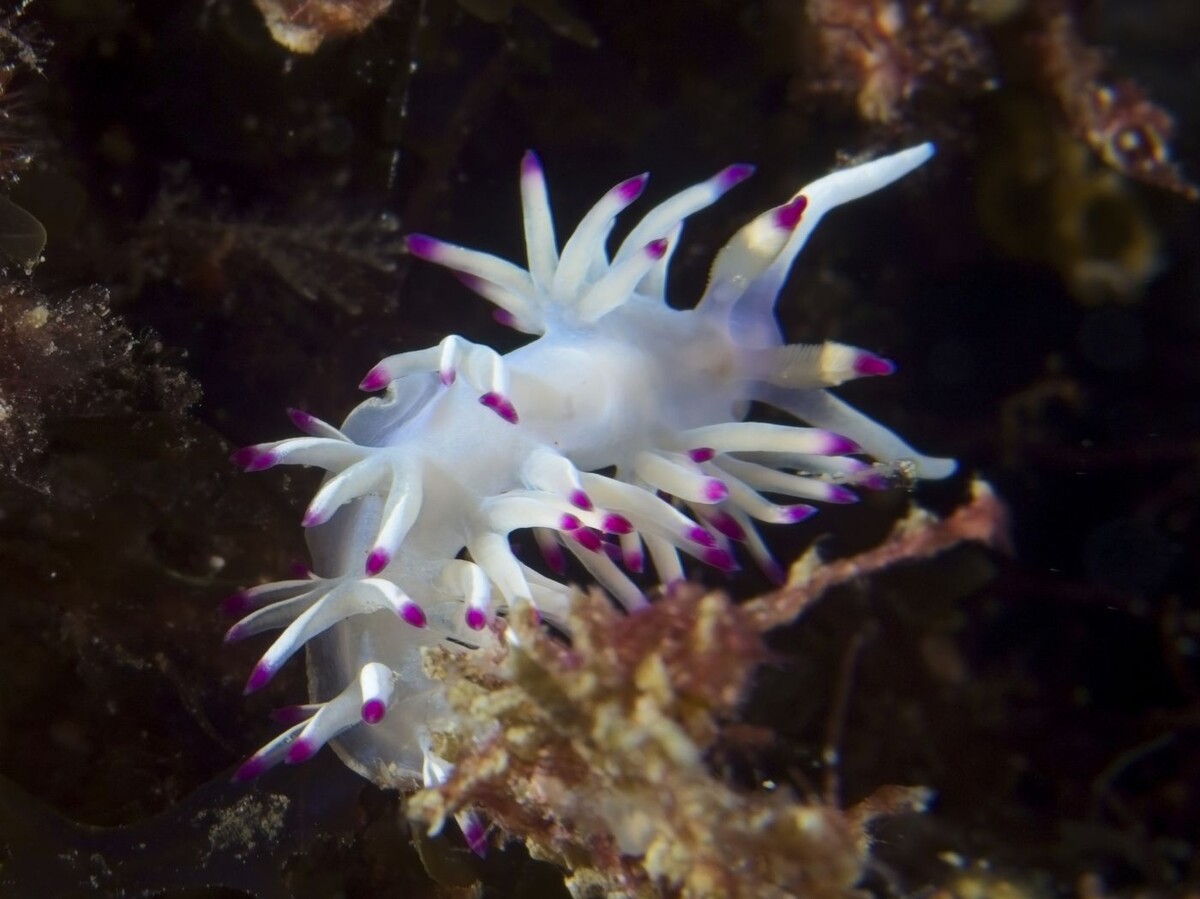
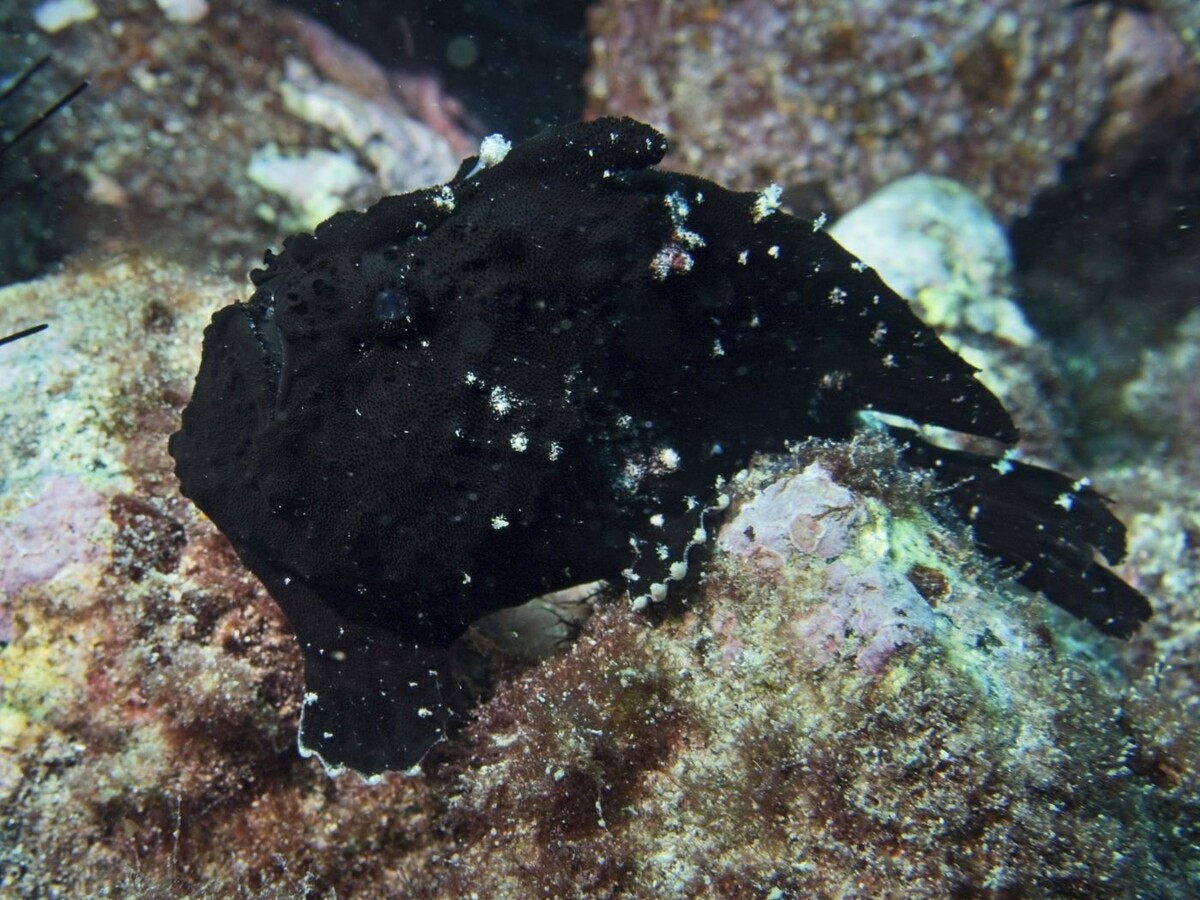
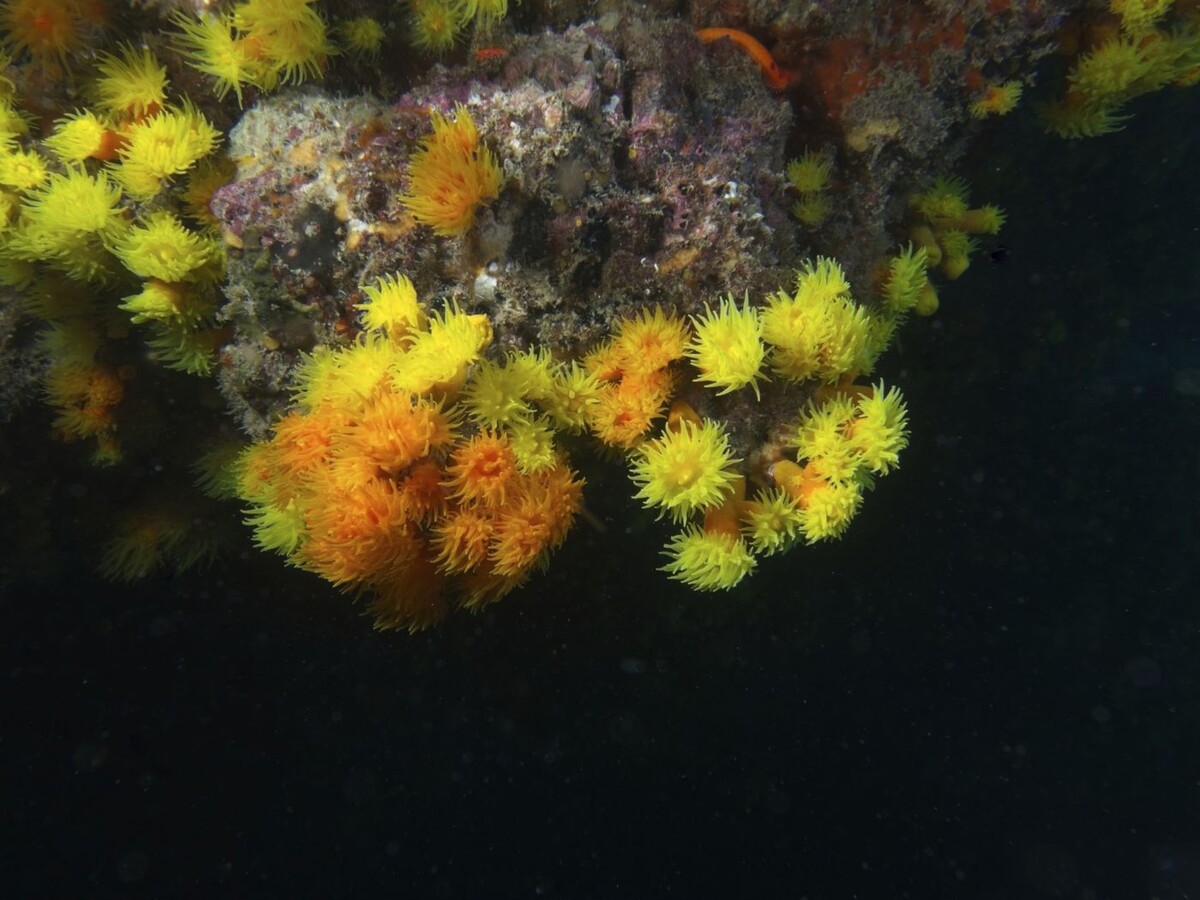
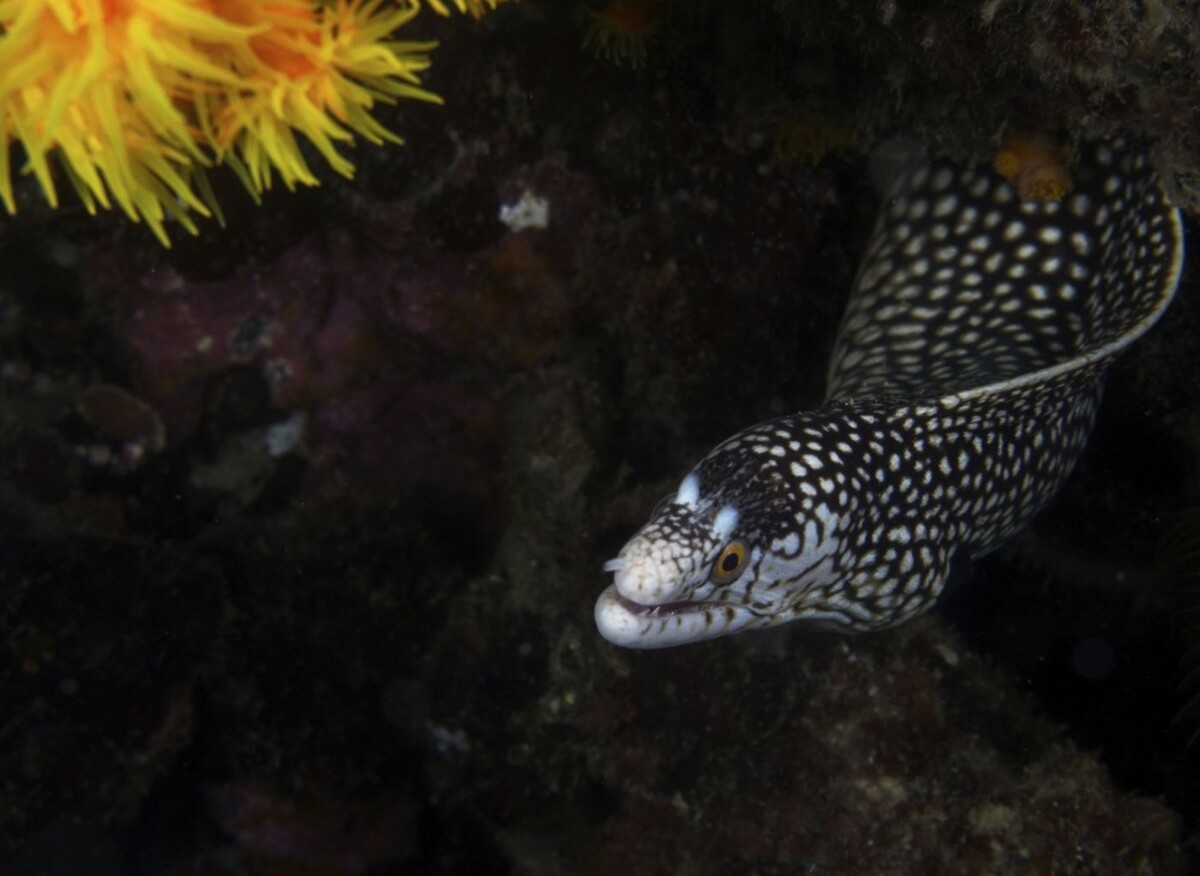
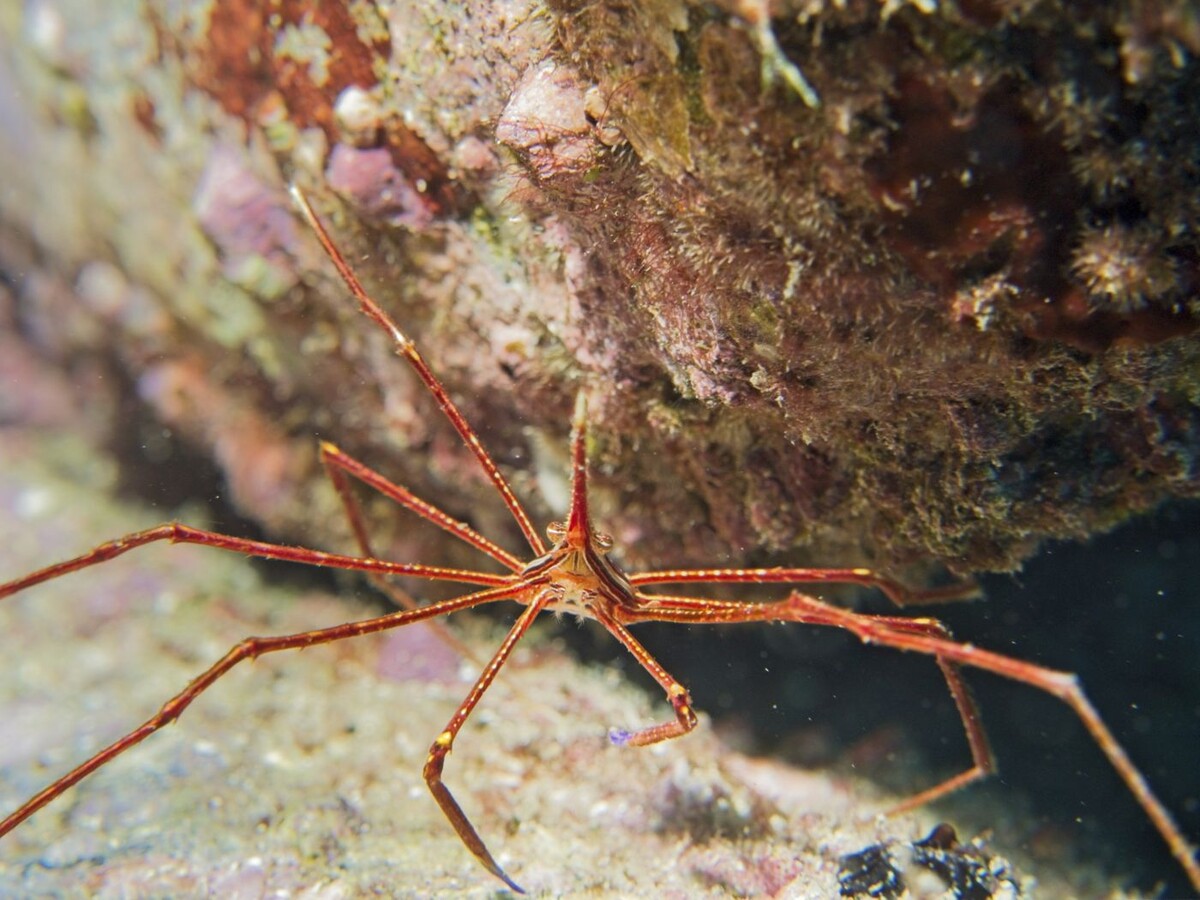
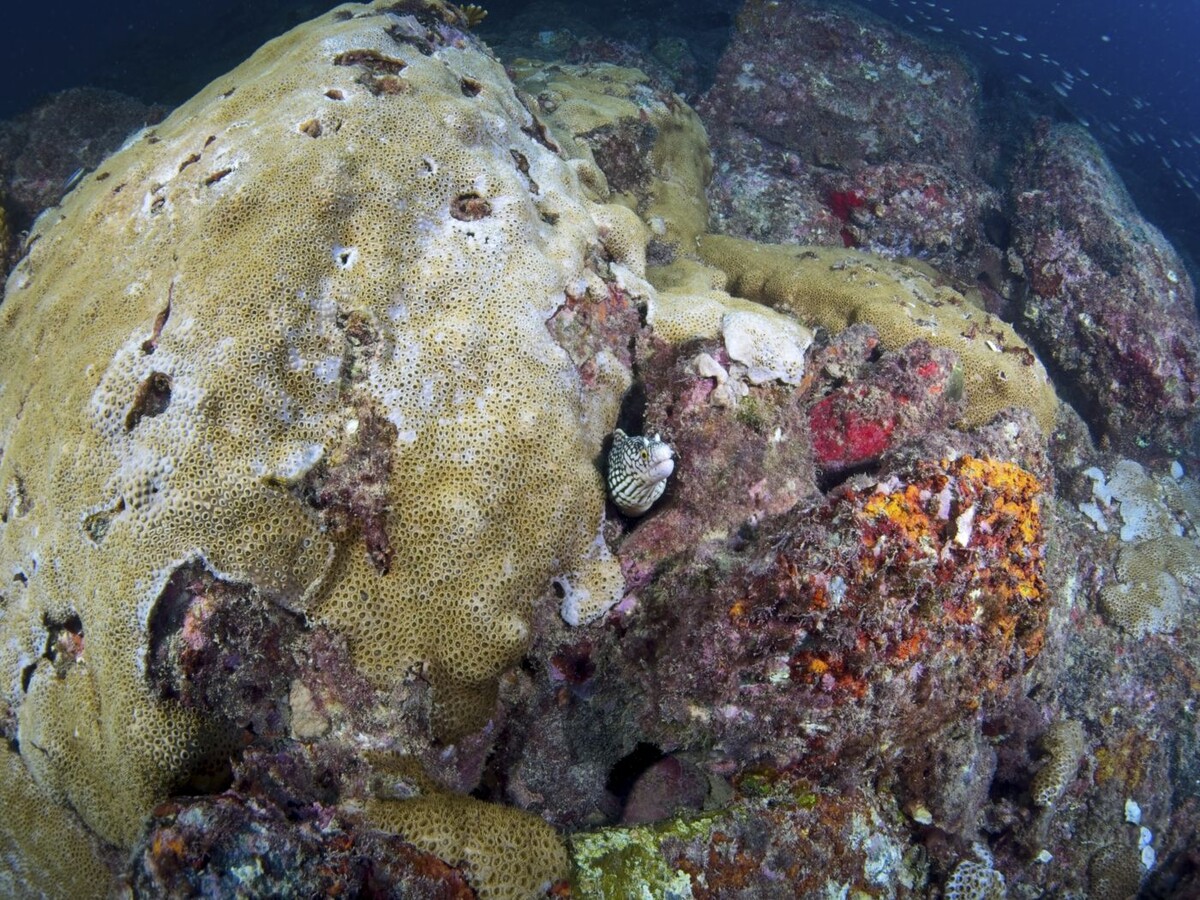
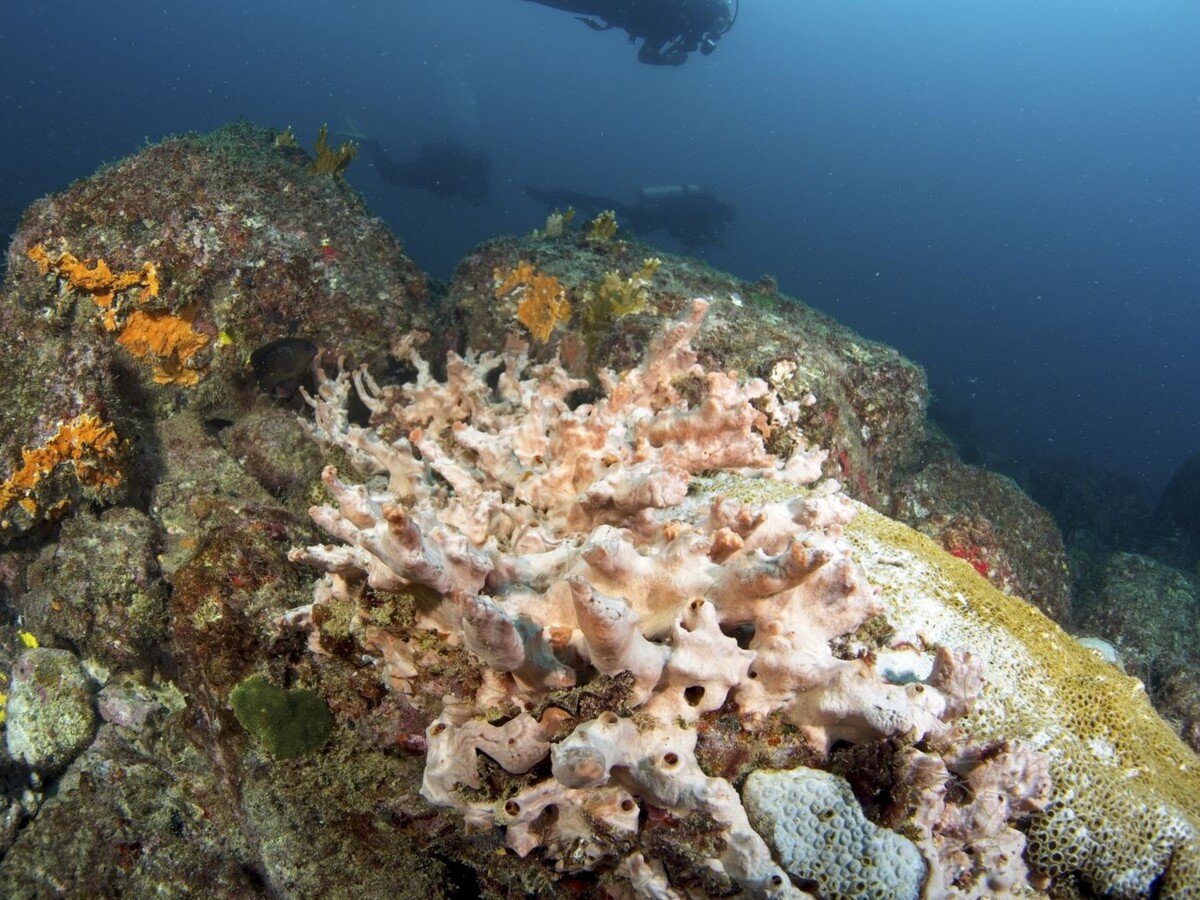
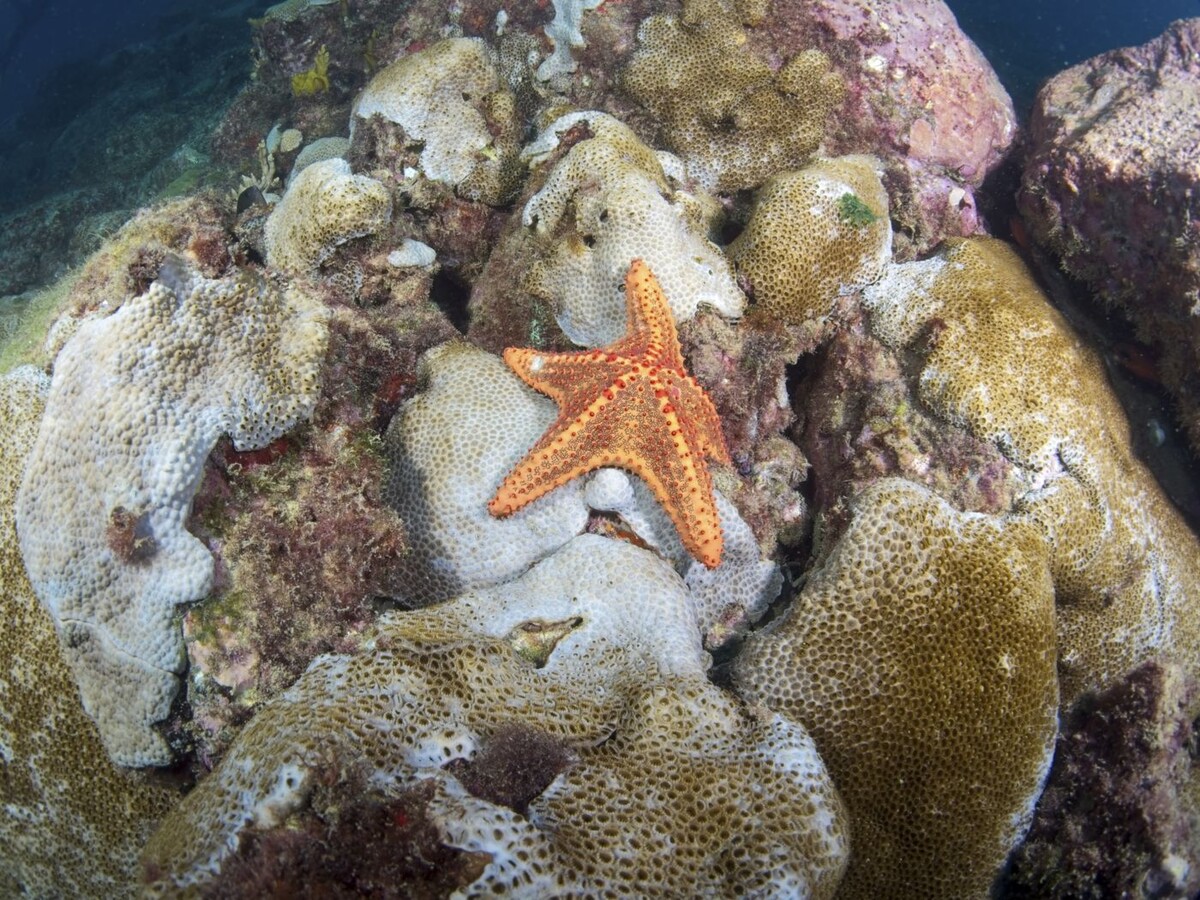
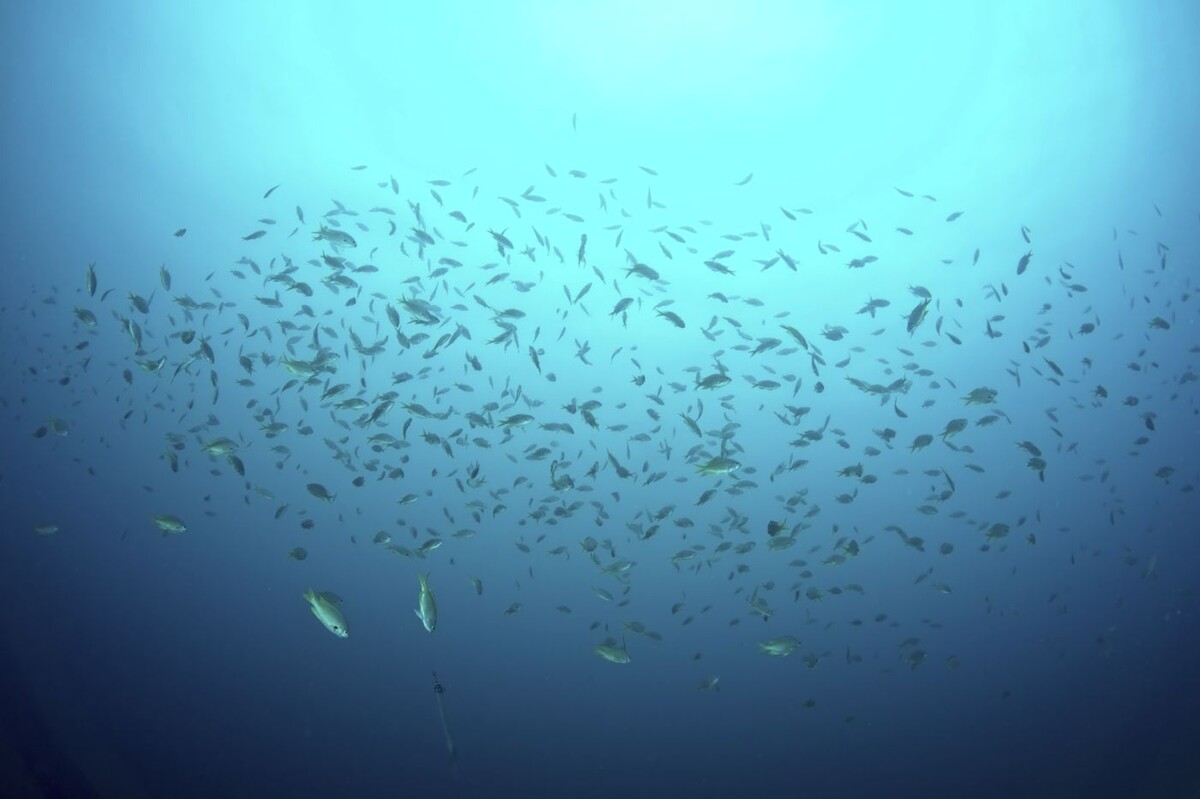
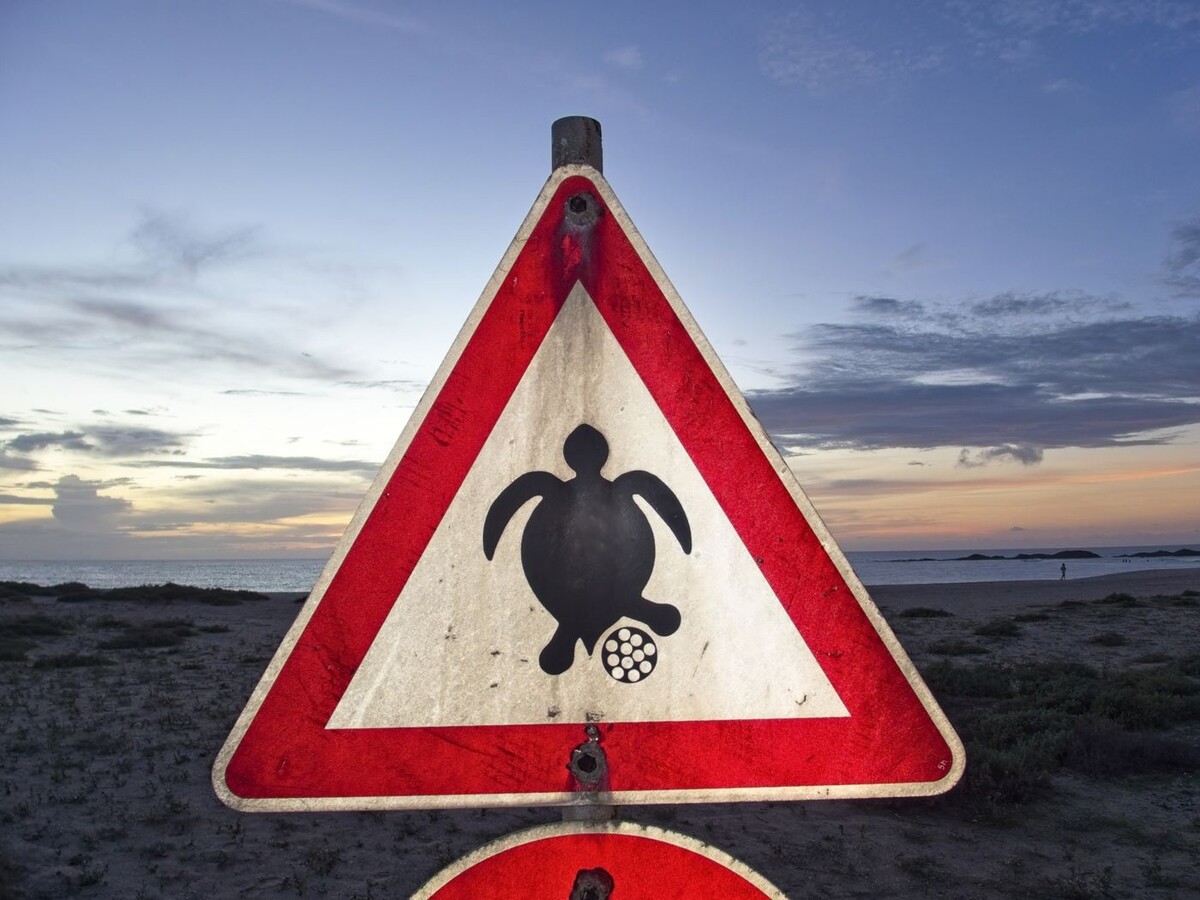
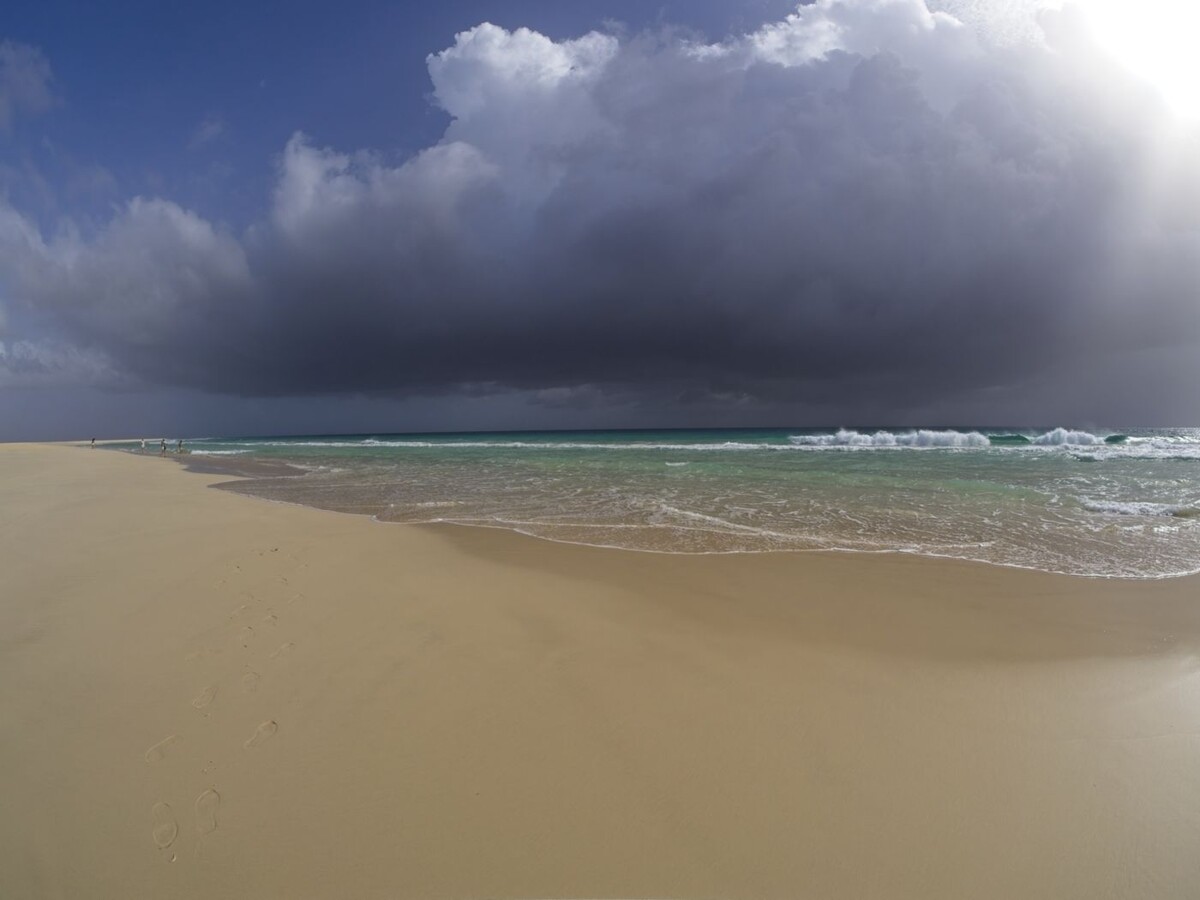
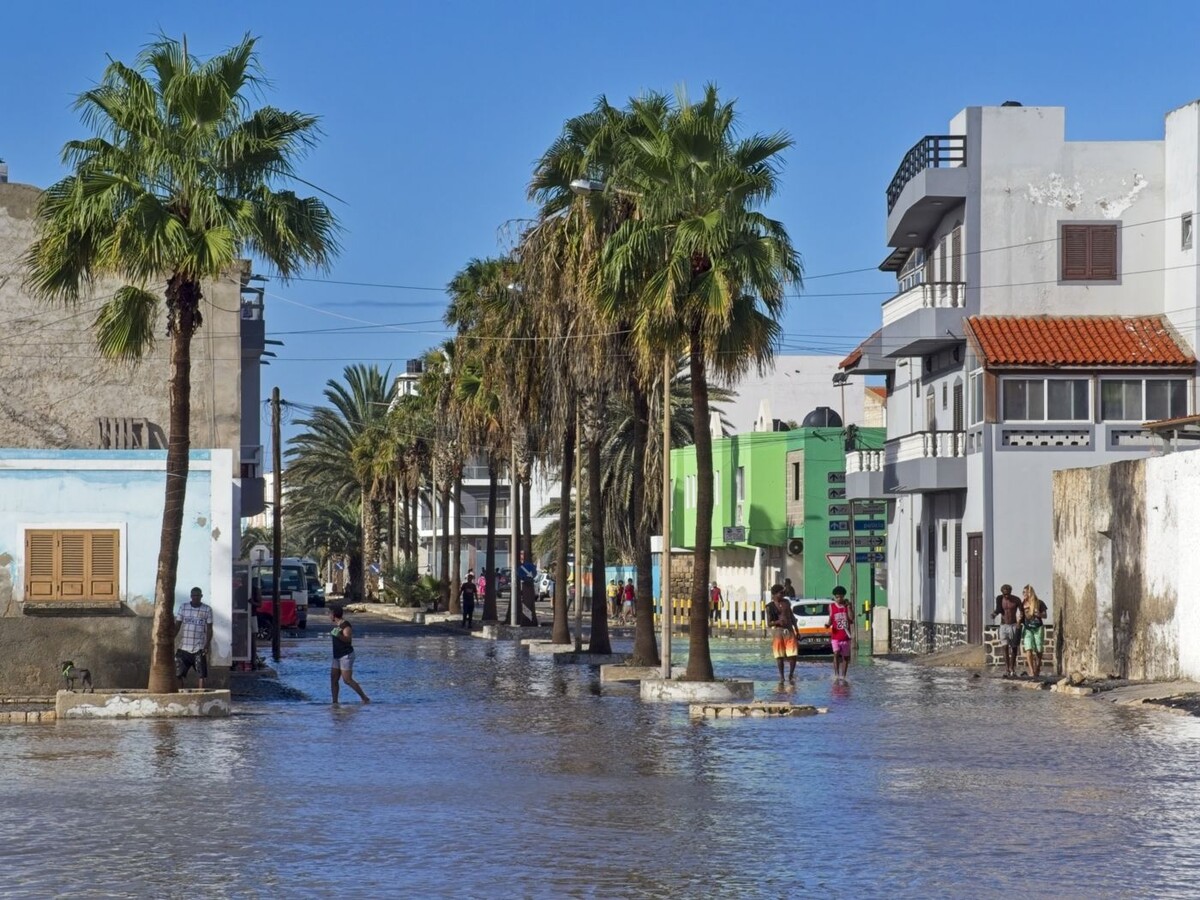
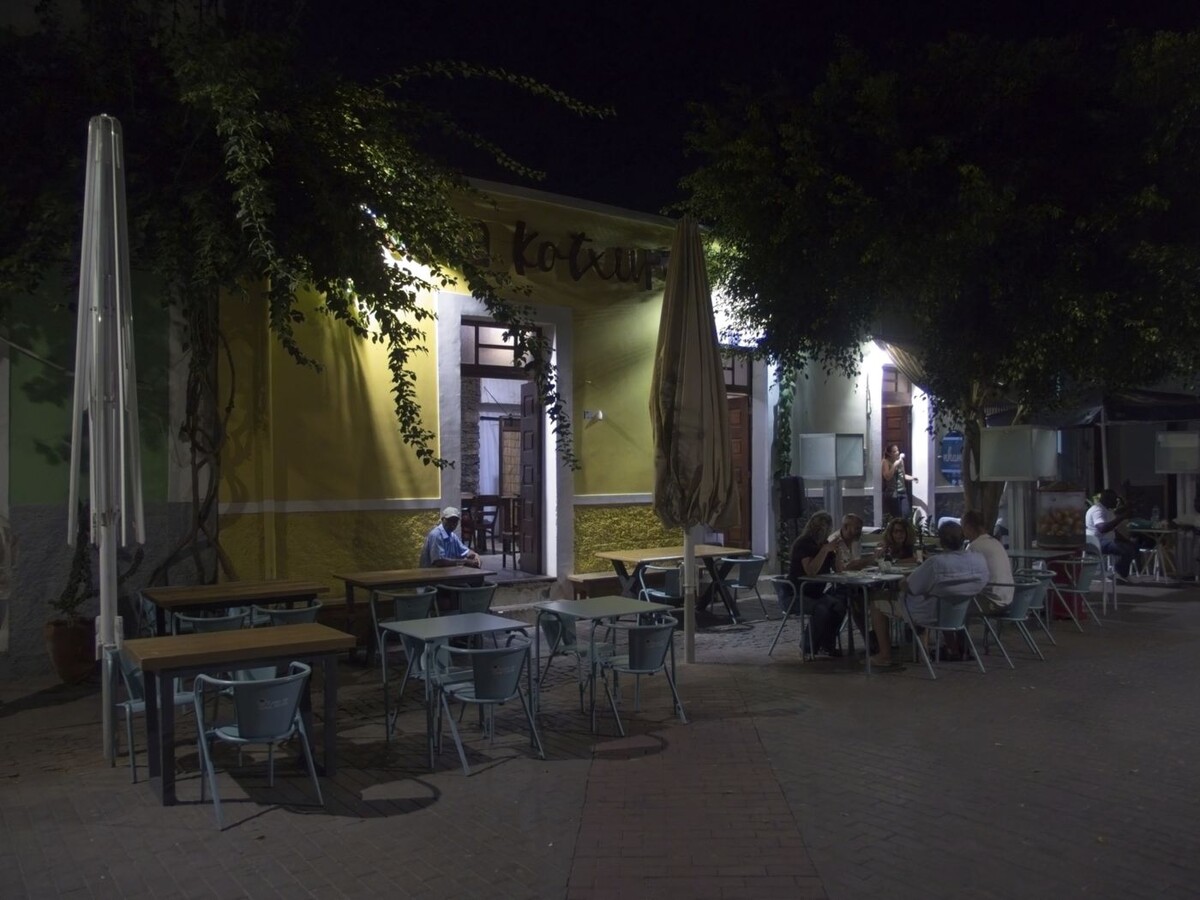
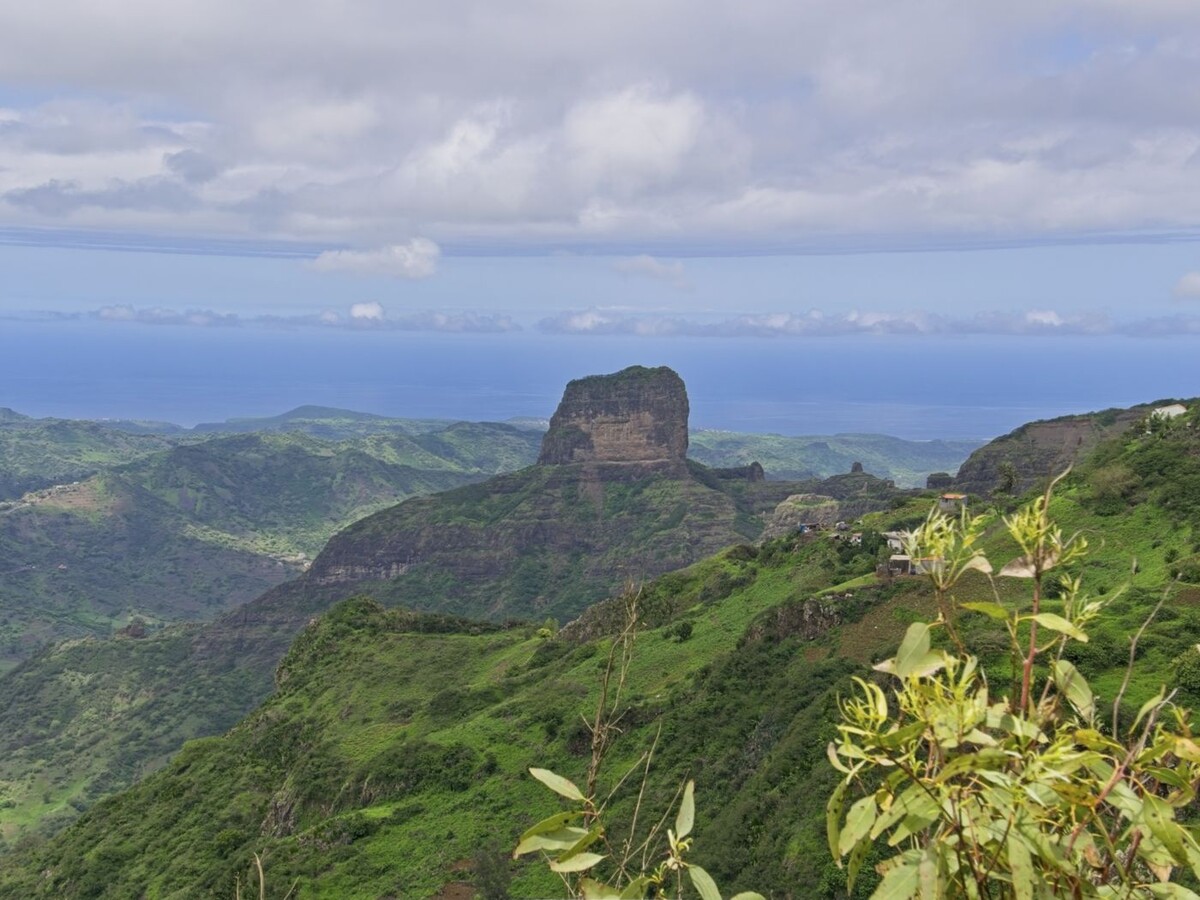
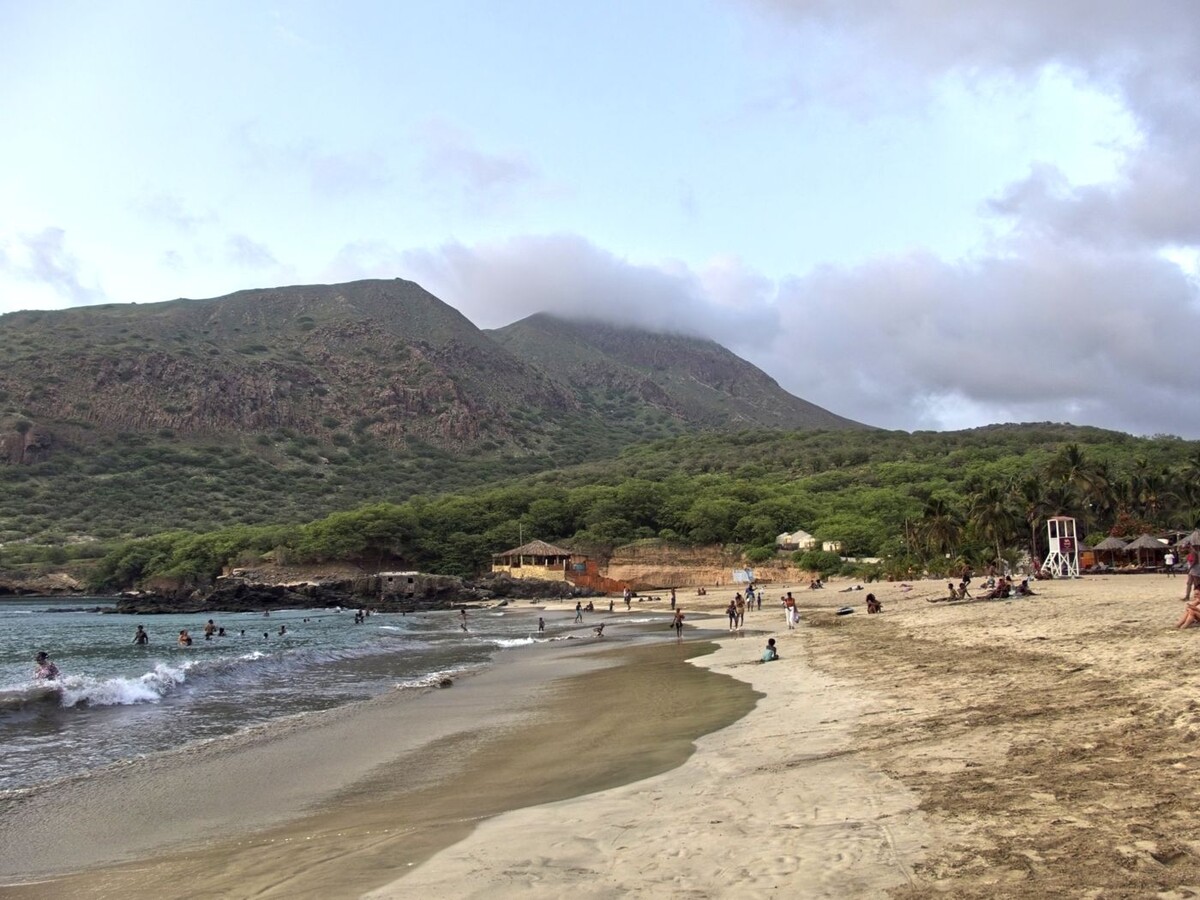
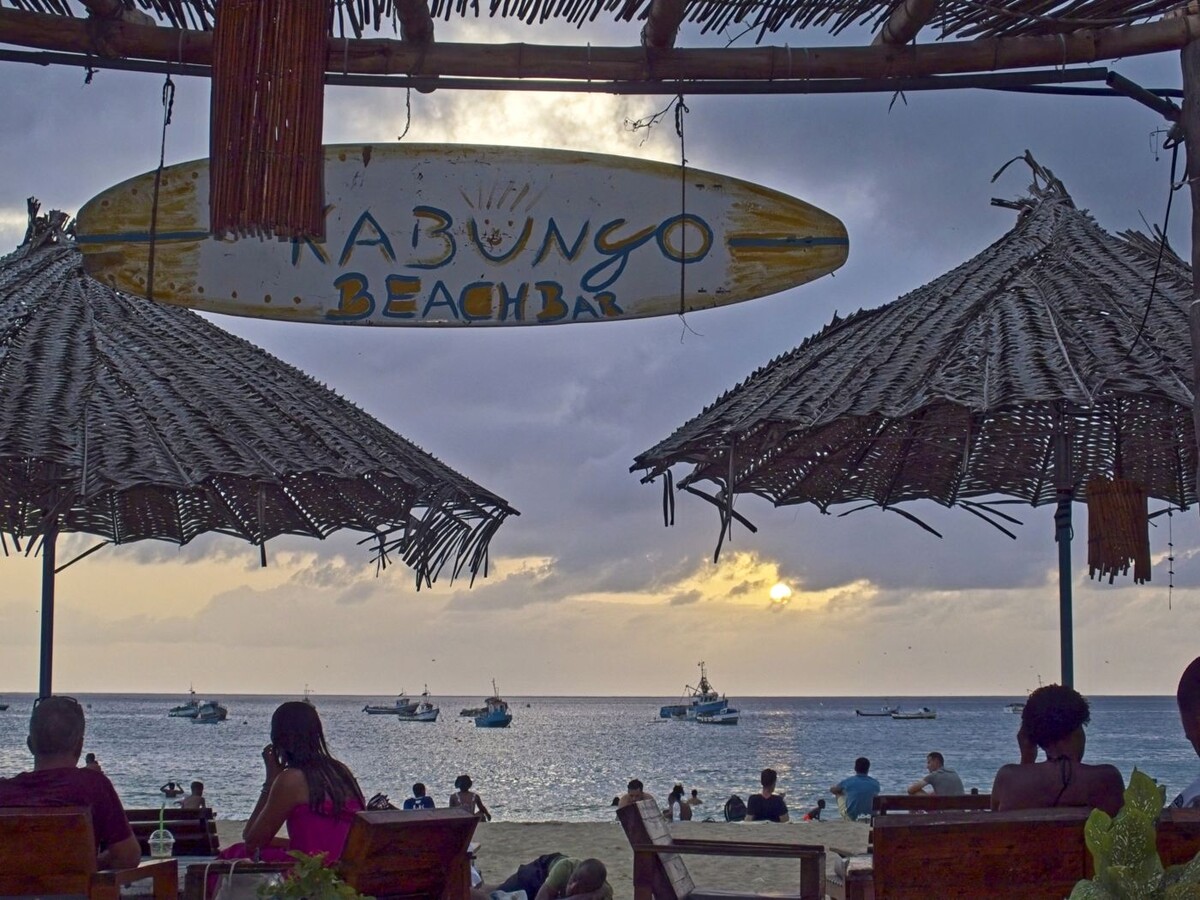
My inquiry last year did not yield any informed responses, so we set out to explore Cabo Verde and fill that white spot with our experience. In short: The trip was very rewarding, but we needed to remain flexible with our plans due to unreliable inter-island flights. The country’s soccer team is now qualified for the 2026 Soccer World Championship and the slogan on their shirts is “Cabo Verde – no stress”. I could not have imagined anything more appropriate – for their hospitality, the atmosphere and the concept if something doesn’t happen today, then perhaps it will tomorrow. In the meantime just enjoy some vitamin C(aipirinha) mixed with the excellent local Grogue. There is no working decompression chamber on any of the islands, so if you develop DCS you need to be flown to the Canarias (1 hour plus transfer). Even for this medical treatment you need a valid passport or visa for entry into the EU, which is not the case for the local dive guides. Thus, be mindful when diving with them as they may not have the possibility to get ANY hyperbaric treatment. Communication works well in English but when we offered our options, French was regularly preferred. We travelled in late August / early September, which is during the “rainy” season, a bit more humidity in the air but not too unpleasant. Touristically this is rather off-season, but most importantly: It’s turtle nesting season! We started our trip on the island of Sal. This should have been just a one-night stopover before flying to Mindelo, but we changed this because Erin (the storm!) had devastated the island of Sao Vicente shortly before. Thus we decided to stay for one week on Sal in Santa Maria. There are a number of dive clubs and it seems they all provide good service & dive more or less the same sites. The reefs are mostly volcanic rocks placed in sand and currents are not uncommon. Thus, the beautiful sand is not just on the beach but also quite a bit in the water column and causing backscatter; visibility was 15 m or so. I used a moderate wide-angle setup here (M43 with Olympus 14-42 zoom and Inon UWL-H100) and found this to be a good compromise to “peer” into the rather narrow spaces between rocks and sand. A wider angle of view might have been even better. We saw large schools of fish, lots of moray eels, lobsterscrabs and several of these guys (locus lobsters in English, I believe): Some nudibranchs were also part of the dive: The corals grow mostly flat and are covering the rocks on their surfaces, we also saw some fire corals timidly emerging from the surface. There are two wrecks (both intentionally scuttled, I believe), one sat at about 25-30m, the other shallower at 14-17 m and this one literally filled with schools of pufferfish. The dive centers are all closed on Sundays (except maybe Scuba Caribe, associated with the Riu resorts). To pass the time, we embarked on a guided trip to see the island - Sal is famous for its beaches and I can’t add anything to that after the trip. We did not see any turtles during the dives, almost surprising given how abundant they are around the island during the nesting season. But we encountered them every day: After the double-tank dives in the morning, we relaxed a bit and then went snorkelling at the pier in Santa Maria (“downtown” area with a beautiful beach). The turtles seem to like that spot and between the anchored boats we encountered them every day. (frame extracted from an action-cam video) You can also pay for a boat-ride and guided turtle-snorkeling, but that’s certainly not necessary and several times we saw that the commercial boats brought their clients in the very same place. The pier is where the local fish market is, the catch is cleaned and this goes back into the sea. You may thus see some fish heads on the bottom, if the big stingray hasn’t taken care of them yet. From Sal we took a flight to Praia on Santiago Island, this was the only flight that worked as planned (only 90 min. delayed). Cabo Verde, no stress. Praia is a real city and worth visiting for a day; we then wanted to continue to the island of Fogo, climb the volcano, lug a fisheye up there and image all the beauty of the world at once. But the plane broke down, our flight was cancelled just as we wanted to check our luggage, we were transferred to a hotel, re-scheduled for the next day yet the flight was cancelled again. Because the plane didn’t fly and the ferry was booked out, we had to abandon Fogo and this was a huge disappointment. Cabo Verde, no stress. So, guess what: We went diving instead, this time in Tarrafal in the north of Santiago Island. The dive center is on a small bay in the rocky coast, the dive sites are thus along vertical walls that drop to about 18 m, then continue as a slope with rocks to greater depth. I used a macro-setup here, for me that means simply swapping the Inon wetlens with a +5 diopter on a flip-mount. We saw a good number of nudibranchs, my first frog fish (adorably static creature for a clumsy photographer!), yellow soft corals, moray eels, and spider crabs. The usual crowd for this habitat I suppose. Shore entry is good and after a check-dive we could go as a buddy-team on our own (thus I had my personal and excellent critter-spotter with me). Two smaller turtles were hanging out in and around the small bay, we saw them both while snorkelling and while diving in the bay. From Santiago we needed to hop over to Boa Vista Island, do some more diving and also to catch our return flight home. This time we were already waiting at the gate when the plane broke down, so pick up the luggage, go back to a hotel and no information except that the flight for the next day ways fully booked. Time went by and we were getting a bit nervous, then out of nowhere a very early flight option appeared. This worked out (60 minutes late) and, two days later than planned, we arrived on Boa Vista and were amazed by its incredible sandy beaches. All’s well that ends well - Cabo Verde, no stress. Diving was accordingly shortened on Boa Vista, but we did go for one double-tank dive. Despite the limited experience I think that the dives are comparable to Sal. I tried my fisheye here since it didn’t get any use on the top of the volcano... A good choice, since macro-subjects were not so abundant on the sites we visited. This mooray was probably wondering why someone shows up with a manual focus fisheye lens... The starfish is another creature that can't move fast enough to avoid my clicks. Catchupa, to local stew, is made with corn, beans and FISH if you want. The town of Sal Rei is located on a shallow inlet protected by an island – corals are abundant but not spectacular because they “only” cover the rocks or grow to small structures. We did not find this particularly interesting for snorkelling. THE thing to do on Boa Vista at during nesting season, however, is clearly to book a trip during the night with one of the turtle conversation societies and see a loggerhead turtle dig its nest, lay the eggs, cover them up and return to the sea. It’s a delicate balance between preserving nature and exposing it for tourism as a way to raise funds for the conservation. Our experience was well organized and the limits of how many guests can come along are reasonable. And it is only about one hour (=time on the beach) once per night. That nightly visit also provides a reason to keep the beach protected, rather than build another resort. The nesting turtle population seems healthy and expanding, let’s hope it will stay that way. To sum it up: This was definitely a very worthwhile destination. If you only want to dive and click, staying for one week in one of the big hotels on Sal or Boa Vista is a good plan. You won’t discover much of the local culture and hospitality (all this is embraced by the word “Morabeza” in Cape Verdean Creole) but things will be reliable. If you can spare some extra days, it pays to at least hop over to one of the other islands that offer more than just beaches. I’ll add some non-diving impressions below. OK, one has to say that the beaches on Boa Vista are definitely something. But we also witnessed a true downpour, something that doesn' happen very frequently there. Praia on Santiago offers some nice restaurants ... ... and one the weekends live music is frequent. Some grand vistas can be explored when hiking (Rui Vaz on Santiago). You don't necessarily have to dive to see fish. Tarrafal on Santiago has an amazing beach, where that vitamin C(aipirinha) can be enjoyed as well. Local fishermen bring their catch up shore right there... ... and if you want to cook it, you can get a piece on the next street corner. It felt weird at times to enjoy so much luxury and leisure while the local population cannot afford most of that. But we always felt as safe as at home and I did get the point in the end: The one thing that's free for everyone of us is a smile. Morabeza! If you are intersted, hop on a plane and check it out!


-
I am not familiar with the Nauticam ports, but if you get a small dome that has very little extension to begin with, you could try out a real fisheye quite cheaply with the Samyang/Rokinon/... manual focus 7.5 mm lens. These are usually not expensive on the used market and after calibrating it a bit, it can be used as a fix focus lens under water. Mine can cover things from a few cm away from the glass to "infinity" quite well at f 11. I use it with a ~ 10 cm dome in a polycarbonate Olympus Pen housing. That is a really light and very compact combination, both in and out of the water. Nauticam may be a bit heavier on the housing side but the port should be quite similar. If you like it, you can later sell the MF Samyang and get a used Lumix 8mm AF lens (also not too expensive second hand). They work with the same port configuration. Alternatively the adapted Tokina 10-17 is more flexible and apparently works with the same ~10 cm / 4 inch ports. There is a different brand Speedbooster alternative available (can't remember the name) and you can perhaps pick up one of those second hand for not too much money. The Samyang could be an entry point for this as well, you only need some extension. But they all require that one dome port. Fisheye-shooting is fun!
-
A thing to consider for stills is to shoot in raw (probably does so already) and use AI-based noise reduction and sharpening features afterwards. I think this works really well on the 16 MP images from my EPL-5 (m43) and it makes a HUGE difference for the topside pictures from my Olympus XZ10, which may be comparable to a TG6. I use on-1 photo raw, which has a very peculiar user interface but they also offer a photoshop plugin. It‘s free to test, ideal on a rainy weekend, and cheap to buy if she likes it. I posted some suggested settings to try for a start on this site but all of the available tools are likely giving an „upped“ result compared to the camera-jpeg. Combine this with Ben’s addition on a GoPro to the rig and that could give a flexible & somewhat redundant solution. Apart from that I always notice a massive improvement in image quality and life quality as well when I travel to a place with lots of sun and clear water. Sigh….
-
It would be nice if one could BUY the firmware update at least for the previous models. But there may be 1 million little hardware changes that we don‘t know about and that make it impossible. Or the profit margin is so much better when selling a new camera? It might end in a subscription trap like Adobe…
-
Toslink cables can be bent after heating them a bit. The bend then « sticks » when they cool in that position. I made a curled cable by winding it around a wooden cooking spoon and placing that in the oven at 50 degrees Celsius for 30 minutes, then switching the oven off and letting it cool down. (The lady was out of town on that day.) It works nicely though I find that « real » connectors stick more reliably in my housing’s connectors. I also use the Olympus mini-flash, so lots of light and manual mode only - TTL via an LED trigger may be a very different story.