


.jpg.c5e6bd876847a2be9e8f7ad68dd32d7c.jpg)
Everything posted by Davide DB
-
If someone is not satisfied with the SMC-3, I'm here 😀
-
Amazing macro details. The gills are incredible!
-
There's one on Abebooks for 463 USD 😱
-
Do you have some clip to see it in action?
-
Yes, sorry, you are right, I said something stupid. I was thinking about my 45mm. It doesn't make sense on this lens; in fact, I think it's practically impossible to mount a diopter. My only doubt is what would happen if I mounted an MFO-3. I edited my post.
-
The Panasonic 30mm lens is very underrated, fundamentally because it reaches its maximum magnification practically on the port glass. But actually, for many situations, in my opinion, it is excellent. All reports say that its AF is snappier compared to its 45mm and 90mm macro cousins. If you then need greater magnification, you can always compensate with a light diopter.
-
BTW, on Instagram I saw an interview of Aquatica by Underwater Photography Guide. They have a prototype of a Nikon ZR housing https://www.instagram.com/reel/DRQ6IaWETB1/?utm_source=ig_web_button_native_share&igsh=ZDNlZDc0MzIxNw%3D%3D
-
I came across this video of the NA-ZR housing. It shows the new Nauticam blue port Locking mechanism. basically a green led signals you correctly attached the port. It should be standard on new housings https://www.facebook.com/cghdive/posts/pfbid0n1uVSfkkhGXUdMx9mcNyHQh9xwA8spaaH3GLXA7kmcFumDdwdeHs2PUCbfLhRUBPlOr, even better, showing where you come from, during a photographic safari? 😁
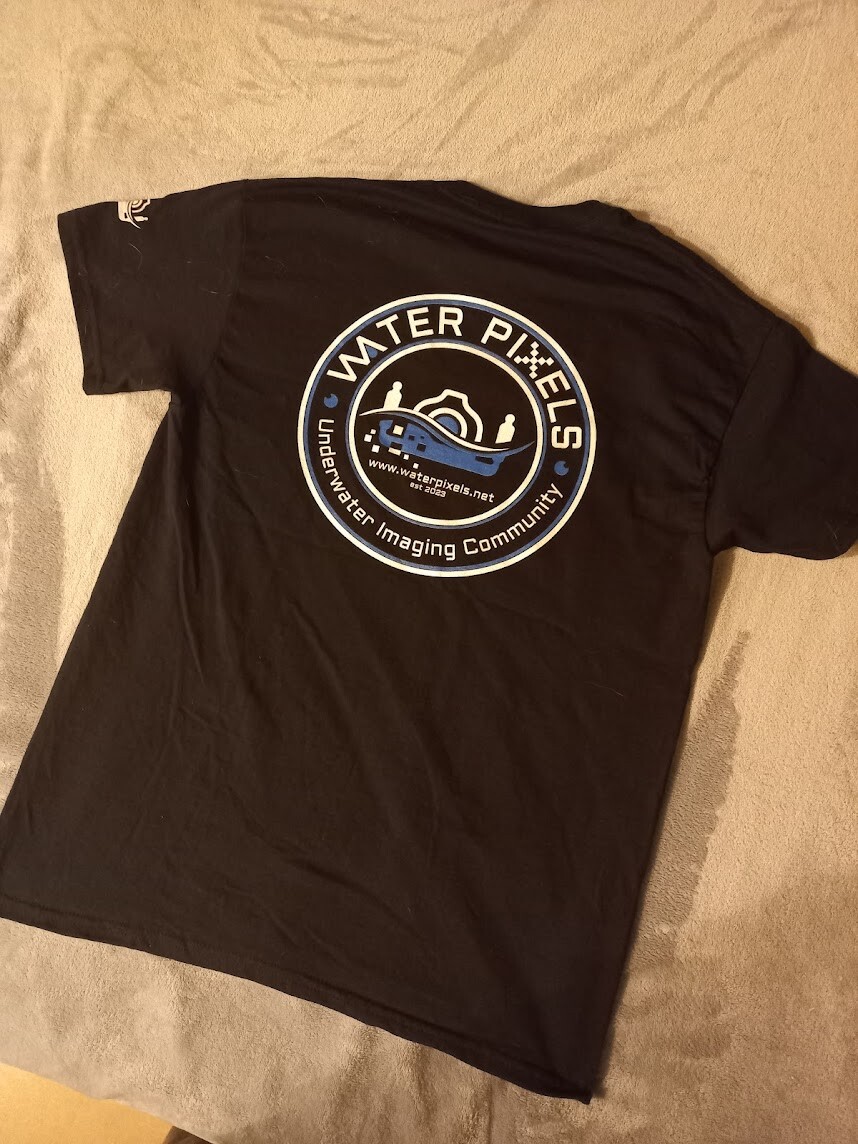
 Come on, guys! What's better than a nice steaming coffee in a Waterpixels mug?
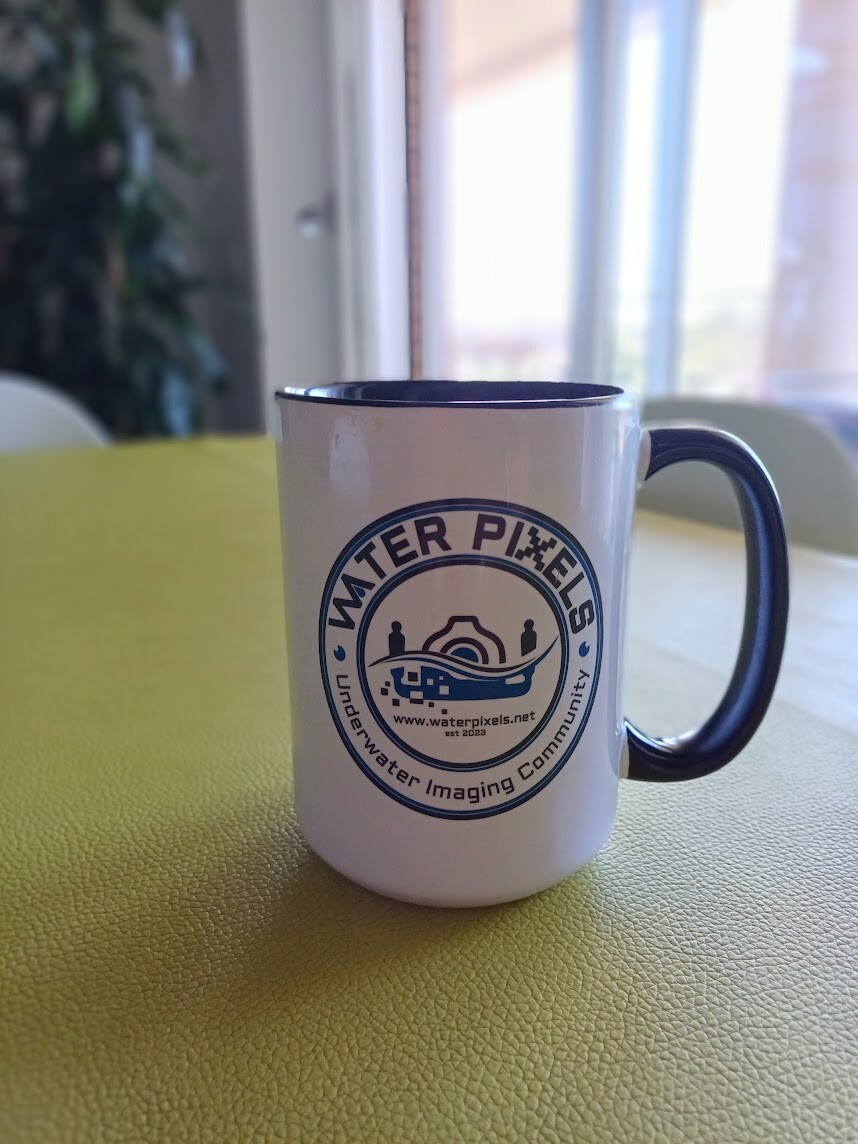 What I wad thinking of actually, is the combination of 8-15mm FE with a teleconverter 1.4x or 2.0x. If you search on the forum it's a hot topic. The first post I found:Here the first for you, travelling photo retouchers! https://www.tourboxtech.com/I've been using the PanaLeica for video since many years. Video AF is awful while color rendition and image quality is superb. IDK how it behaves in photography mode.Hello, Welcome aboard! Regarding the eternal fisheye dilemma among you photographers, you will find tons of content in the forum but I'll give you a small spoiler: teleconverter + Canon 8-15 fisheye zoom. For the details, I'll leave you to the search function. Ciaobeing completely different from the Zeiss design of Alex, could you share some photos taken with this lens? Is it this one? Fathom ImagingCorrector Optics - Fathom ImagingCORRECTOR OPTICS Field curvature generated by a concentric dome port can be eliminated by inserting a precision lens assembly, “Corrector Group”, near the dome port concave surface. The “Corrector Gr Their patent: https://fathomimaging.com/wp-content/uploads/2020/10/Concentric_Dome_Port_Correctors.pdfI think nobody saw the housing in the wild yet.I see you're enthusiastic about this lens and that now even Seacam has brought the project up to date again. The result is a rectilinear image, right? Could you share the results you've obtained with yours? Thank you in advanceEven the 8-18 mm it's very expensive: N85 to N120 55 mm Port Adaptor with Lens Control Knob > N120 Extension Ring 20 II > 180mm Optical Glass Wide Angle Port And of course dedicated zoom gear. We are in the 2.700 euro range plus the lens cost. OMGIf the phenomenon was localized to a single branch, they might be the eggs of some gastropod. If, on the other hand, it was a generalized phenomenon across various colonies, it could be a gamete release. In the Mediterranean, red gorgonians (Paramuricea clavata) release male and female gametes during the summer. I have witnessed this phenomenon a couple of times, and in the hours preceding the actual release, the fans are covered by these gametes which then detach and float away.Welcome aboard Jay! We hope you will enjoy the forum. CiaoIt's very long and has a 77mm diameter. A monster and doesn't exist a zoom gear. A Panaleica 8-18 mm is a wiser choice.Welcome aboard Mort! CiaoI was looking for this behemoth lens on the Nauticam port charts with no luck. Any hint before I write them? Thank you in advance


Important Information
Terms of Use Privacy Policy Guidelines We have placed cookies on your device to help make this website better. You can adjust your cookie settings, otherwise we'll assume you're okay to continue.