All Activity
- Past hour
-
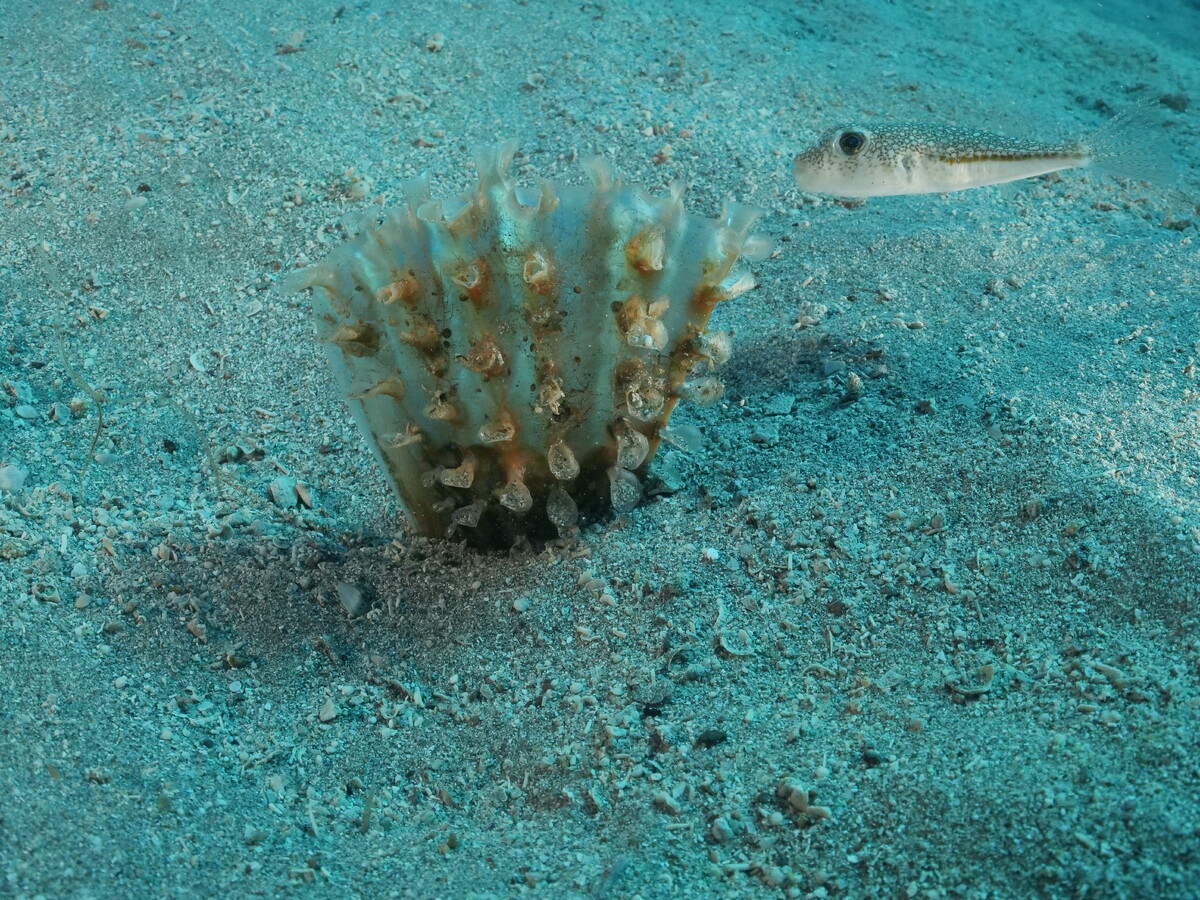
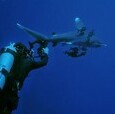
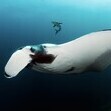
Really great work, congrulations again. While diving for that documentary, did you see any of those species? One is a puffer fish (Torquigener flavimaculosus) which is everywhere here on sand especially . They eat everything , and the other is a baby pinna nobilis which were started to dissappear from mediterranean a few years ago... At the moment i know 3 babies in Fethiye . So i just wonder how is the situation there about these 2 species .. Thanks a lot for your reply about the equipment you used for the documentary...
-
An interesting lot for anyone fascinated by the history of underwater photography and film making. The auctioneers are reputable and specialise in photographic equipment (I have bought from them myself). See: https://www.flintsauctions.com/auction/lot/lot-526---a-vinten-type-z-underwater-camera-for-hans--lotte-hass/?lot=49266&so=0&st=&sto=0&au=107&ef=&et=&ic=False&sd=0&pp=96&pn=6&g=1
- Today
-
Hi Lutfu, I'm still on the GH5 😇 We were always in pairs. One GH5 and one GH5S and to try to have the best coverage, one would go down with the 24-70 (Pana 12-35mm F.28) and the other in macro. Typically the Panaleica 45mm and CMC-2 on the flip or with the flat port and the 14-42mm and the CMC-2 on the flip. For certain problematic animals such as shells we used gopros and the AOI UCL-03 macro lens in time lapse mode or just plain video mode left unattended.
-
I think this can potentially be a cause for some otherwise good wide angle lenses not working so well underwater. One issue is field curvature - all wide angle lenses have it to some extent and the plane of sharpest focus can be concave or convex or even wavy with respect the sensor which is perfectly flat. Wide zooms tend to be more complicated and the curvature may change from concave to convex or vice versa as you zoom in. This link discusses in some detail: https://www.dpreview.com/opinion/7031211310/roger-cicala-field-curvature-pt-2 Why is this important UW? For lenses behind a dome port they are imaging a curved virtual image which mean the image plane of sharpest focus is also curved. If the lens's field curvature works with the curvature of the virtual image it can tend to help bring the edges into focus, but if it works against it it can push the edges even more out of focus. Field curvature doesn't change shape as you stop down, the depth of field just increases so that the edges progressively improve as the edges come into focus as you stop down. UW we tend to shoot well stopped down in dome ports which may mask some of this but a lens with strong field curvature in the wrong direction could potentially be impacted. It is most important on full frame, and gets to be less on an issue with smaller formats. On the topic of sea water, that and the air/water interfaces reduce image quality, ultimately limiting resolution that can be achieved. So it seems to me there are limiting returns when chasing sharper lenses. This can even happen in air, I was shooting across a fairly wide turbulent river in Ecuador in the mountains, the river was snow melt so very cold - I had noticeable image degradation shooting across a 20m wide river. bad enough I could see it in camera, I ended up raising ISO , opening the aperture to get the shutter speed a lot higher which helped a little. I'm not sure I agree with the premise that because lens manufacturers make lenses with lots of elements that adding optics does not always degrade performance. First we are talking about external elements such as domes and wet optics not being able to improve performance, not internal elements. Any internal elements are custom designed to work with other all the other elements while external wet optics are all so far designed to be universal. Even looking at the premise of adding elements will produce some degradation with each air/glass interface losing some light transmission and not being perfectly manufactured, however it is a compromise to correct aberrations in the optics, you might for example add an element to correct field curvature accepting that it reduces light transmission by 0.5% and centre sharpness by 0.1%.
-
Hi Chip, I would like to buy the Nauticam N120 x 20mm extension ring you are selling here. Rather than involve any PayPal expenses I am willing to mail you a check for the $225 you are asking and trust that you will mail the extension ring to me once you have received my check and cashed it. I would need a full name and address to which I should send the check. Please let me know if this works for you. Or I can arrange a Paypal payment if that is what you really prefer. We can make the arrangements faster if you call me at (941) 953-7623. Or you can email me directly at [email protected]. Fred
- Yesterday
-
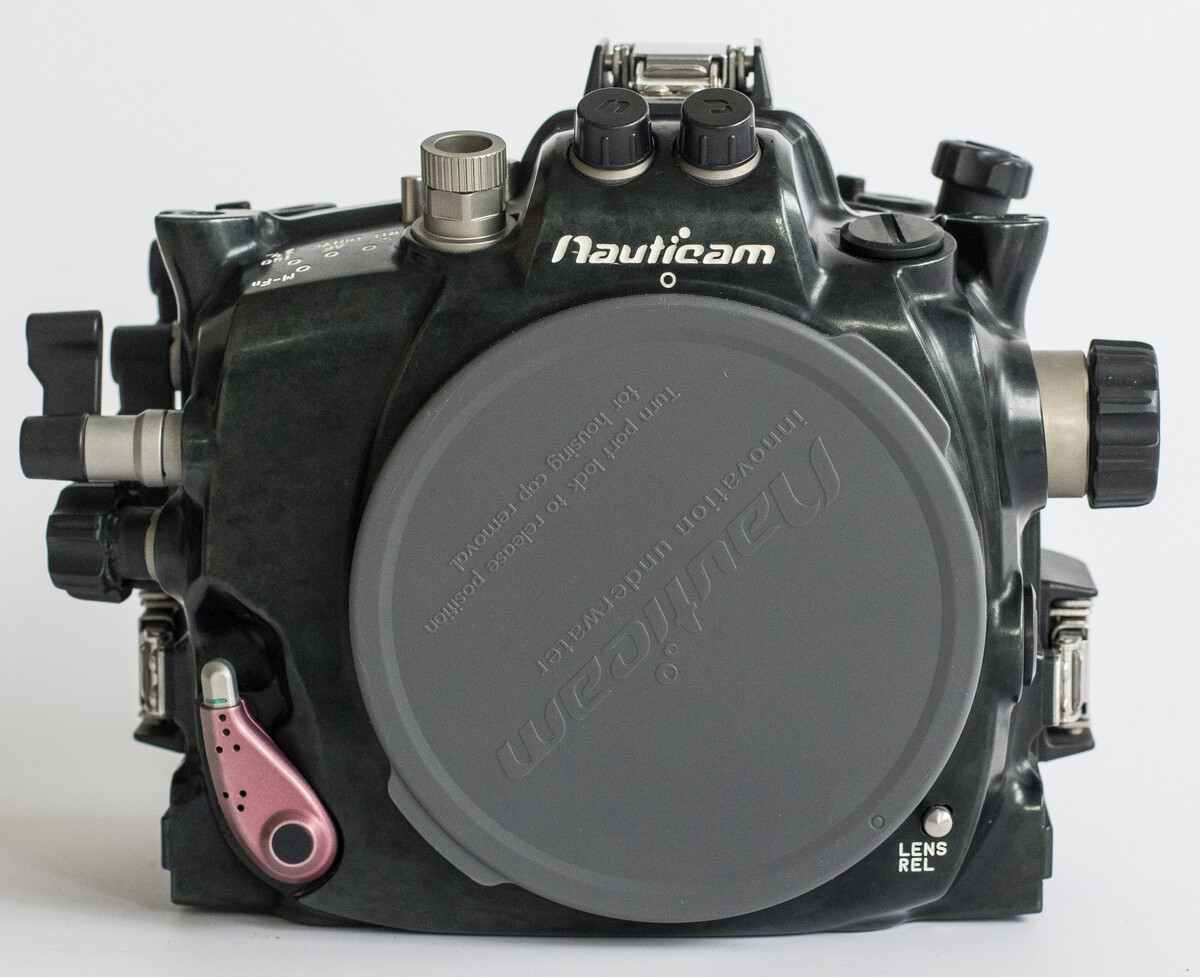
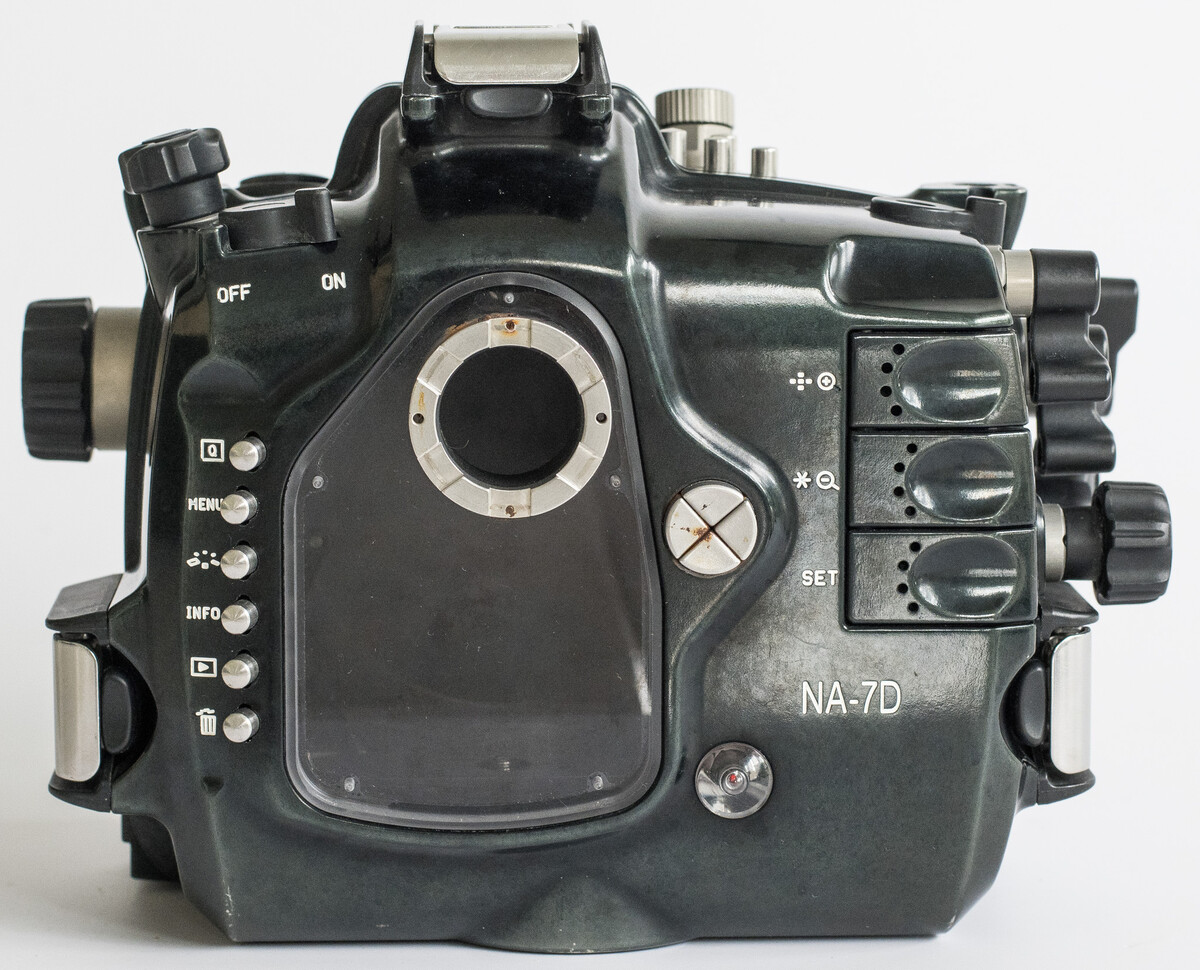
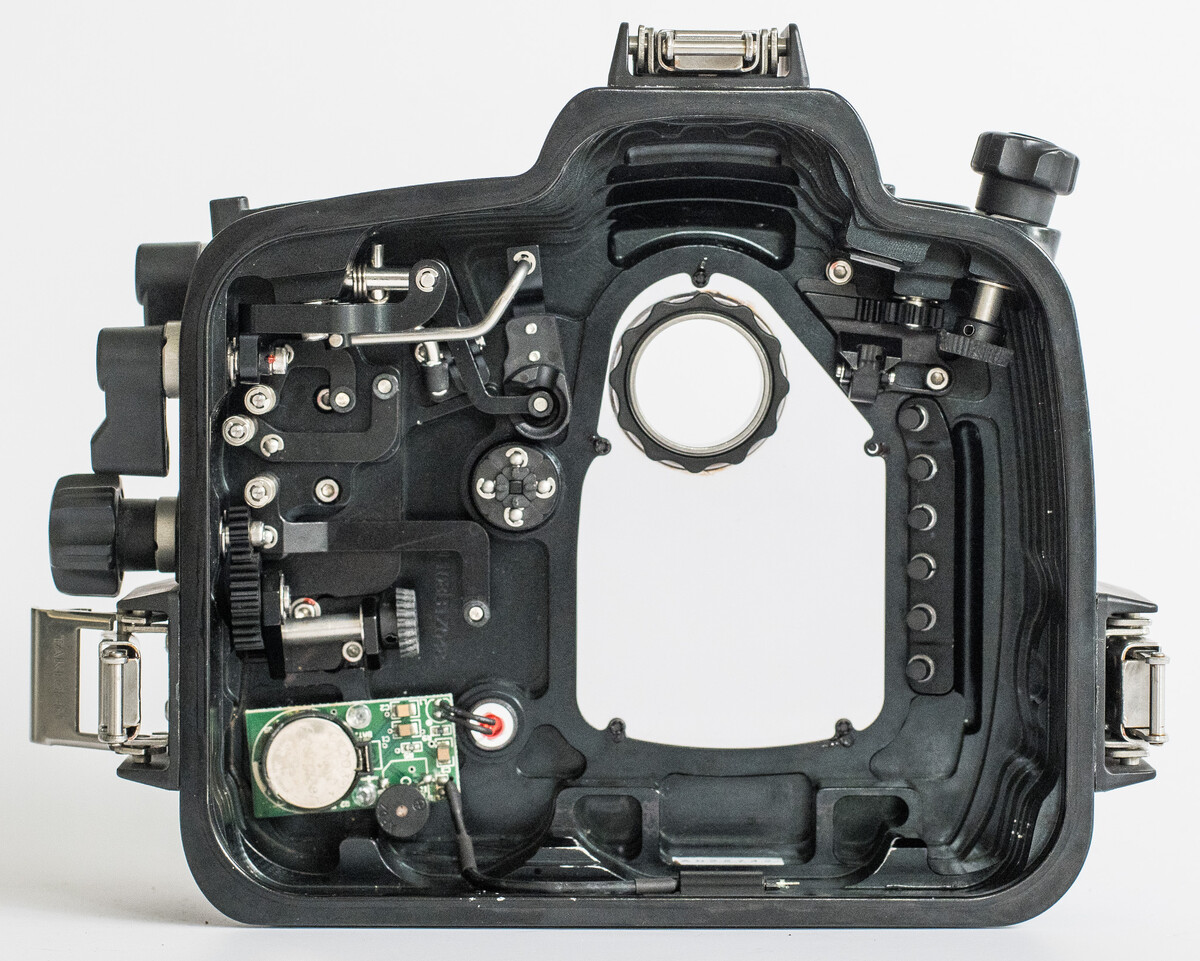
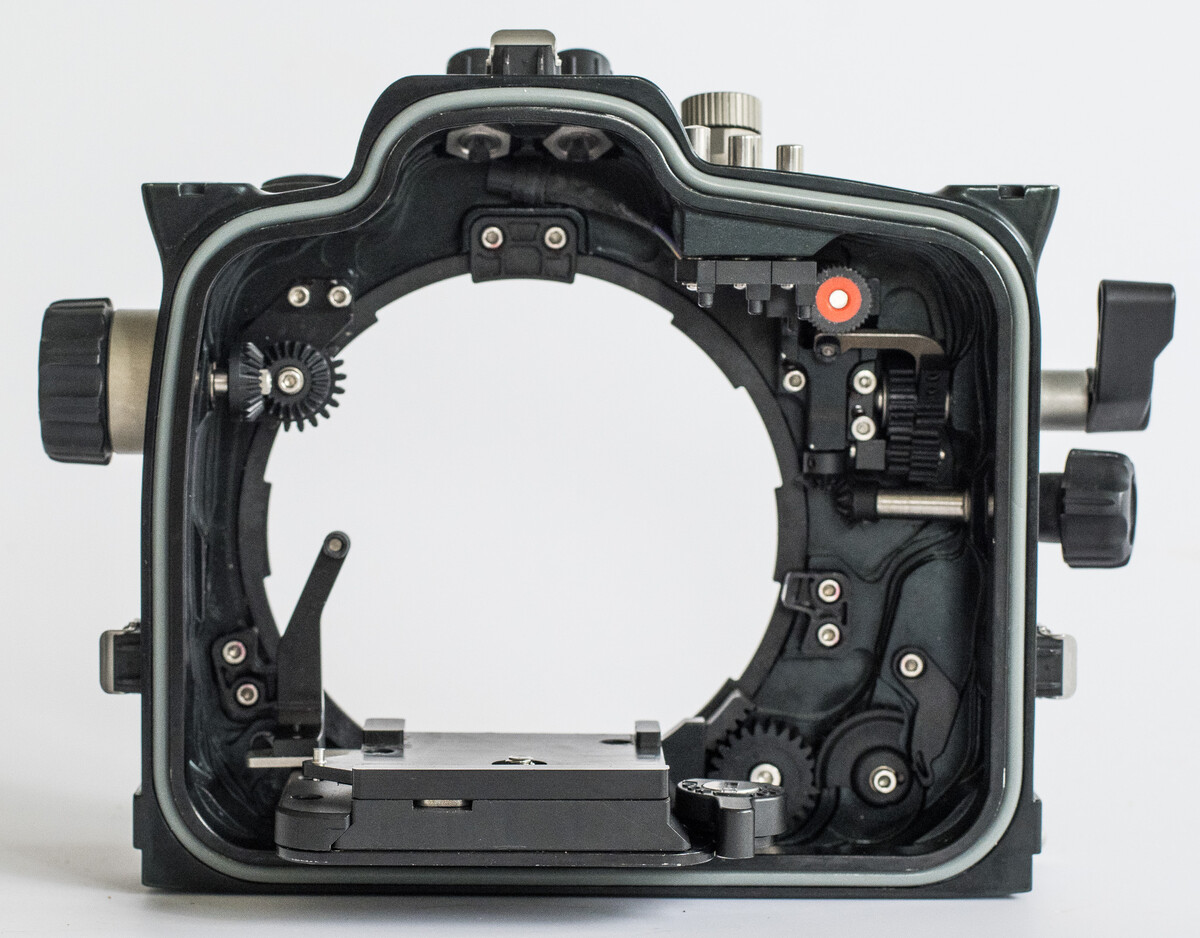
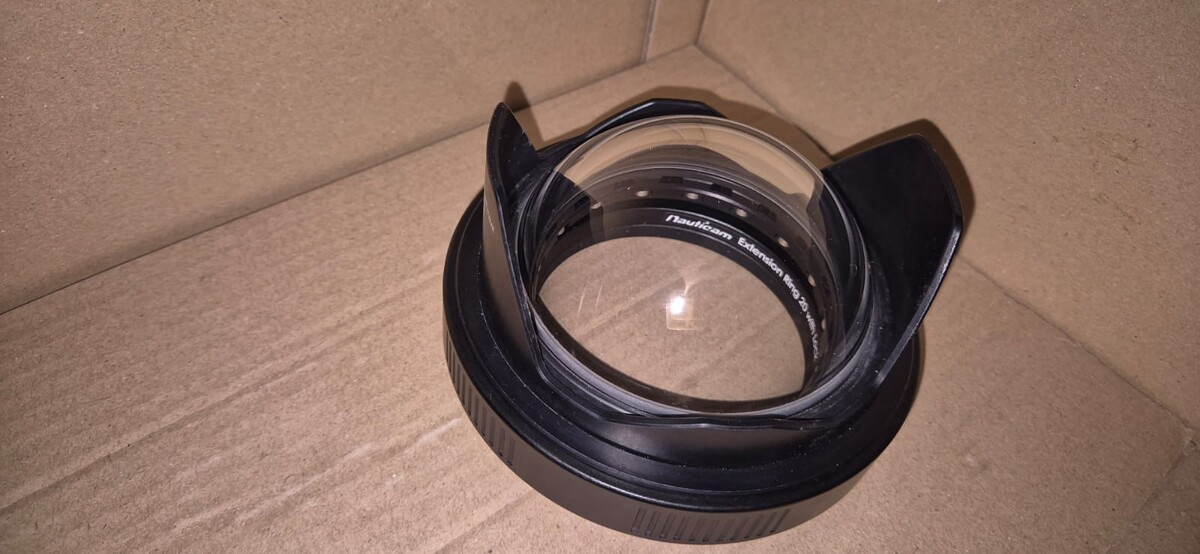
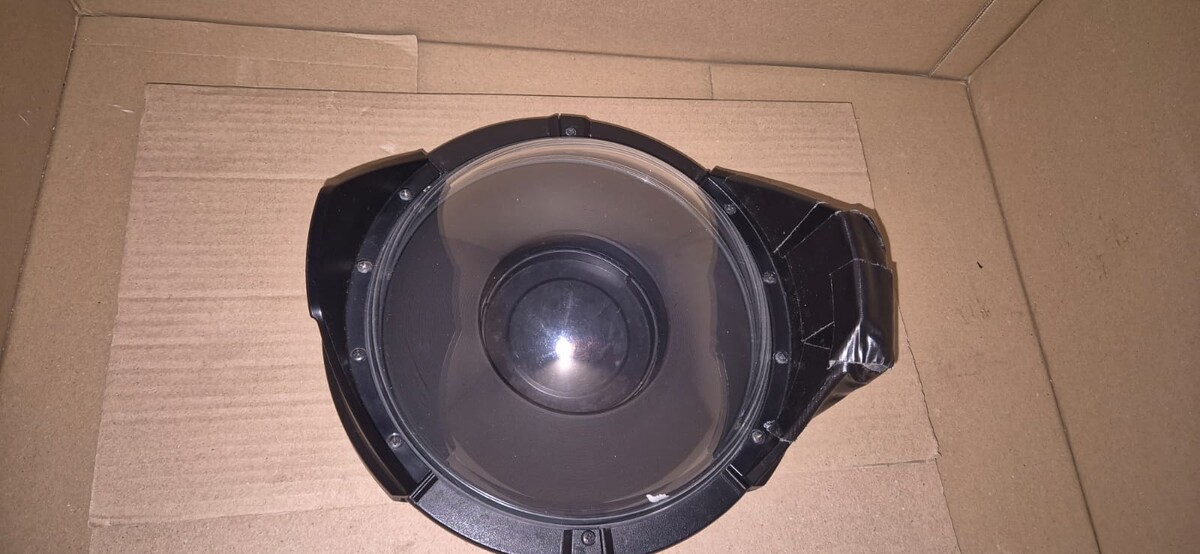
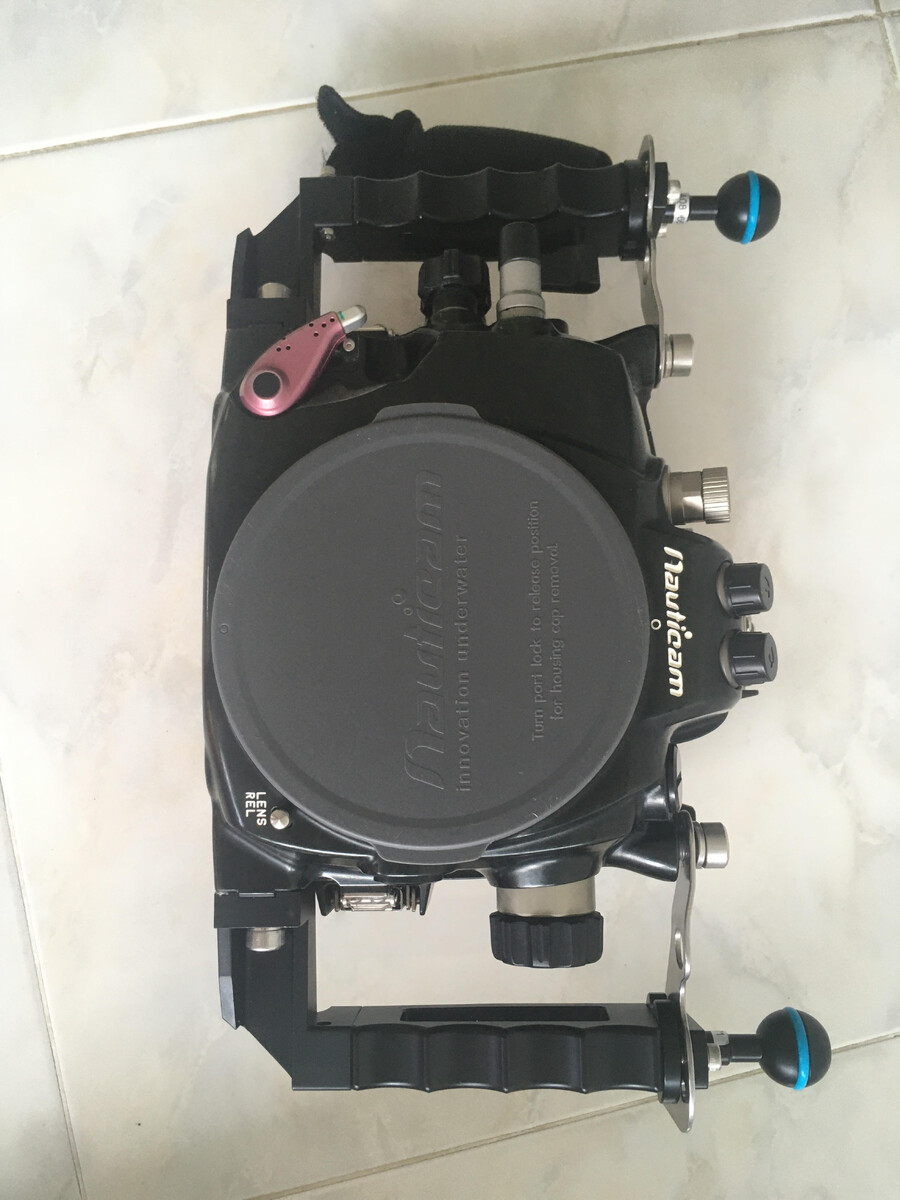
Nauticam NA-7D Housing for Canon 7D with aluminium handles (not pictured) and AOI vacuum valve installed. In good working order. With Nauticam port cap. 400EUR Zen DP 100mm glass dome. N120. excellent condition. 350 EUR Nauticam 20mm extension. 120 EUR Sea & sea 250 mm acrylic dome for Nauticam N120. Good condition, with some minor scratches, which don't seem to effect the image quality when used with the Tokina lens. 300EUR Tokina 10-17mm fisheye EF. the aluminium hood has been removed in order to use with full frame cameras. 150EUR 3D printed gear for use with Tokina lens. FREE WITH LENS Currently located in Tenerife, Spain. Happy to ship anywhere at buyers expense. Selling due to lack of use. I currently work as a dive instructor, so whilst I dive frequently, I rarely have chance to use my camera rig. And am trying to reduce the size of my equipment. Willing to sell everything together or separately. Open to negotiate and possible trades.
.jpeg.e76bf5bb30d5980cccc7a3cbb0fc8a6a.jpeg)
.jpeg.65a4586ecfa8471d042e2f7e43fb7664.jpeg)
.jpeg.01abaaf2945c59934d617828e5e9b34e.jpeg)
-
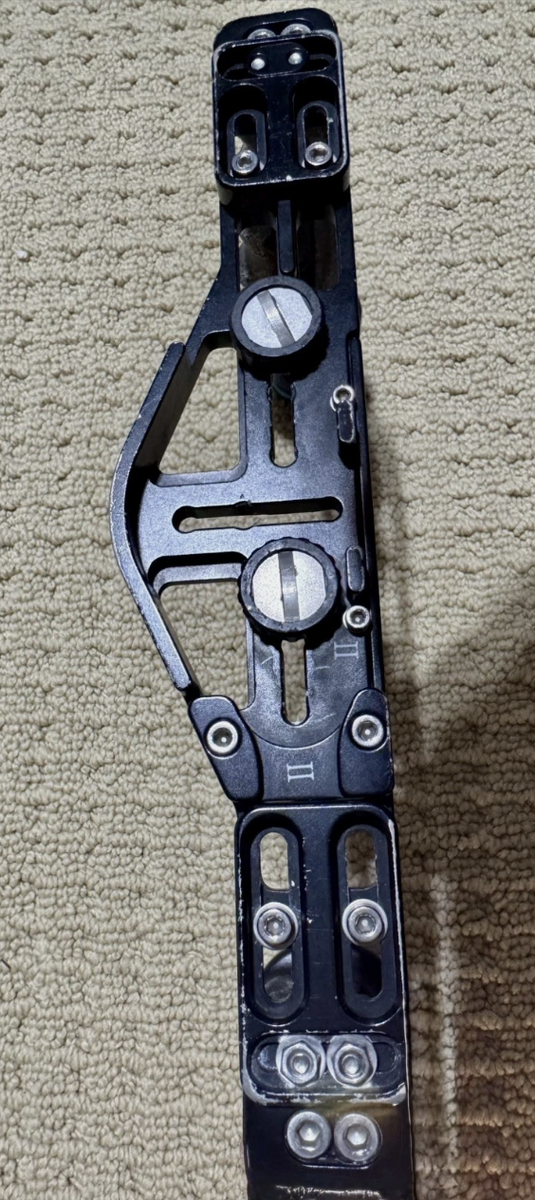
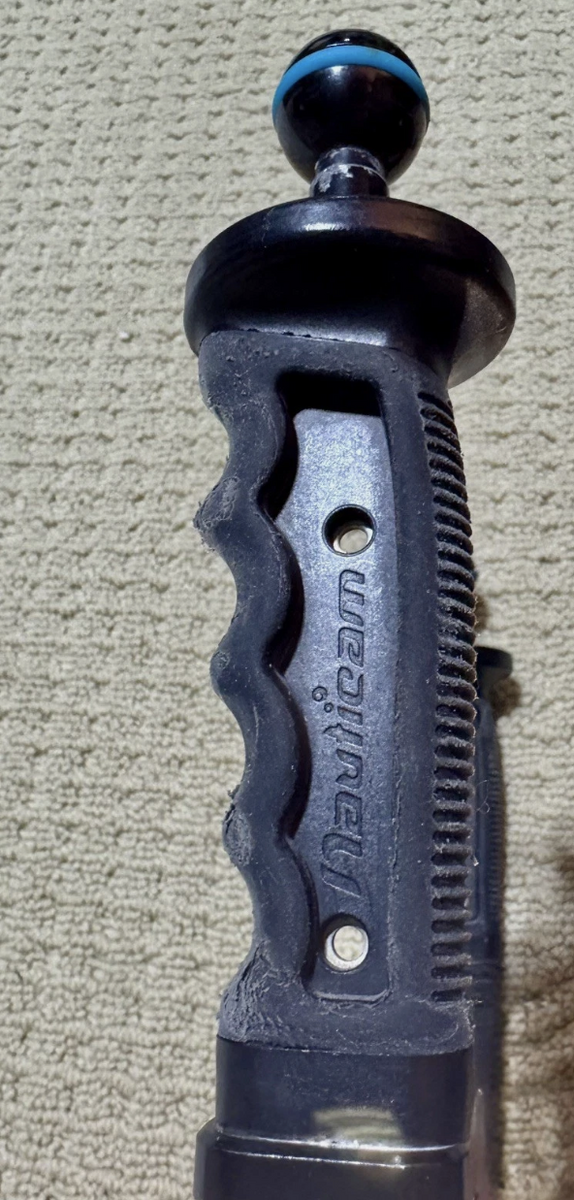
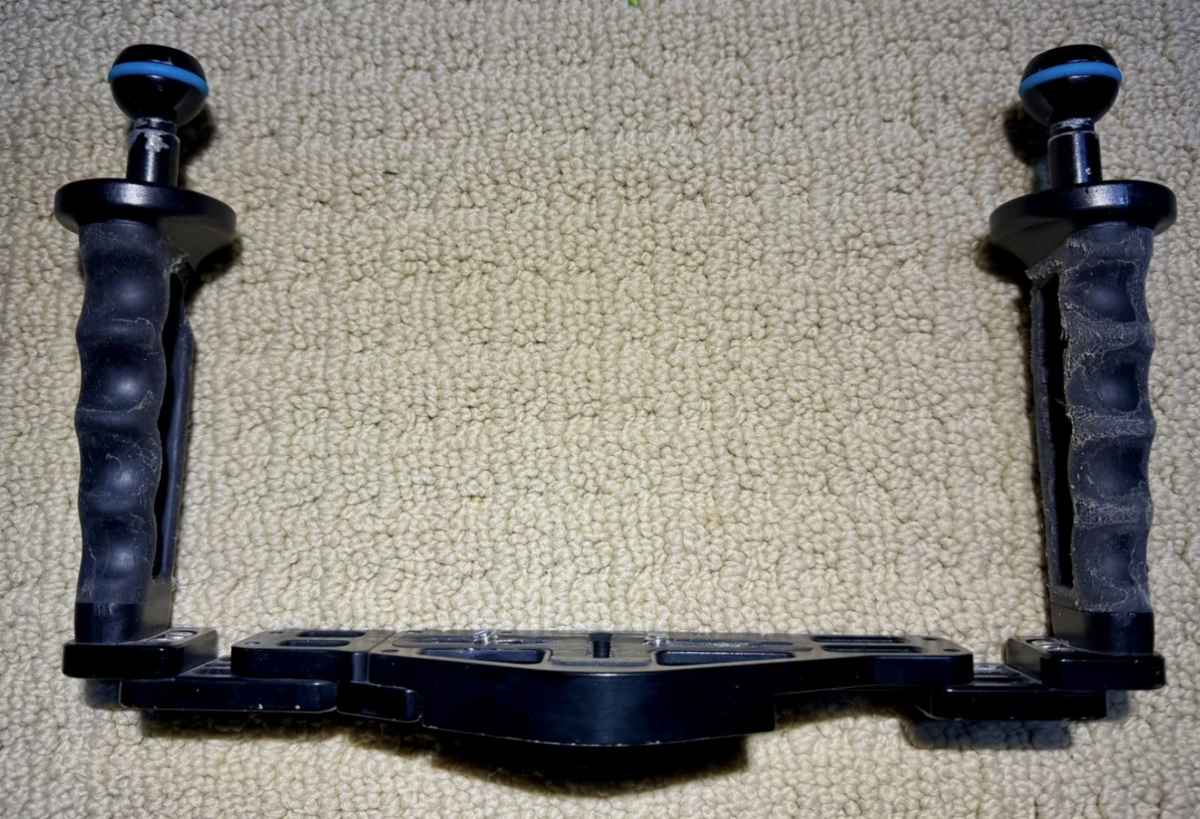
Nauticam Flexitray II with both Handles, definitely shows some use, but still works great, has many yrs of service left :) $120 shipped to CONUS email me here for faster communication [email protected]
-
the manual https://xtremestuff.net/gp-tune-plugin-manual/ and this tutorial from the developers are straight forward
-
Hey Sarah! Great to have you onboard. A warm welcome to Waterpixels. Best wishes
-
Thank you @Nando Diver I think i'll do the same choice due to the cheap cost of such plugin. With FLAT and WIDE what are your settings for color Management settings? Thank you
-
About WIDE=1 i WIDE=1, the gamut is sensor native, not Rec709, not Rec2020, just what the sensor sees. This is like white balance set to Native - the difference is WIDE=1 leaves the white balancing active, making color correction a little easier and using more of the available bits (8/10-bit). if you use WIDE=1 you will need some LUT to convert to Rec709 color space, im using gp-tune plugin (26€) and color correction with davinci resolve( free version ) and its never been so easy to color correction. I have WB Auto in settings, because using the Wide=1, i think it override the AUTO WB/Native option. The lobster video below was filmed with FLAT + WIDE=1, then GP-tune plugin to convert WIDE to REC709.. its just a few click and the color correction is almost perfect... only 26€ and save me hundreds of hours in post.. Regarding the 4500 kelvin its matter of preference and where you dive, im using Divevolk SL50 that have 5600 Kelvin, probably not the best choice for green atlantic waters, but still im still getting acceptable results for Gopro.
-
I am suggesting this as a thought, not a position I am taking... Could it be that some lenses, due to their optical design, degrade less than others and some lenses that are "superior" on land may be more more degraded underwater and thus the "lesser" lens on land is superior underwater. (If that word salad makes sense) To me, shooting underwater is somewhat like shooting through a dirty-ish window on land. Even if we can correct for how light is transmitted underwater and deal with water-caused distortion, seawater is not clear, especially when we are more than inches away. But anyway, I wonder if a lesser lens might, in some cases hold up better underwater and thus be the better lens than alternatives, and the inherent detrimental effects of seawater also mask some of the lens' shortcomings?
-
Hey everyone I’m Sarah I’ve been diving for 18 years and have gotten into tech and cave diving in the past 4. I just got a dive volk to take pictures and videos with my phone and I’ve been really enjoying it. Planning on getting a few upgrades for it like a video light but I like how compact it is and that I can throw it in my pocket when I’m not using it.
-
seajax joined the community
-
What makes a good underwater optic is, in my view, a different question and one that should be discussed separately. The Tokina 10–17 stands out for good reasons — mainly its fisheye design and extremely short minimum focusing distance. Those are exactly the kinds of criteria that should be used first to identify viable underwater candidates before weighing them against one another. But once you do that, the relevant comparison for the Tokina 10–17 fisheye zoom is the Canon 8–15 fisheye zoom. And in that comparison, the Canon wins on resolution and sharpness. At least in my experience, that advantage carries over underwater as well.
-
I would say it might be a mistake to assume that a lens performing optically better on land will be superior/sharper UW. Not always the case. Nikon 14-24 anyone? You shoot a whole system. And fisheye lenses are normally easier to get sharp results from. The tough ones are inme (and quite a few others experience too) the wide rectilinear lenses (like Nikon 14-24). And since the Tokina fisheye zoom 10-17 was mentioned, the reason it wasn’t that popular for land photography isn’t because it’s a ”bad” lens optically… I don’t think it is, it is because it’s an odd ball lens.
-
Hello @Nando Diver hello everybody. About the best mix between standard gopro settings and gopro labs firmware. I use DIVE, BITR, of course WBLK. Color is FLAT as I try post with DR20. I have some doubt about WB setting, I"m wondering about setting 4500 kelvin due to lights temperature (I always use dive lights) or leave AUTO WB or choose NATIVE. what's your opinion ? Thank you
-
-
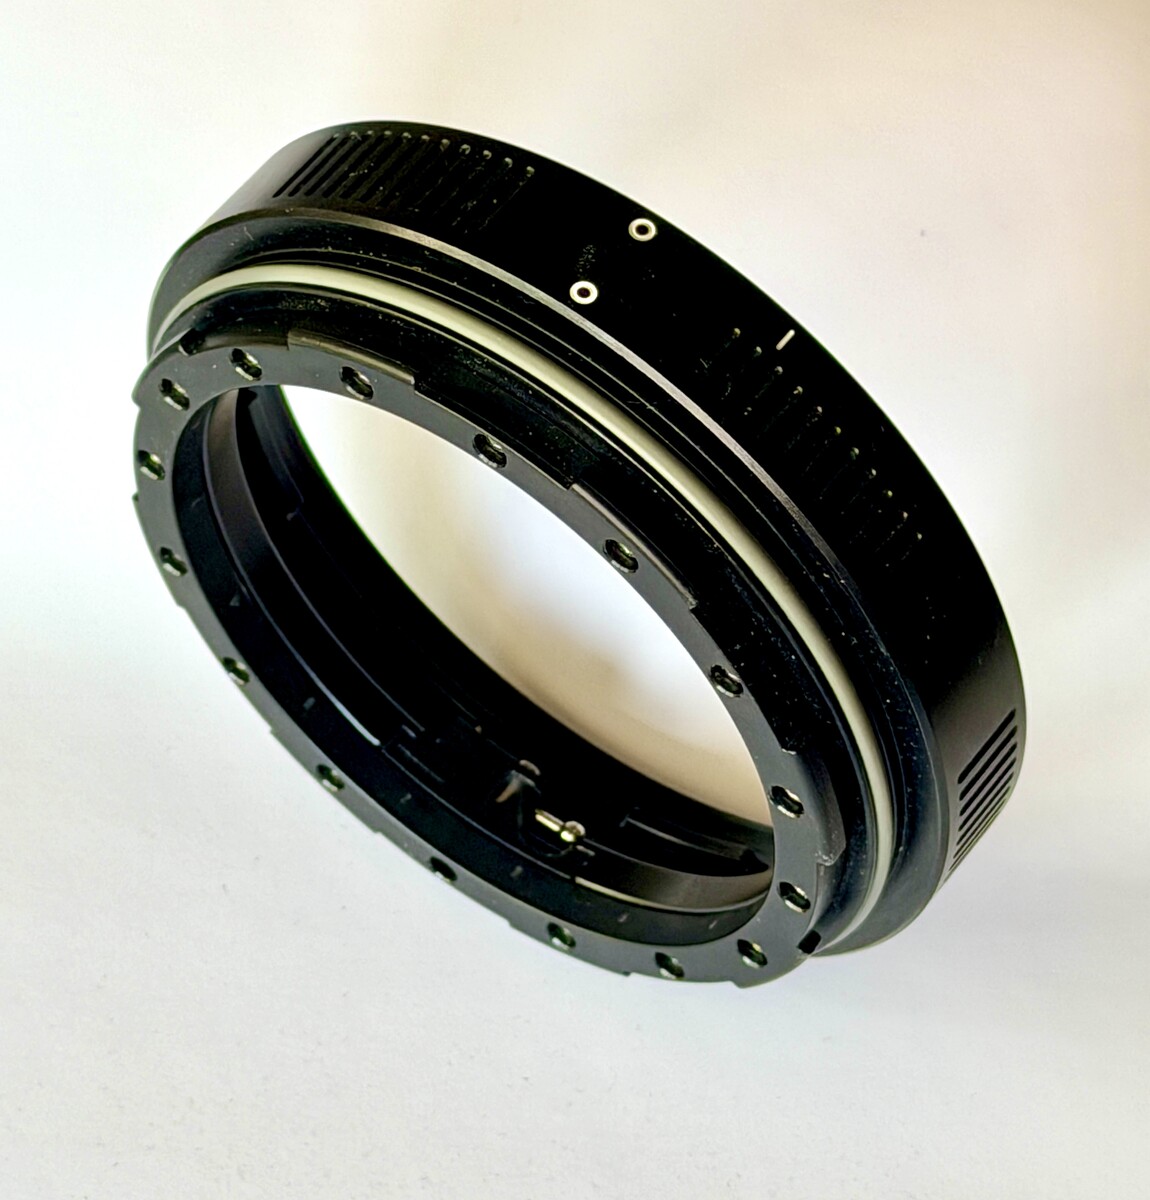
Selling a Nauticam N120 20mm Extension Ring with Lock. (NA #21120) Price New - $390 Sale Price - $225! No marks or scrapes Includes USPS Priority Shipping to lower 48 US buyers only Please reach out with any questions. Thanks for looking!
-
Salut Julie! A warm welcome to Waterpixels. We hope you enjoy the forum. Best wishes
-
I don't have any expertise with optical design, but I am going to question the assumption that "adding more glass" degrades performance. Logically, if you consider the design of any advanced lens, there are many pieces of glass, elements, involved. Lots of elements used to optimize the performance of the lens. However almost none of them are optimized for underwater use cases. Therefore it is completely possible to further improve the lens with more elements, even if they are external rather than internal glass. Would we criticize Nikon or Sony for bumping up the element count on a new version of an existing lens if it improved performance? Of course not. More glass does not equate to worse performance.
-
Hello everyone, I’m Julie, a passionate diver from France. I’ve been diving for 13 years and have been making underwater videos for the past few years. After completing some training and shooting footage with a GoPro 10 and then a Sony RX100 III, I’m currently switching to a Sony Alpha 7 V. Thank you all for welcoming me to the community. Best regards, Julie
-
I basically agree with the premise, any additional elements tend to degrade performance to varying degrees, it may degrade a lot or a little to the point it is hard to see, but it entirely reasonable to expect that it won't improve. As for the statement : start with the best land candidate, then optimize the underwater setup as intelligently as possible yes but it still seems that some lenses play better underwater than others, so there is a need to be selective in what you try to take underwater. Just because it is an amazing lens above water doesn't automatically translate into good UW performance. Though it seems that with the latest crop of close focusing mirrorless zoom lenses many of them work quite well UW. For the specific case of the Tokina 10-17 potentially what we are seeing is that this lens works exceptionally well with small domes and the degradation in performance when taken UW is minimal. But if you compare the UW results with some of the older rectilinear zooms that don't seem to work well UW or perhaps people are using them in too small a dome, the Tokina seems to really shine if you just compare UW shots taken with these older lenses with shots taken with the 10-17. It is also a very flexible wide angle option the ability to zoom in and take reef scenics and CFWA on the same dive can trump ultimate sharpness for many people.
-
Quick update, v0.3.35 is released, this makes the trips functionality optional. There is now a tabs for trips, timeline, location. these are drag and droppable, the leftmost being the default view. fixes the dive numbering and also fixed a bug I found whilst doing this regarding photo importing https://github.com/wyvernp/pelagic/releases/tag/v0.3.35
-
What about lenses that are not well regarded above water such at the Tokina 10-17 which has quite a following for UW use?
-
Davide I watched it and it is great Congrulations Many questions Did you film it with your gh7? What picture profile was it? Which macro lens ? Great filming though 👏👏👏


.thumb.JPG.ee7304ee8722194fb8b47ba81cc4c490.JPG)