


Everything posted by Tino Dietsche
-
Yes, she did that, but unfortunately, it didn't really help. The MF-1 is known for its sensitivity issues anyway. I had similar problems when the MF-1 first came out, even with the old Nauticam trigger for Sony. The cable had to be top-notch, and it didn't take much for it to start acting up. I then got an MF-2 as a replacement, and the problems disappeared. I think the combination of the new trigger and the MF-1's relatively low sensitivity is causing the problems here. I'm pretty sure the flash itself isn't working quite right anymore either. She used it quite a lot. Let's see what Backscatter has to say about it.
-
Thanks for your feedback. My colleague and I have now tried out various cables and also tested the setup with another MF-1. The conclusion of the tests is clear: the MF-1 is really sensitive when it comes to the fiber optic cable and can't handle any connection problems. We tested with three cameras and two triggers (Backscatter and AOI). Both triggers use IR light. We'll also run another test with an older TRT. It looks like my colleague's MF-1 might have some other issue. She'll contact Backscatter directly. I think she'll probably get a new flash for macro photography, either the Backscatter Mini Flash 3 or the AOI UCS-Q1i Ultra. Which one would you recommend in her situation? Thanks for your feedbacks, Tino
-
Hello everyone, A colleague of mine is having problems with her Backscatter Mini Flash-1 and her new AOI housing for the Sony A7CII. I know that the MF-1 can be quite finicky when it comes to fiber optics, and problems are often related to the cable. I experienced this myself with my MF-1 and the manual Nauticam Sony trigger. However, I eventually found two cables with which the MF-1 almost always worked. My colleague is now having nothing but trouble with her new AOI housing for the Sony A7CII and the trigger. She has tried countless different fiber optic cables. Sometimes the MF-1 seems to work, and other times it doesn't. The INON flashes she still has work without any problems with all cables. The trigger is always in manual mode (WL ON). Could it be that the older MF-1 flashes are causing even more problems with the newer triggers? It worked perfectly with a TRT trigger I had previously used in a different enclosure. Or does anyone else have any ideas? I'm meeting with her again tomorrow and will take another look. And I think it would be best if she also asked Backscatter directly. But collective wisdom is usually even more helpful! Thanks in advance for any feedback, Tino
-
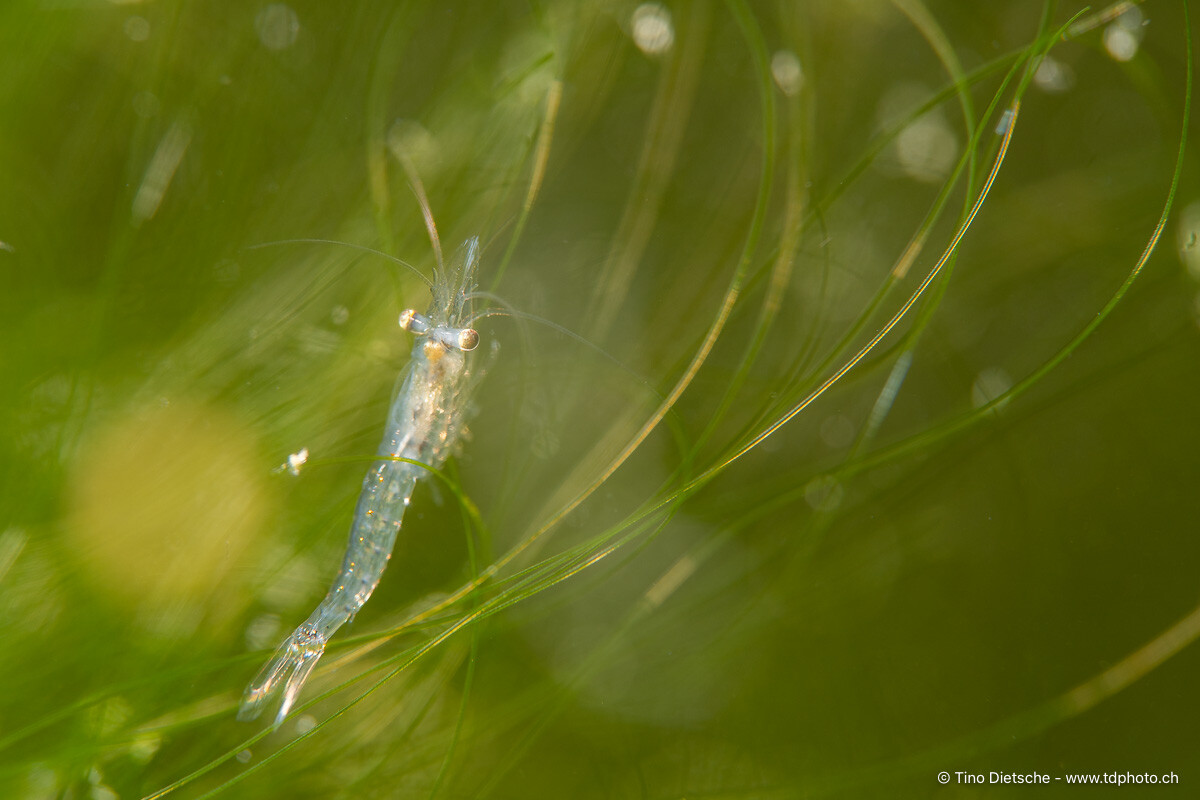
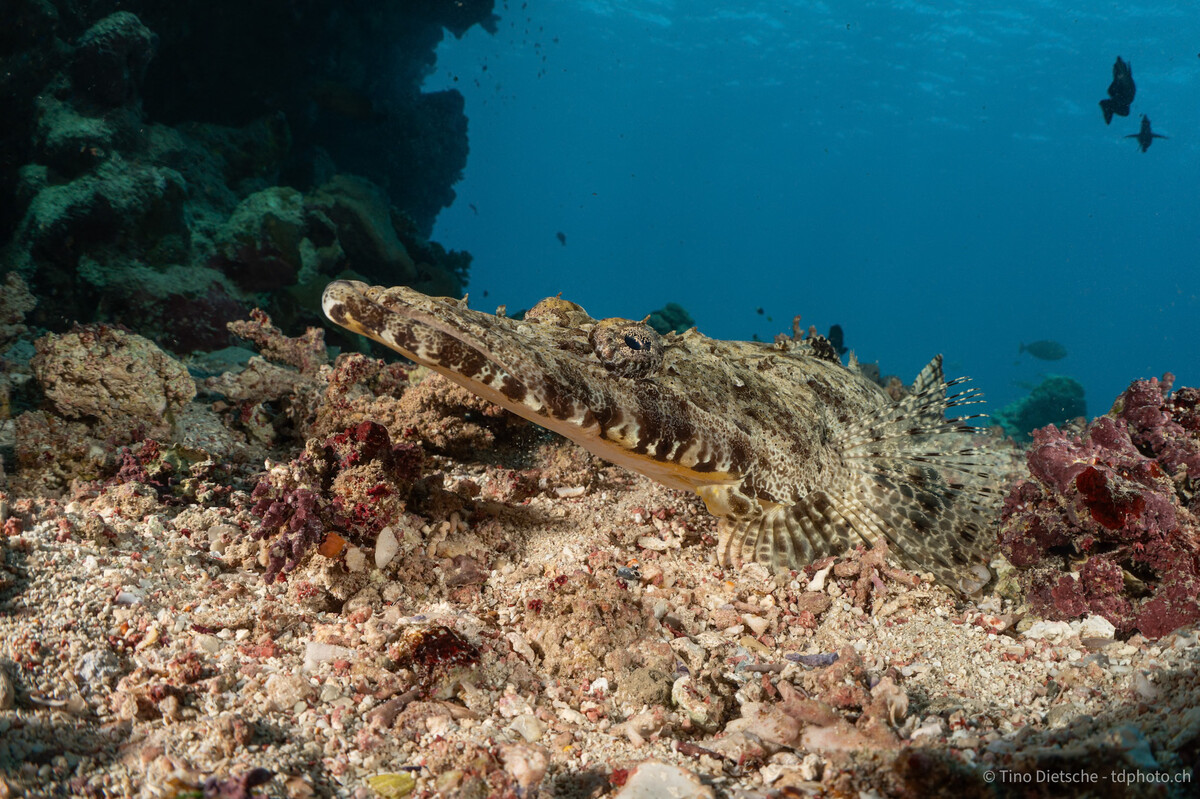
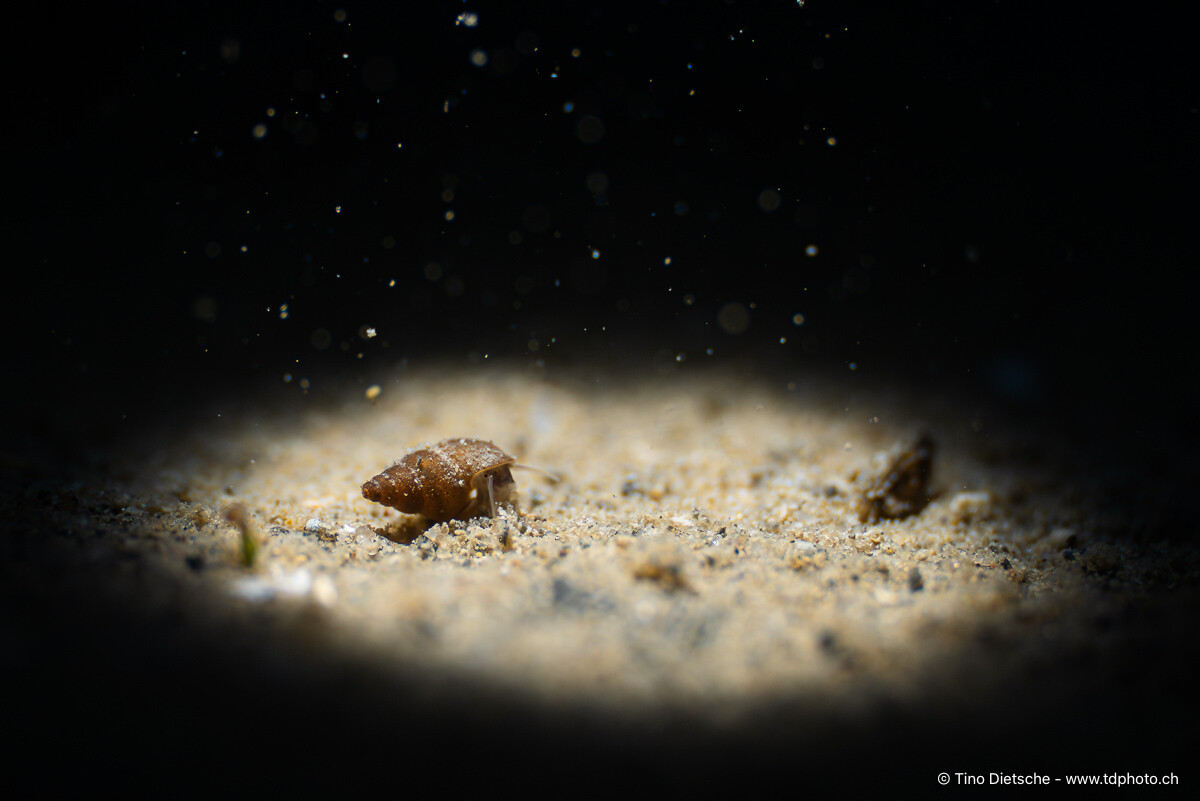
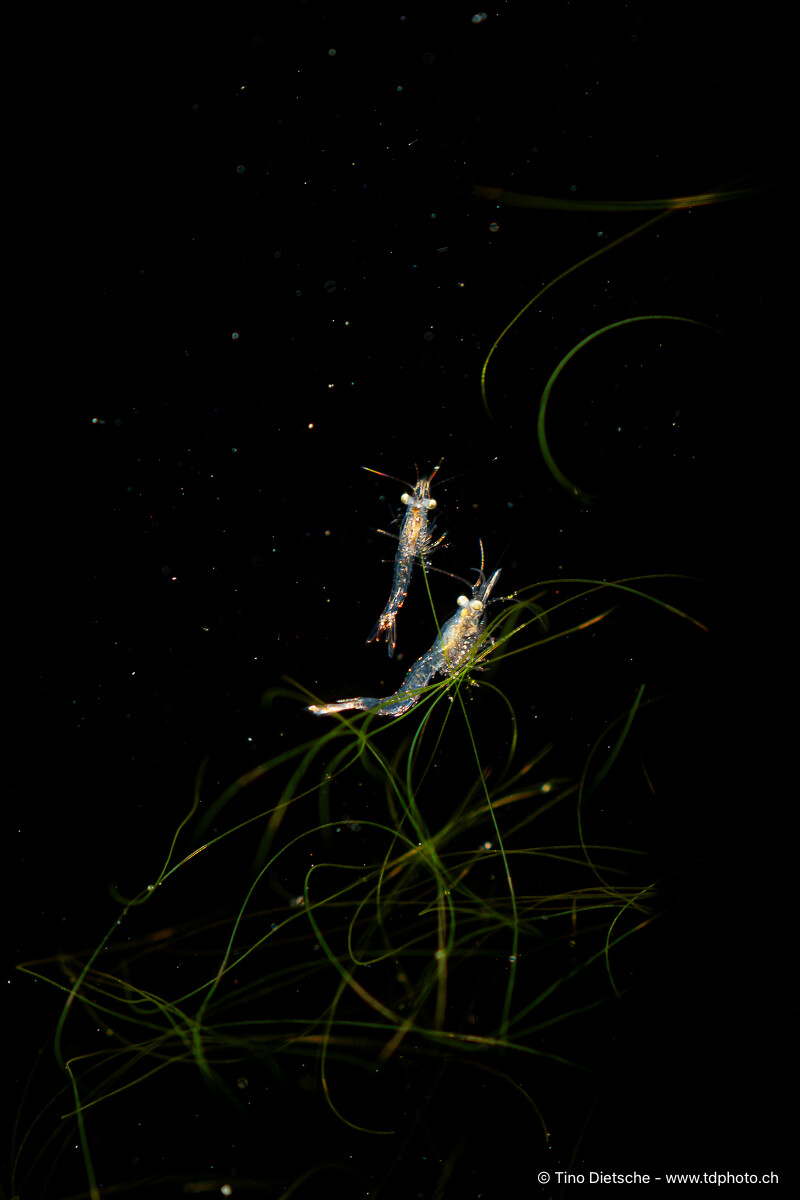
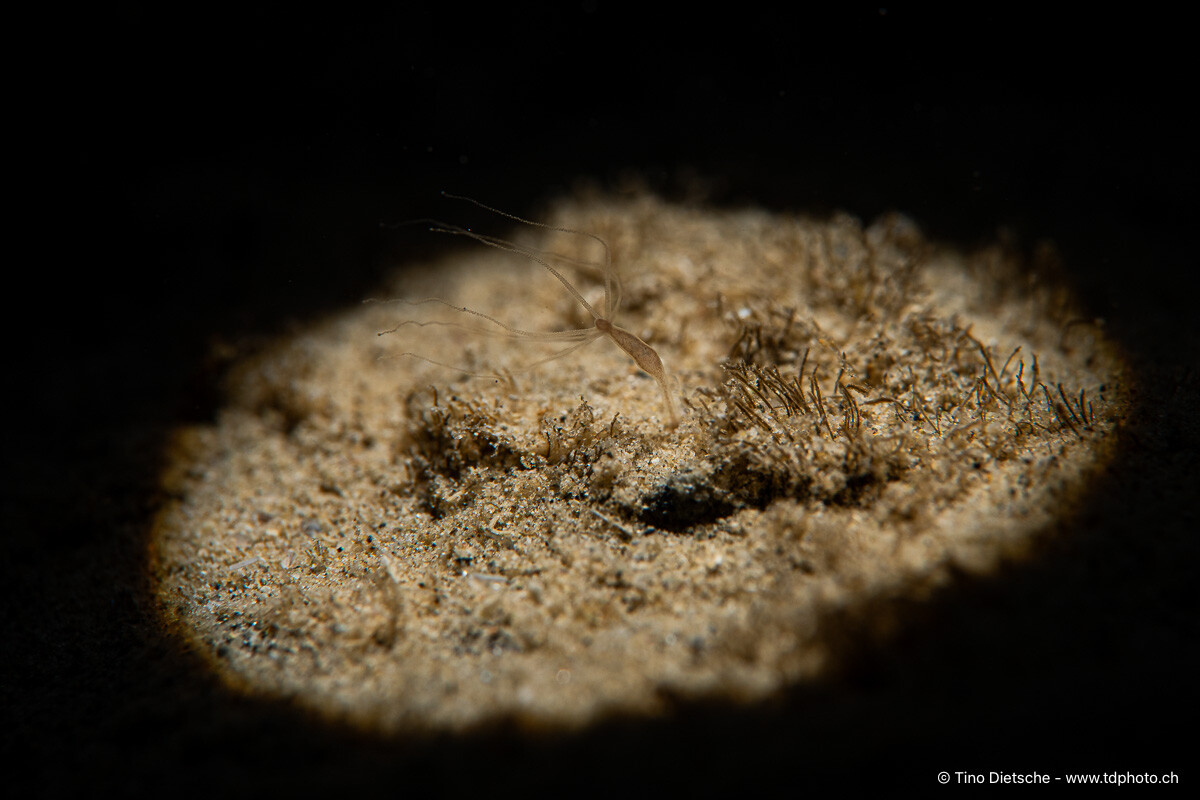
Here some examples with the 16-35mm F4 behind the 180mm Dome

-
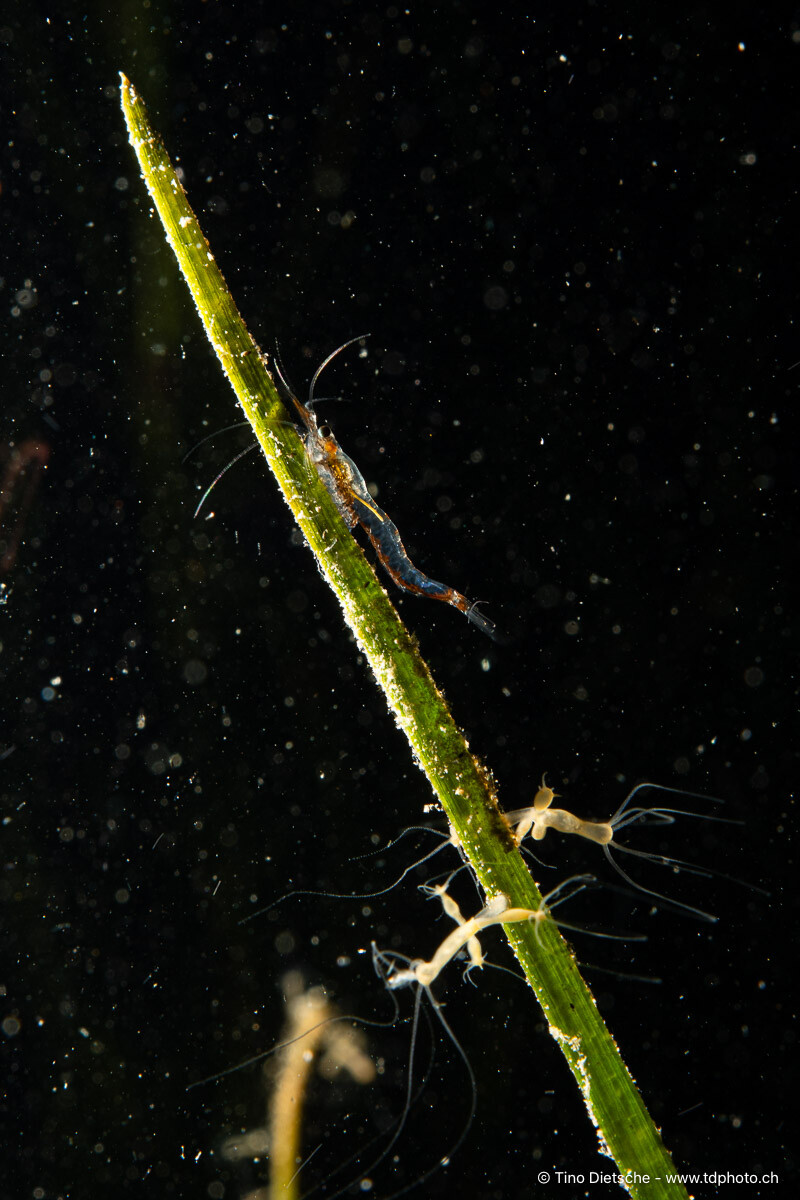
Good Morning, Sometimes I also shoot video with my C II; the crop doesn't really bother me. The 33 megapixels are actually always enough for me. Sure, there might be situations where you’d wish for more—or where more cropping flexibility would be cool—but in the end, you have to ask yourself: what are you actually doing with the images? Printing is no problem at all with 33 megapixels, and if we're being honest, most photos never end up in high resolution anyway, especially on social media channels where, in my opinion, you can't see the difference regardless. The photos in the post were taken with the WWL-1 / 28-60, except for the one of the skeleton shrimp. The corner sharpness with the 180mm dome and the 16-35mm isn't exactly ideal. However, I’d be happy to send you a few more samples if you'd like. One thing that really shouldn't be underestimated when it comes to housings is the weight—and the price! Best, Tino
-
Hello, I faced a similar question at the beginning of 2024... Should I stick with the "large" A7 series, which at that time was the A7IV, or go for the more compact A7CII? I ultimately decided on the A7CII, even though I already owned the A7IV. I haven't regretted that decision at all. I think I would make the same choice again today. For one thing, the housing is a bit more compact, and besides Nauticam, there's a top-notch alternative housing, for example, with AOI. In my opinion, the optics and lighting are far more crucial in this whole matter. When it comes to quality in underwater photography, these are the two absolutely decisive factors. For wide-angle shots, I personally switched from the 16-34mm f/4 to the 28-60mm with WWL-1 after upgrading to the A7CII, and I wouldn't want to go back to the large dome port. For macro photography, I've been using the 90mm lens for many years, which I supplement with various wet lenses like the MFO-1, MFO-3, and SMC-3. My current favorite would be the new 100mm. (Anyone still looking for a 90mm with a compatible port...? 😜) No matter which system you choose, the difference compared to your current RX100 series will be enormous! If you live near Lake Constance, feel free to get in touch and take a look at the equipment or even try it out. I still have the 180mm dome lens and the 16-35mm available as well. Greetings from the Swiss shore of Lake Constance, Tino

-
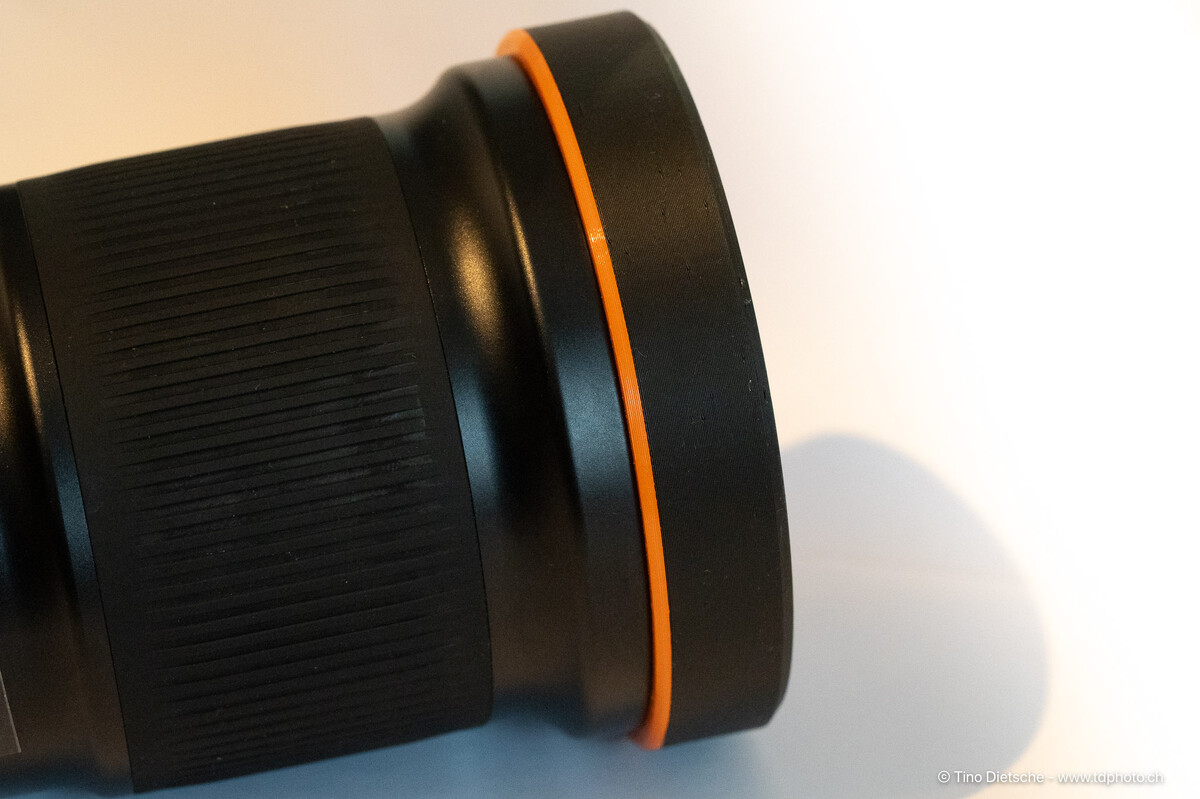
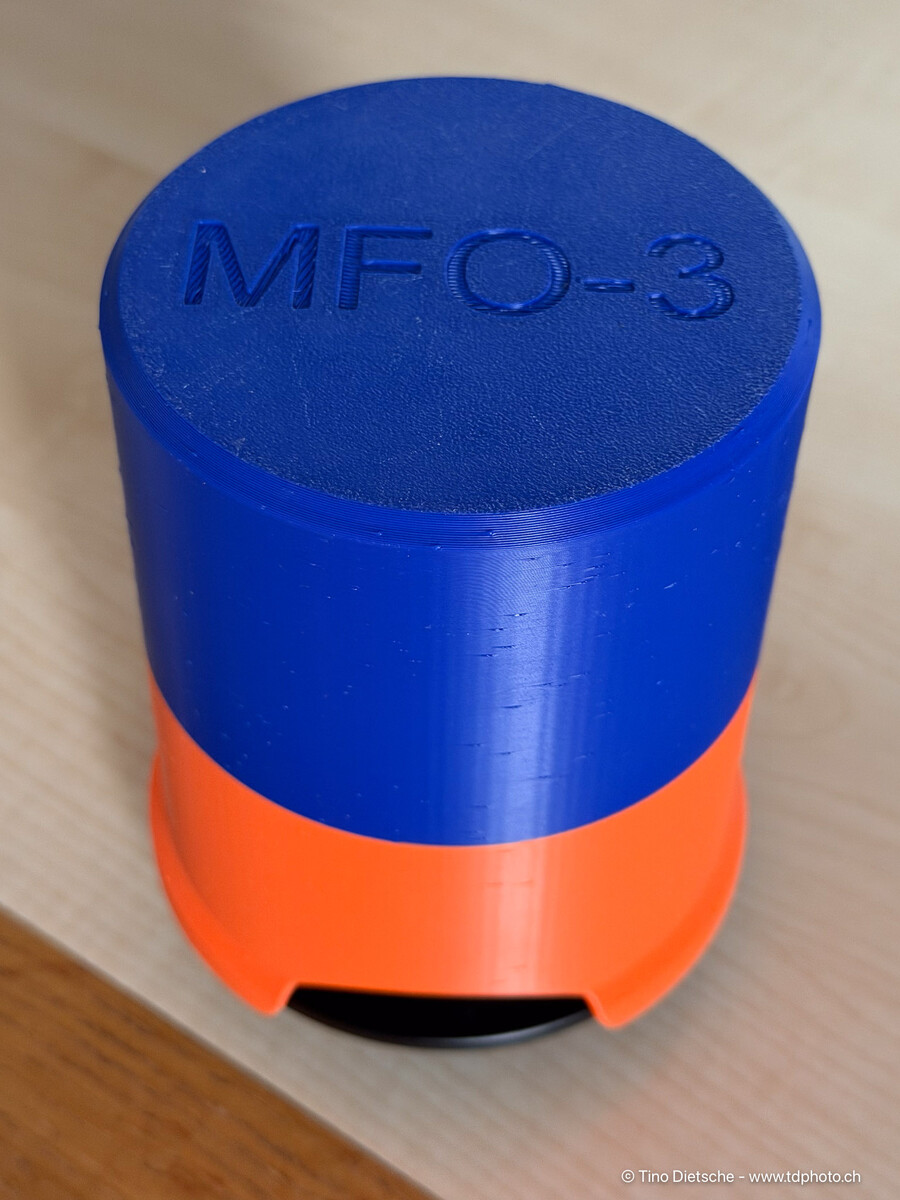
Hello everyone, My protective ring for the Nauticam MFO-3 lenses is now available online. The basic design idea comes from "flowdesign," whose ring I also used for a while. Tanks for this! Since I've designed various things for SMC, MFO, and CMC lenses, I completely redesigned the protective ring. Now I have excellent protection for my MFO-3 lenses both in the water and during transport. Tino https://makerworld.com/de/models/2548785-lens-bumper-for-nauticam-mfo-3#profileId-2806849 Cover for MFO-3 mounted on Nauticam Bayonet-Adapter for Transport MFO-3 Deckel.stl
-
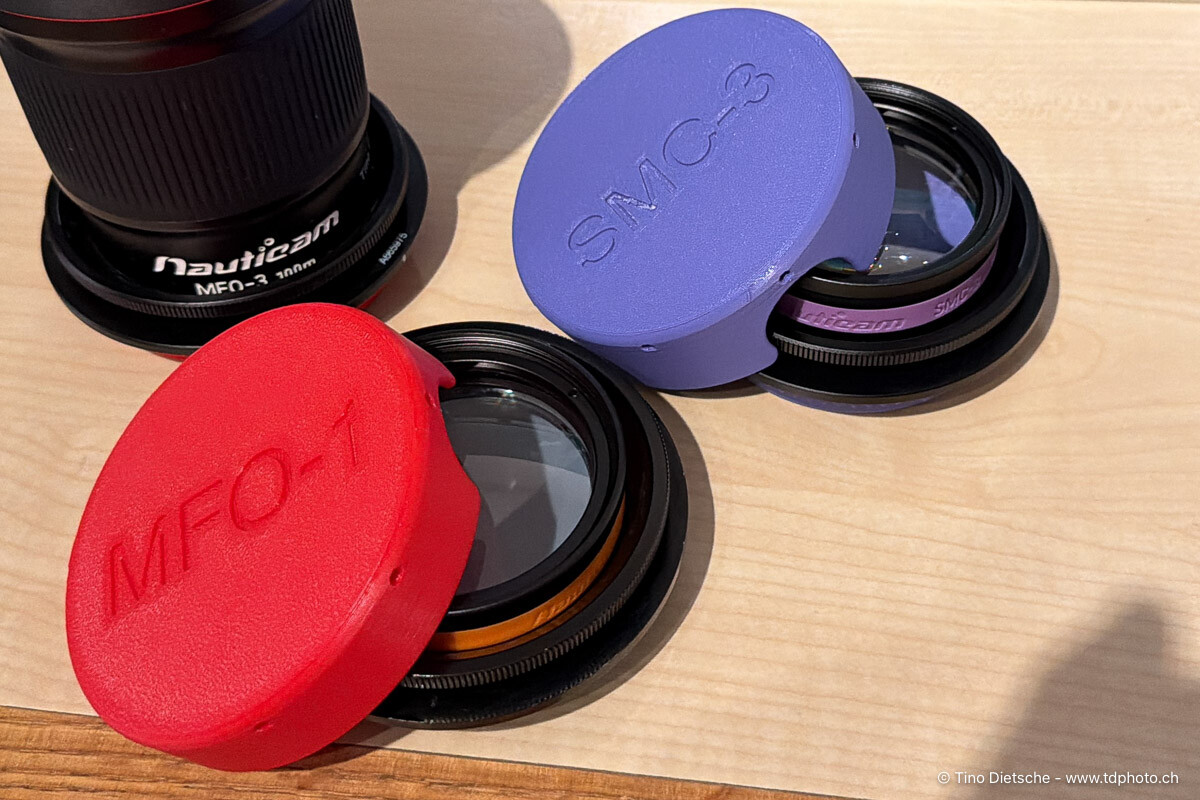
Hello everyone, I've now updated my lens caps for all SMC and CMC lens variants and uploaded them online. The same link now provides the caps for SMC-1, SMC-2, and SMC-3. The caps for the CMC lenses will follow in the next few days, and I'm also working on a cap for the MFO-3. https://makerworld.com/de/models/2463780-front-cover-for-nauticam-smc-lenses#profileId-2704602 Tino
-
Hello everyone, I've adapted my MFO-1 lens cover to fit my new SMC-3. Maybe someone can use it. I've also adapted the lens cap for the CMC-2 if anyone needs it, and various other lenses are compatible with the Nauticam bayonet mount. If you're interested, just send me a private message. I'm still working on a prototype for the MFO-3, but since it has a protective ring on the front, it requires a modified design. SMC-3 Cover https://makerworld.com/de/models/2463780-front-cover-for-nauticam-smc-3#profileId-2704602 rear-Cover for Nauticam Bajonet https://makerworld.com/de/models/1346497-rear-cover-for-nauticam-wwl-1-bajonet-mount#profileId-1388138 Greetings from Switzerland, Tino
-
I use the designt from "flowdesign" and realy like it! You find the files in the following post..
-
If you have an Android phone and a corresponding LR subscription, you can test the workflow before buying a tablet; it works exactly the same on a phone as on a tablet.
-
Hi Atus, In principle, such a workflow is possible with the mobile version of Lightroom. I've done it myself on several trips and vacations. I worked with a 2018 iPad Pro, but I think it should also work with Android tablets. The basic requirement is a Lightroom subscription with sufficient storage space, or enough storage space on the tablet. I don't think it's possible any other way these days. After taking the photos, the images are imported directly into Lightroom on the tablet and copied to the tablet. (I worked exclusively with RAW files.) Afterward, I usually did a rough sort of the images with Wi-Fi turned off, i.e., without internet access, and immediately deleted the unusable ones. Unfortunately, using keywords doesn't work yet, as far as I know. Therefore, I focused on star ratings. As soon as the tablet has an internet connection, the original RAW files are uploaded to the Adobe server, so you essentially have a backup. Almost all image development options are also available on the tablet. When I get home, I launch Lightroom Classic, and all my RAW files, including star ratings and any other developments, are downloaded from the Adobe server and saved to a specific location. Once everything is downloaded, I move it all to the correct location within my file structure and can then delete the space it's using on the server. This workflow works perfectly for me. I even created a tutorial for it. I should probably double-check everything, though, since there have been a few Lightroom updates. Cheers, Tino
-
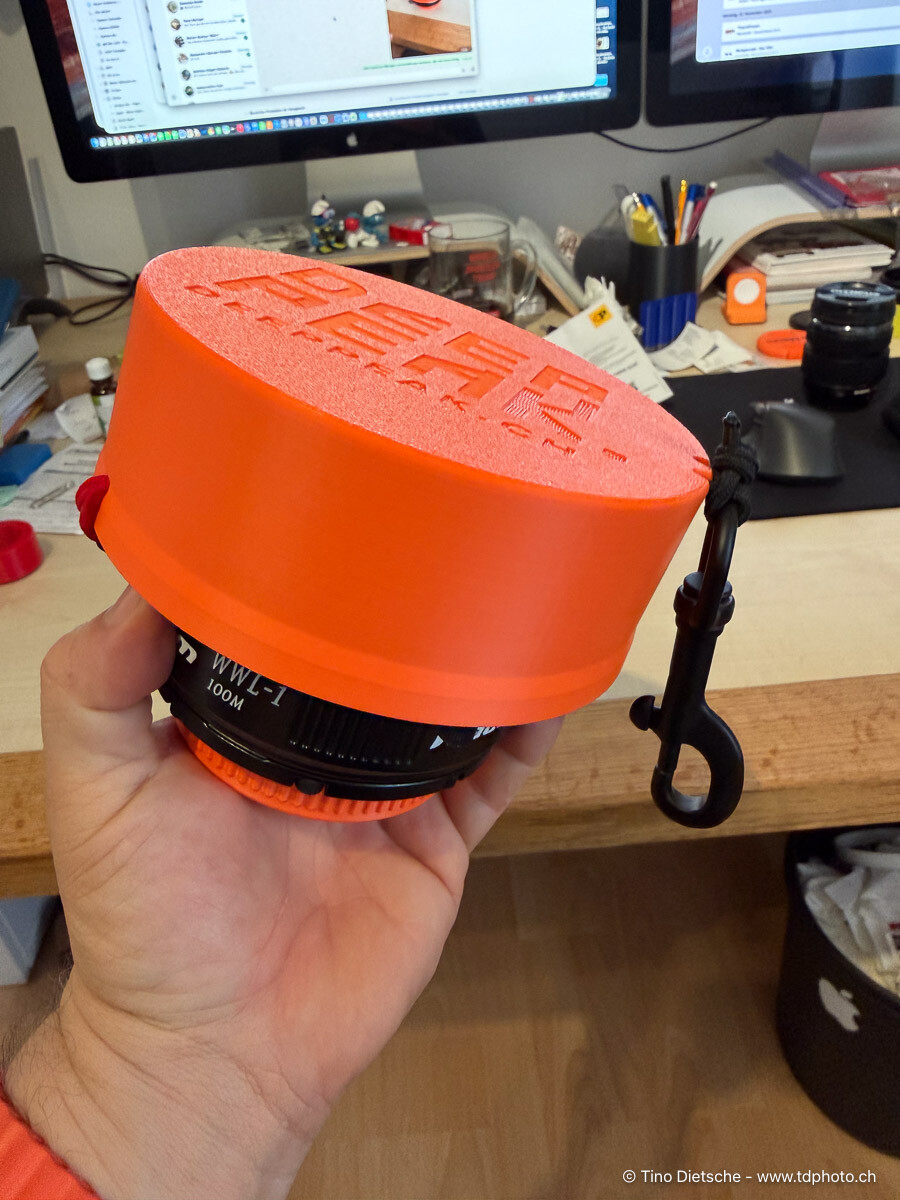
Hi Dave, Nice Cap/Cover! I created a similar solution for my WWL-1, simply closing it off at the front. However, it's also secured using bungees. I created a similar solution for my WWL-1, simply closing the front. I also use bungee cords for securing it. In my opinion, the protection is just as good with the mesh at the front, and the advantage is faster drying. I printed my cover with PETG. (If anyone wants one of these parts for the old WWL-1 (without a buoyancy ring) just let me know and I'll upload it to Makerworld.) I also have TPU for AMS from BambuLab, but I'm not entirely happy with the material yet. It's quite hard and therefore tends to break more easily. I used TPU for AMS for my snoot adapter, but I'll probably reprint that part with regular TPU soon. Tino WWL-1 Cover/Cap, latest version, printed for a friend.
-
I'd have to test it with reflective material, but I don't have anything suitable here at the moment. In the meantime, I've taken the snoot adapter with me on a few dives. Sony 90mm Macro and Nauticam MFO-3, Snoot Sony 90mm Macro and Nauticam MFO-1, Snoot Sony 90mm Macro and Nauticam MFO-3, Snoot Sony 90mm Macro, and Weefine WFL05S +13, Snoot myDocuments.cannedSearch.zip
-
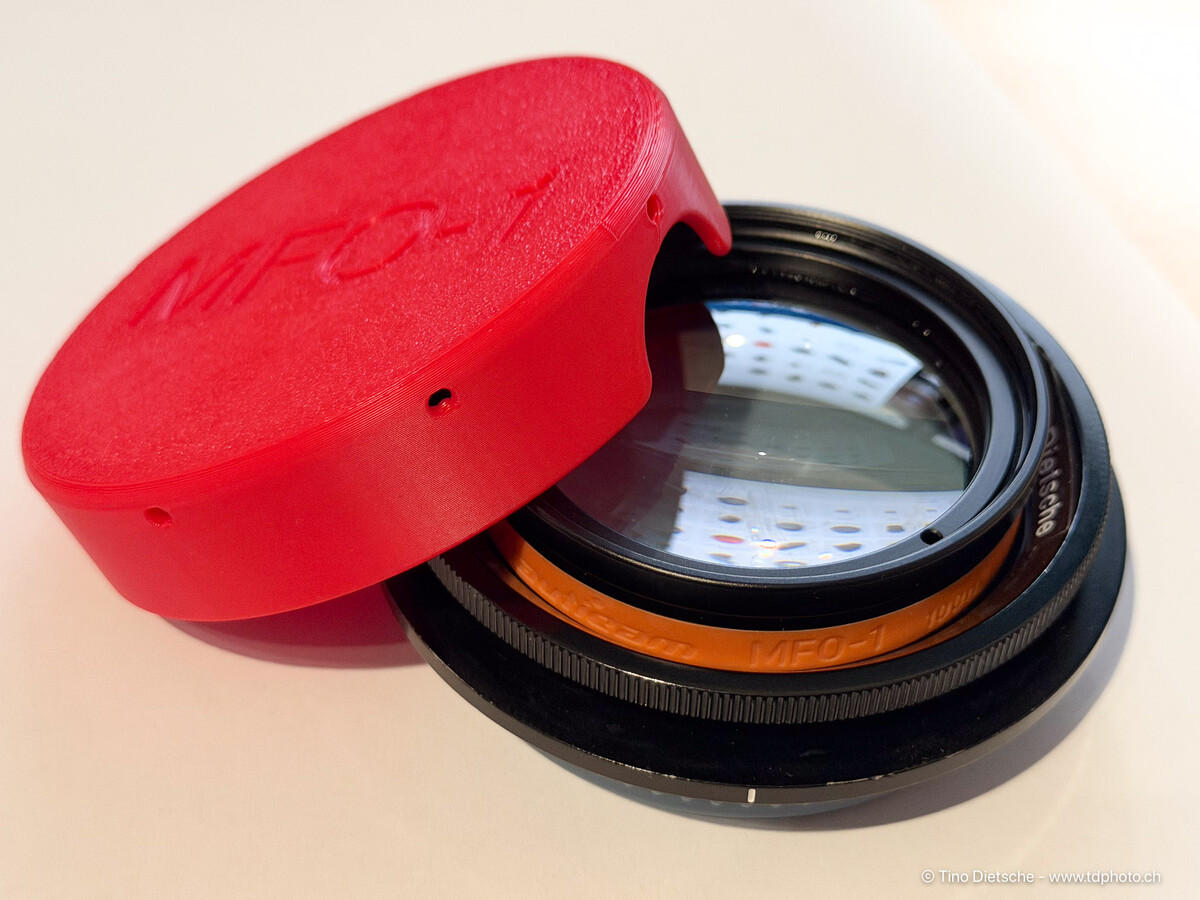
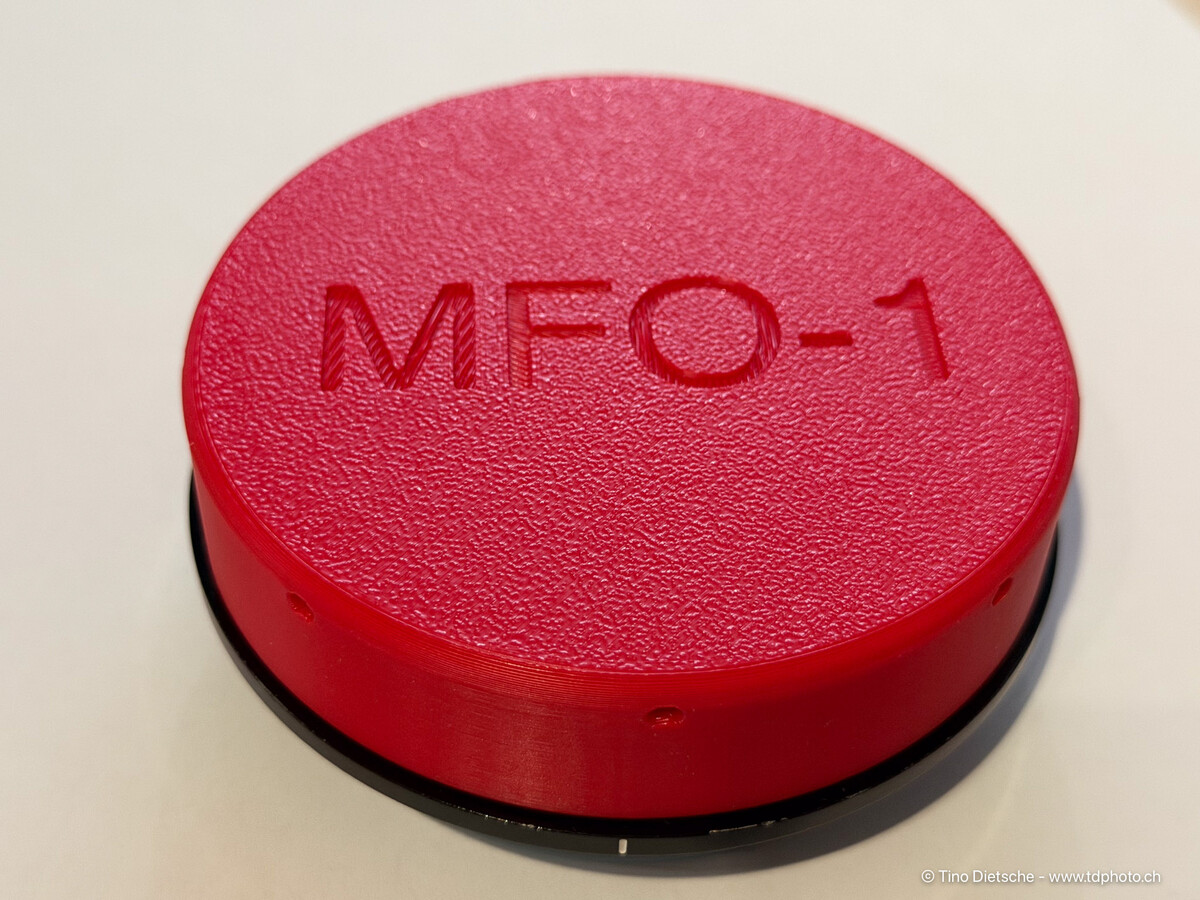
Hello everybody, And here comes the next part for my underwater photography setup, which might also be useful for others. To prevent my MFO-1 lens from getting scratched during transport, I quickly made a simple cap yesterday. Together with my protective cap for the Nauticam bayonet, this allows the MFO-1 lens mounted on the Nauticam bayonet to be transported safely and well protected. Downloads: Front-Cover for MFO-1 - https://makerworld.com/de/models/2326198-front-cover-for-nauticam-mfo-1#profileId-2541153 Rear-Cover for Nauticam Bajonet - https://makerworld.com/de/models/1346497-rear-cover-for-nauticam-wwl-1-bajonet-mount#profileId-1388138 Greetings from Switzerland, Tino
-
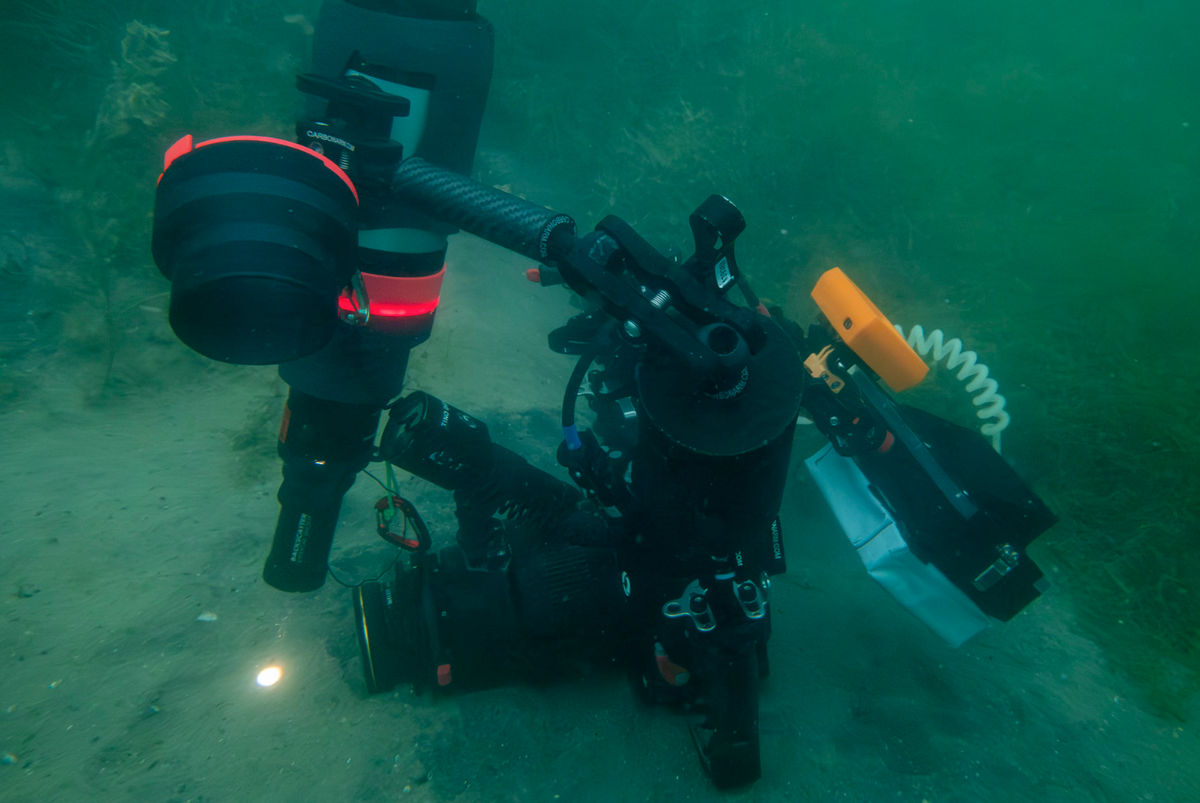
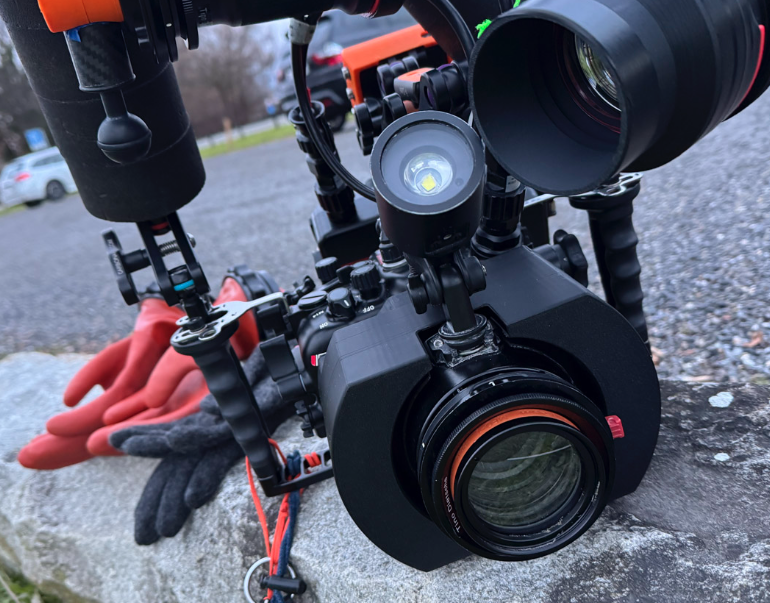
Hi Adrian, I’ve been using a focus light on most of my dives for years now. For macro, it’s either mounted directly on the port or on a strobe arm for a bit more flexibility. Here in Switzerland, especially in freshwater, you lose ambient light very quickly and the critters are usually pretty low-contrast anyway. In those conditions, a focus light helps the camera’s autofocus a lot, and it also means I’m not wasting battery power from the strobes’ built-in focus lights. I really only use the strobe focus light when I’m working with a snoot. For wide angle, I use a focus light less often. The main exception is night dives in the lake, when the strobes are set way out to the sides anyway. I’ve been using a BigBlue focus light for years now. Cheers from Lake Constance, Tino BigBlue Fokuslicht on top of the Port, but here not in use.
-
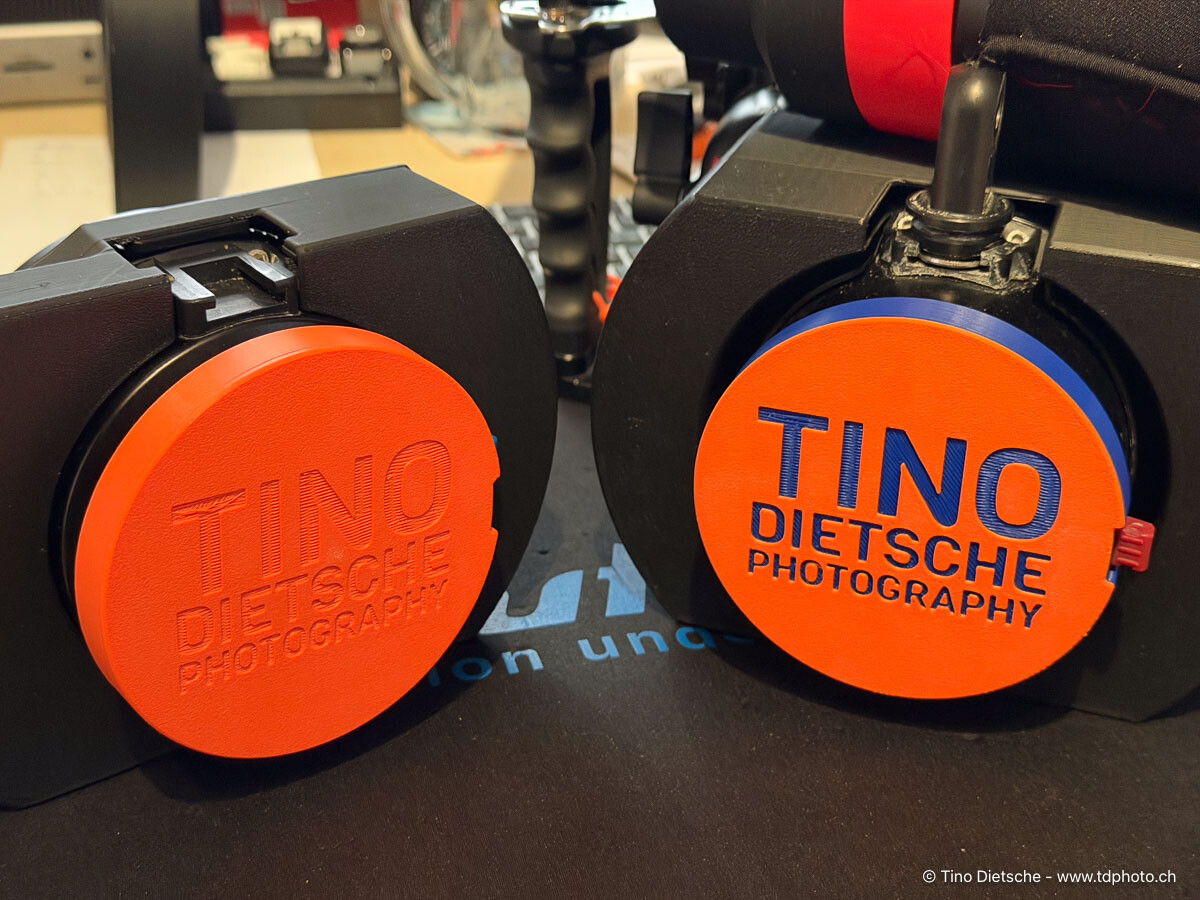
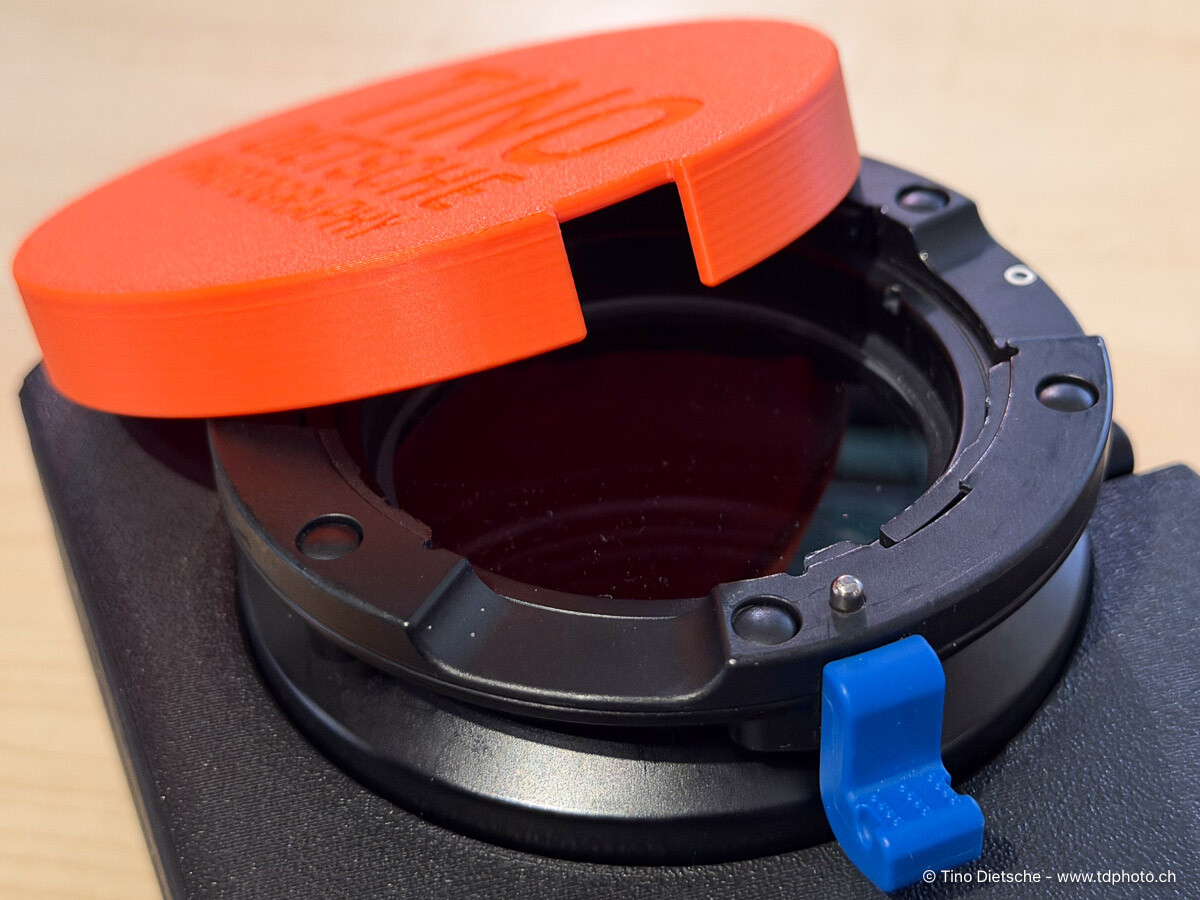
Port front cover for Ports with Nauticam Bajonet Mount (Version I & II) Since I couldn't find my front protective cover for my ports with the Nauticam bayonet mount attached, I designed my own. Perhaps someone else has the same problem. It can easily be customized. Works with the old and new Version of the bajonet mount. Download: https://makerworld.com/de/models/2315559-port-front-cover-for-nauticam-bajonet-mount-i-ii#profileId-2528362 Greetings from Switzerland, Tino
-
@lambee01 I also use the Backscatter Smart Control TTL LED Nauticam Flash Trigger for Sony with my two AOI-P1 and i'm very happy with it. No cables and easy to use in the Nauticam Housing for my Sony A7CII. Greetings from Goldach, Tino
-
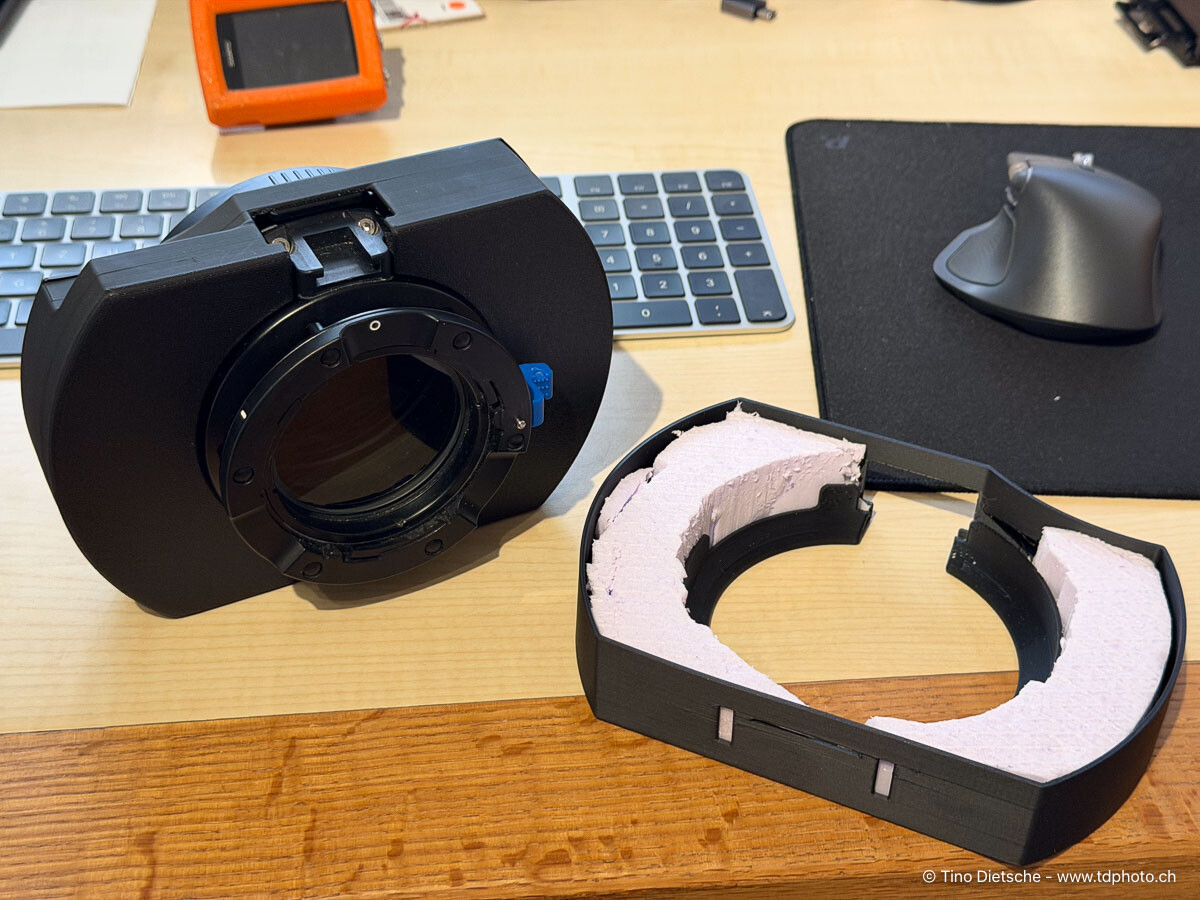
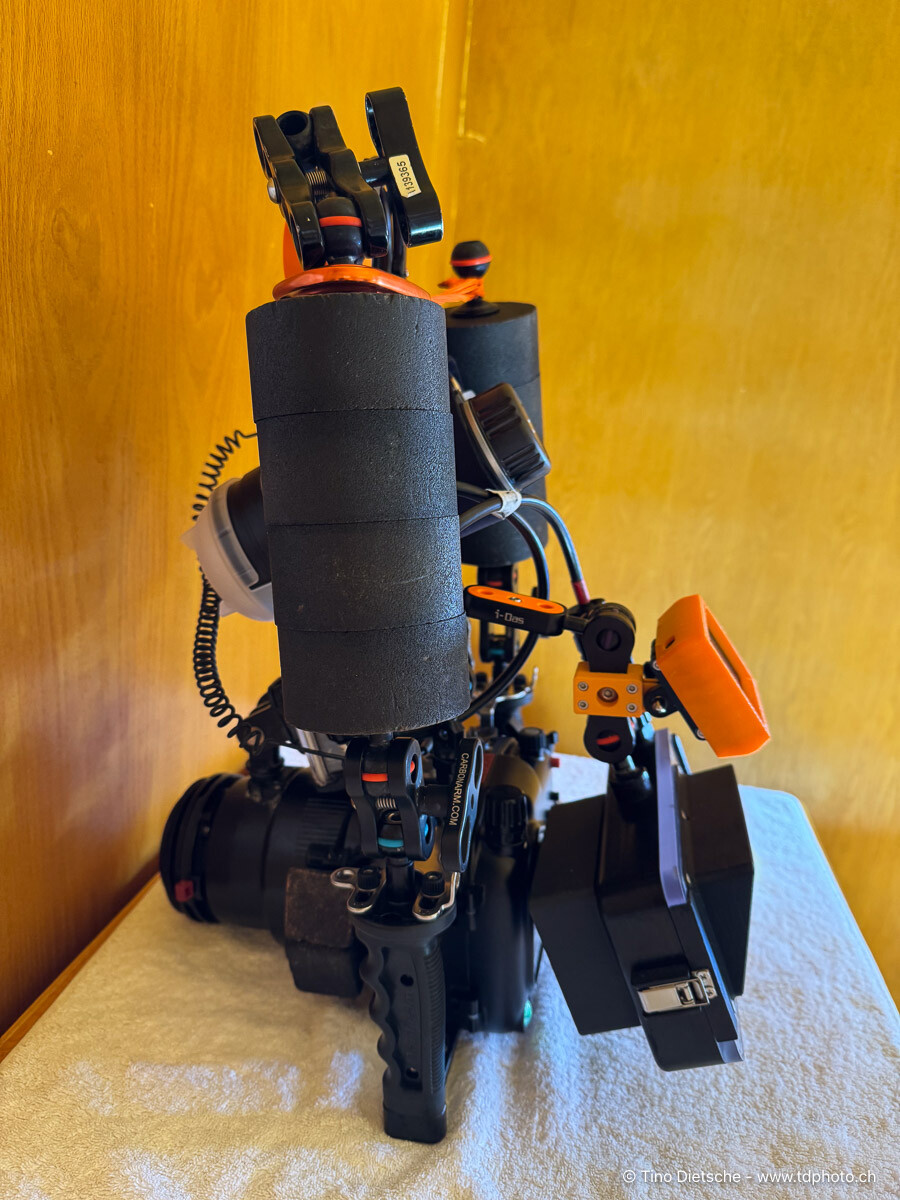
Hi everyone, The project with my buoyancy bodies around the port is moving forward after the version for the 90mm Macro port has proven itself really well. I’ve now also designed a matching “ring” for the Sony 28–60mm port and will be testing it in the water soon. At the moment it’s filled with material from an insulation board, and I’m hoping to measure the actual buoyancy in the near future. In the meantime, I’ve also managed to get hold of a sheet of high-density, closed-cell polyurethane foam. I still need to figure out the best way to work with it so the final result also looks decent. While I’m at it, I’m very open to suggestions for materials that work well as buoyancy elements in this kind of setup—especially if someone has already tested them. If anyone would like to print their own “ring” for the Sony 90mm or 28–60mm port, feel free to get in touch with me for the STL files. Greetings from Switzerland, Tino
-
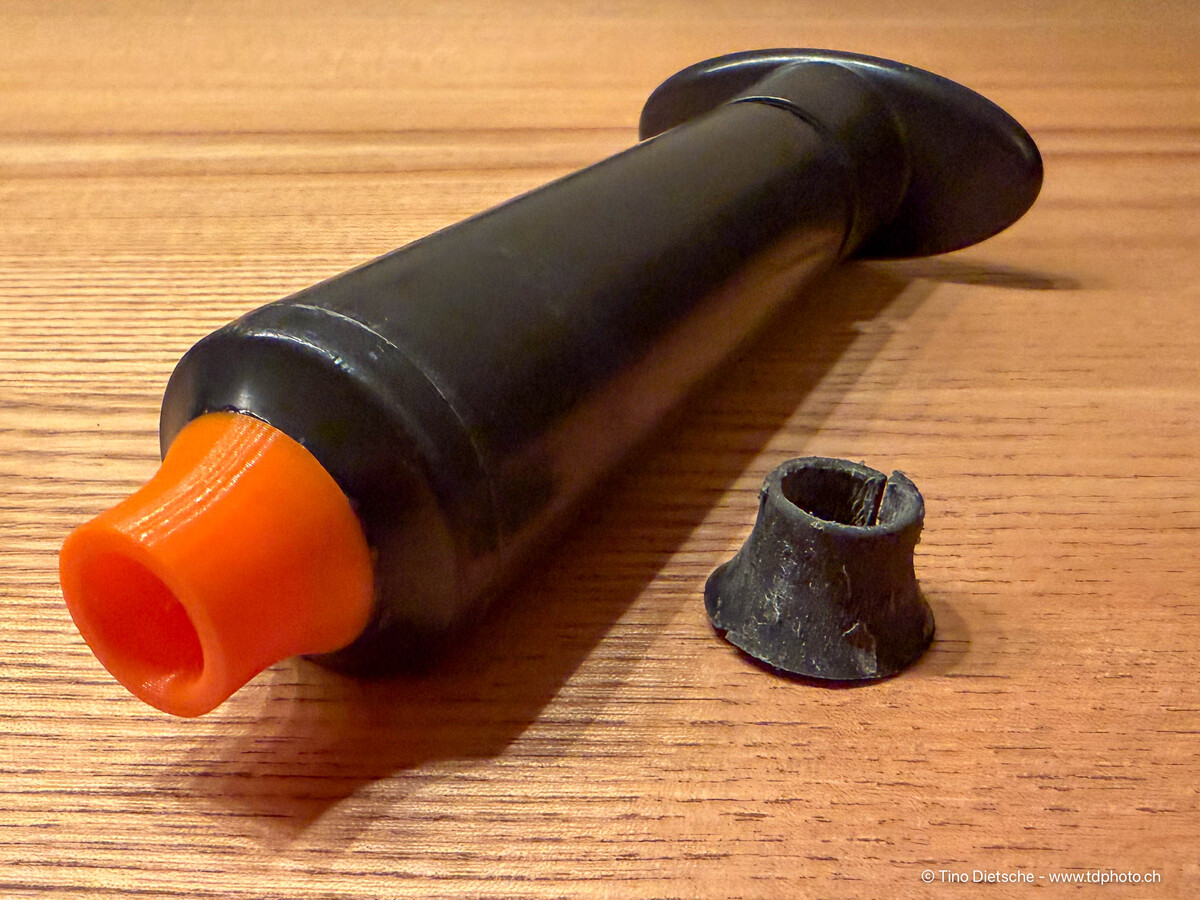
Hello everyone, I've designed another new part that might be helpful to others here. The tip of one of my Nauticam hand pumps for the vacuum system was broken and cracked. I didn't want to buy a new pump, so I removed the front part and redesigned it. It works with TPU95 and TPU90 for printing. Compatible with both old and new Nauticam vacuum valves. https://makerworld.com/de/models/2274007-tip-replacement-for-nauticam-hand-pump#profileId-2479239 Greetings from Switzerland, Tino
-
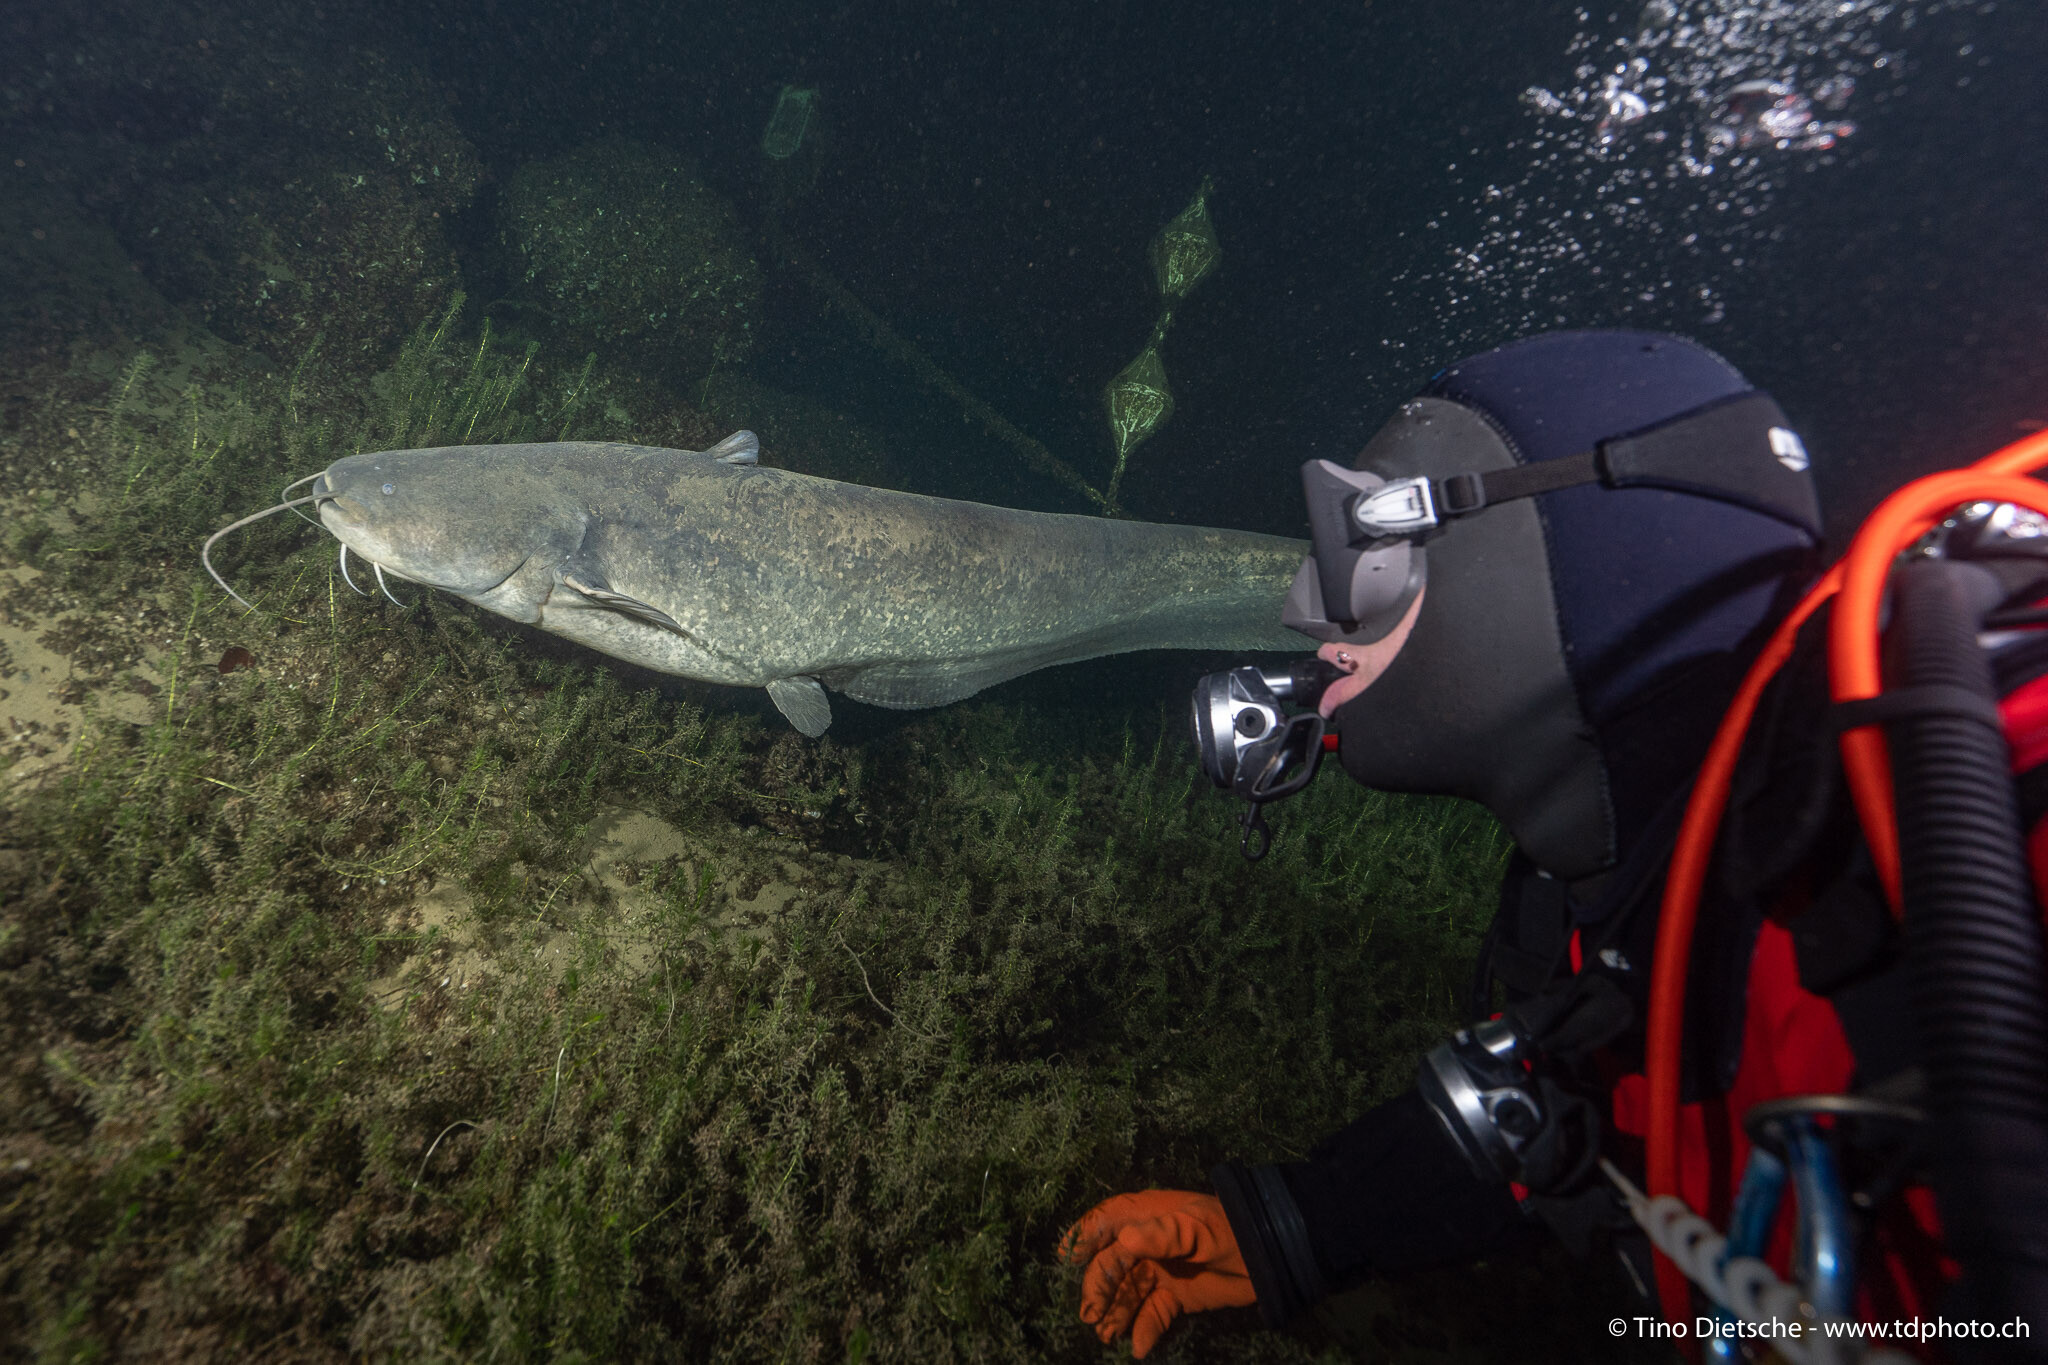
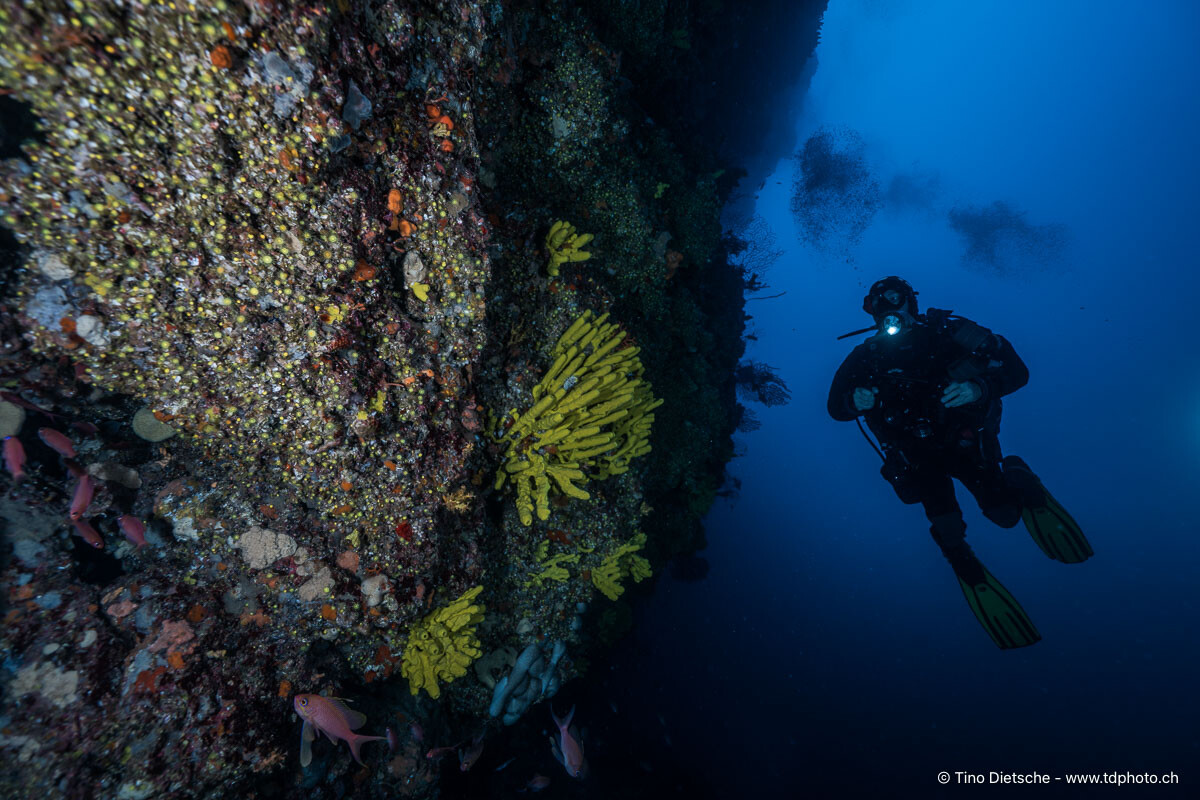
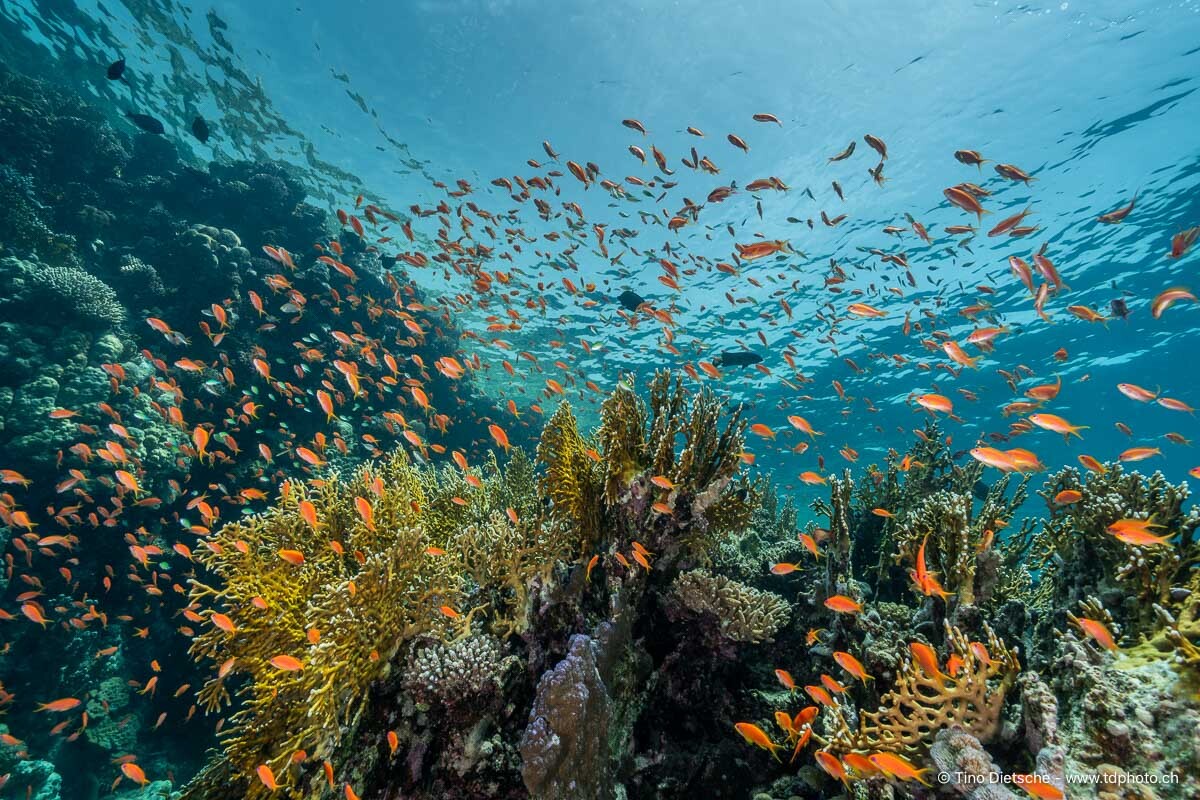
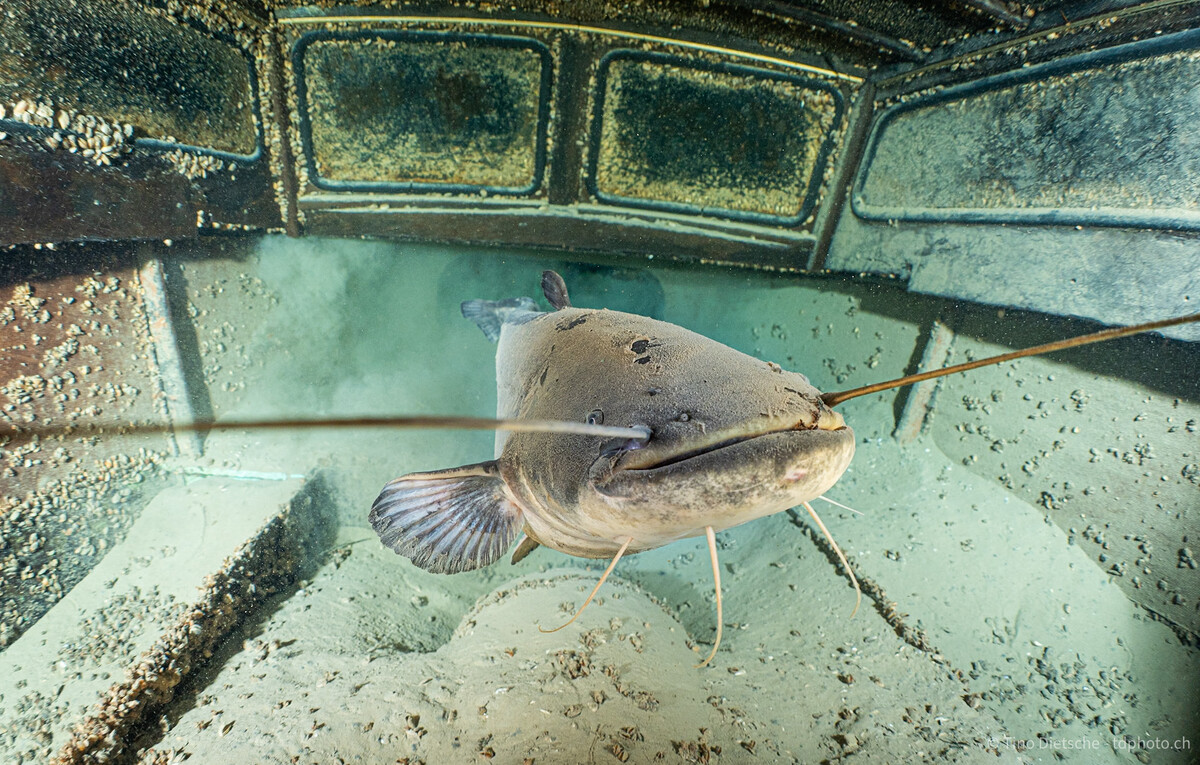
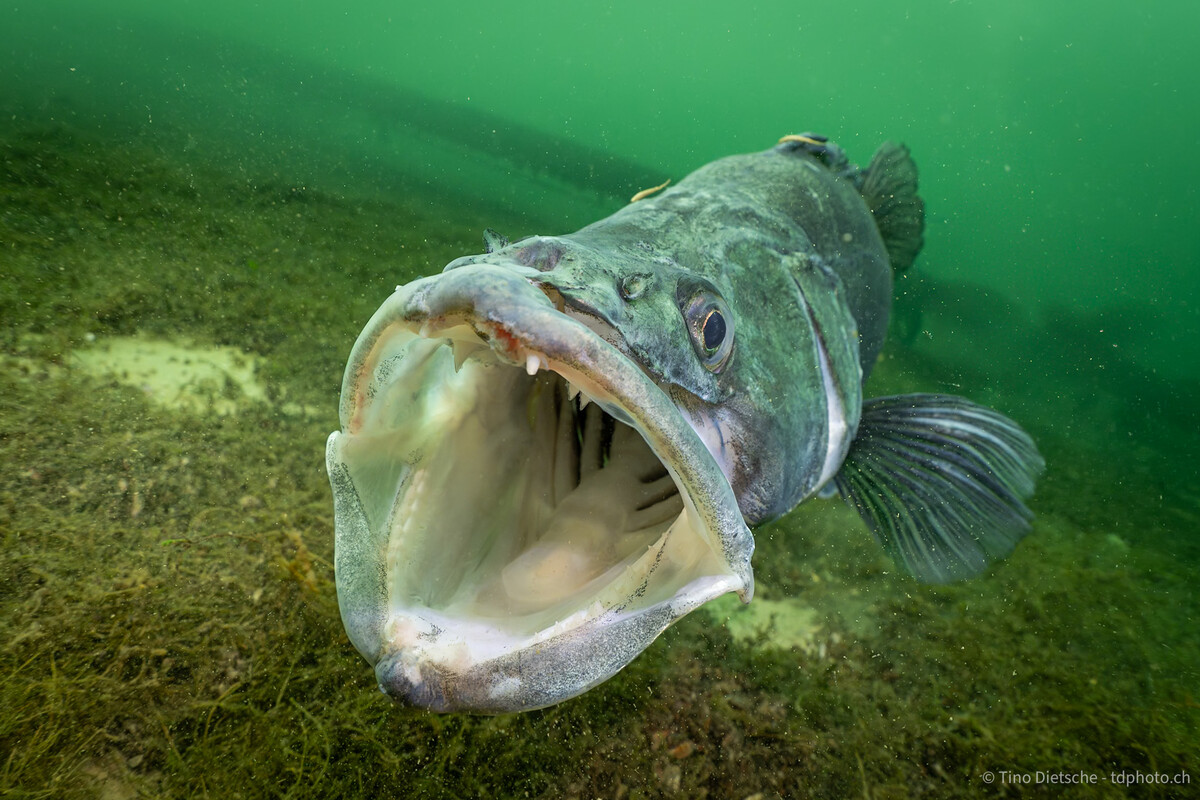
Some examples from freshwater... Sony A7CII, with Sony 28-60 and Nauticam WWL-1 Red Sea

-
Hi Sabine, Perhaps the video above will be of some help. I've been using the Sony system for many years and took a lot of photos with the Sony A7II and A7III series before switching to my current setup with the A7CII. (all in Nauticam housings) For a long time, I used the Sony FE 16-35 F4 behind a 180mm dome and was actually quite satisfied with it for my personal needs. With the decision to switch to the A7CII, I revisited the topic and, after some research, settled on the combination of the Sony FE 28-60mm and the Nauticam WWL-1, and I don't regret the decision. The 16-35 and the dome lens haven't been in the water since I got this combination. A Nauticam FCP solution would certainly be even better, but it's too heavy and, above all, too expensive for my purposes. I mainly shoot in freshwater. Greetings from Switzerland, Tino
-
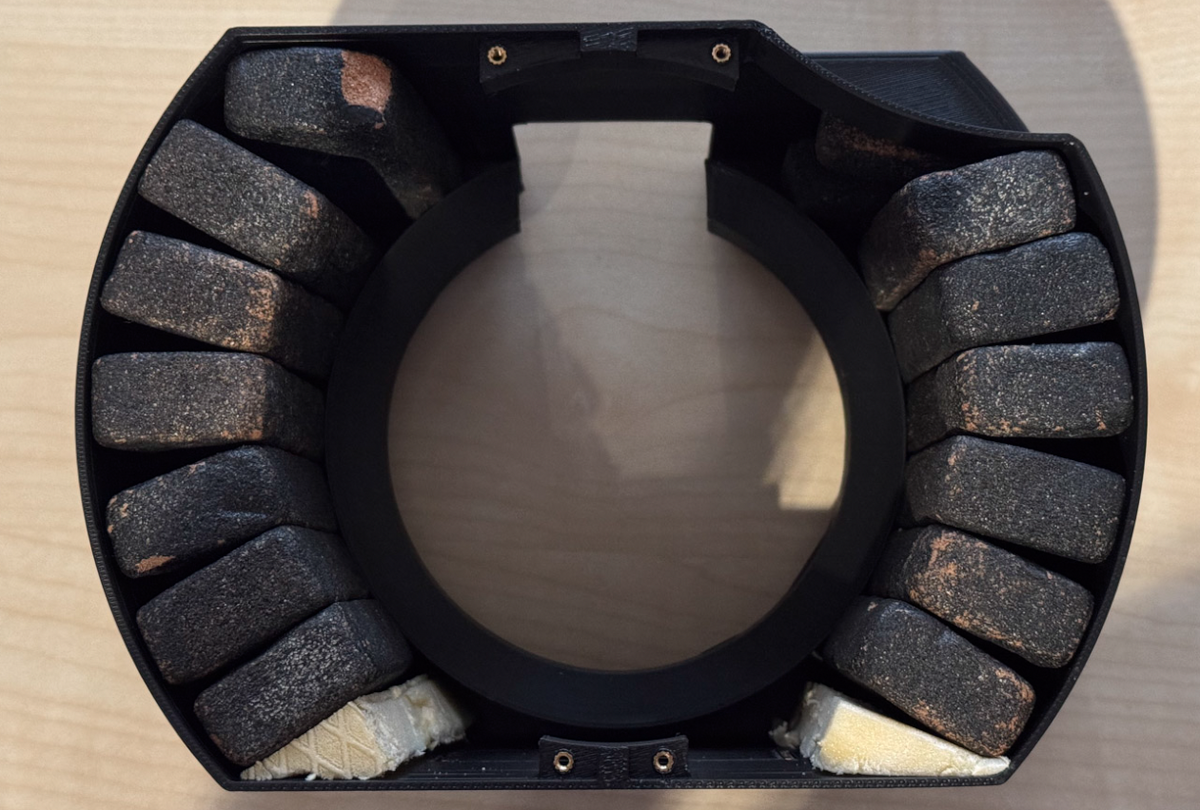
Thanks for your feedback, Dave. It's really neat and tidy now, and the port is only larger where it's absolutely unobtrusive, so the case still sits nice and flat. The unit weighs around 190g with the buoyancy aids. I could probably reduce that a bit more, but so far the balance between stability and robustness is perfect. With the right material, the body could be filled even more, and I might even be able to get more than 500g of buoyancy. TinoAnother very exciting topic! Over the years, I've used various setups and have now settled on Carbonarm's strobe arms and their floats. I also used Nauticam float arms for a while, but I've since switched away from them. I'm very happy with the Carbonarm arms, and the floats are excellent and extremely robust. 4 Floating-Rings provide 500g of buoyancy Here you find the Floating-Rings https://carbonarm.com/en/homepage-piu-venduti/128-floating-ring-kit-500-g-0806808287137.html I also still have several old buoyancy aids from Mike-Dive in use, which I've had for ages. Unfortunately, Mike-Dive is no longer in business, and it would actually be cool to know exactly what kind of foam they were made of. For my Macro-Port, I was inspired by Dave Hicks and his port floats. Unlike him, however, I didn't print a solid body, but simply "wrapped" various old Mike-Dive buoyancy aids around my Macro-Port. With this design, I get about 500g of buoyancy at the front of the port, and nothing gets in the way. With a suitable foam, you could even get a bit more buoyancy. My Port-Float from the back with the Mike-Dive Floats inside and some Test-Foam. Carbonarm offers a sheet made of their material, but it's not cheap. We'd need to find out exactly what kind of foam the solid parts currently on the market are made of. Greetings from Switzerland, Tino


Important Information
Terms of Use Privacy Policy Guidelines We have placed cookies on your device to help make this website better. You can adjust your cookie settings, otherwise we'll assume you're okay to continue.