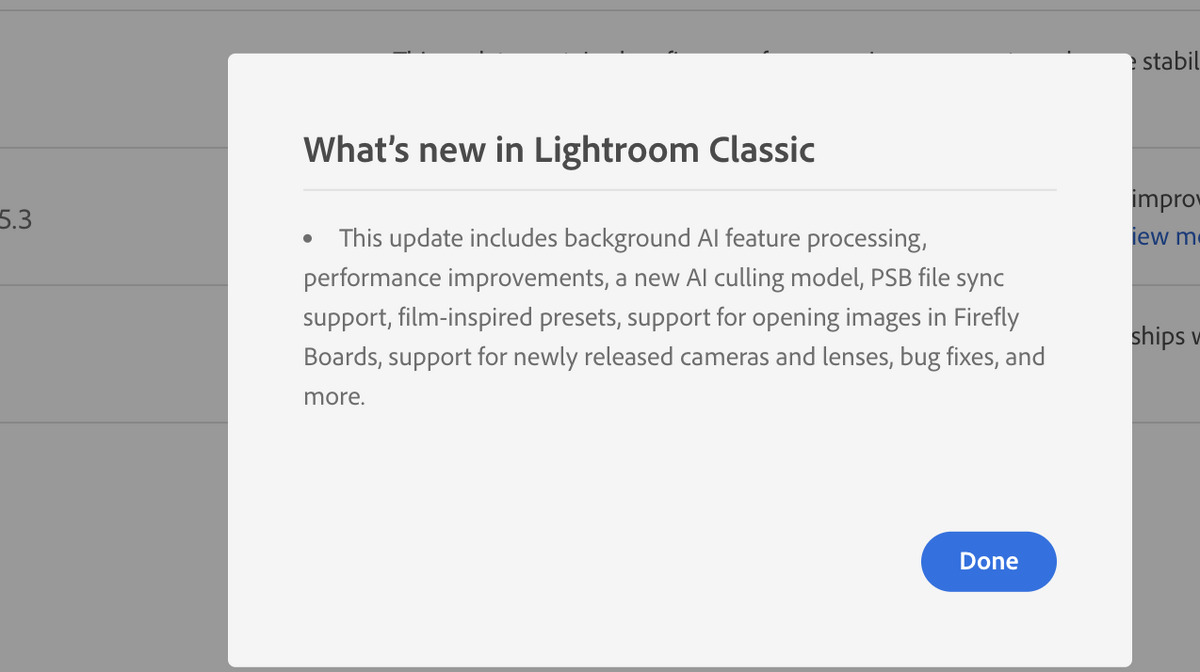
Some details courtesy of the Lightroom Queen:
All Versions: Keyword Sync! Yes, between the Cloud Ecosystem and Classic! How long have we been asking for this?! As well as our June release blog, see our special post How do I sync keywords?
Classic: new native duplicate detection added
Classic & Desktop: Assisted Culling refinements and additional options with faces
All versions: dramatic improvement in Subject Masking (see example below)
Classic: Denoise now uses the Apple Neural Engine (vast speed improvements!)
Desktop: interactive Histogram added
iOS, iPadOS & Android: Quick Actions - Blemishes adds new manual touch-up to Skin
iOS & iPadOS: Map View and Editing
iOS & iPadOS: Keyboard Shortcuts (our list updated)
Desktop: Custom Color Labels
Classic: Filter/Smart Collection Updates
Classic: Canon tethering has been rewritten as a native plugin
Desktop: Topaz AI Sharpening
And then ChatGPT tells that version 15.4 brings:
1. Native Duplicate Finder
This is probably the headline feature for photographers with large catalogs.
Lightroom Classic can now identify duplicate images using image fingerprinting rather than just filenames, helping find duplicates even if files have been renamed. For people returning from dive trips with multiple backups and card copies, this could save a lot of catalog cleanup time. (Reddit)
2. Improved Assisted Culling
Adobe's AI-assisted culling is now out of beta and has improved facial analysis, including better detection of blinking and closed eyes in group shots. It's primarily aimed at event and wedding photographers but can help sort large image sets more quickly. (Digital Camera World)
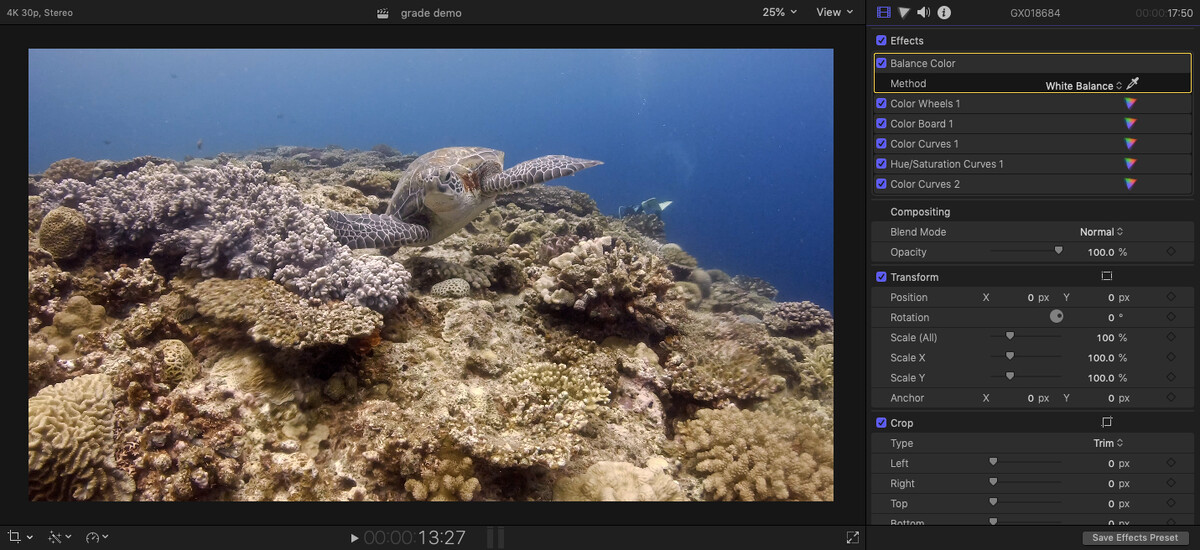
3. Better Select Subject Masking
The latest Select Subject model handles difficult edges more accurately:
Fine hair
Complex outlines
Overlapping subjects
Intricate details
Adobe also added finer control for subject-mask refinement. (Digital Camera World)
4. Faster AI Denoise on Apple Silicon
If you're on an M-series Mac, Adobe has optimized Denoise to use the Neural Engine more effectively, with reports of significantly faster processing times. (Reddit)
5. Windows Performance Improvements
Adobe specifically worked on brush and masking responsiveness for Windows users, addressing some long-standing lag issues when using adjustment brushes and masks. (Reddit)
6. AI Edit Tracking
Lightroom continues expanding its handling of AI-powered edits, including better identification of images containing AI edits and prompts to update AI processing when required. (Adobe Help Center)
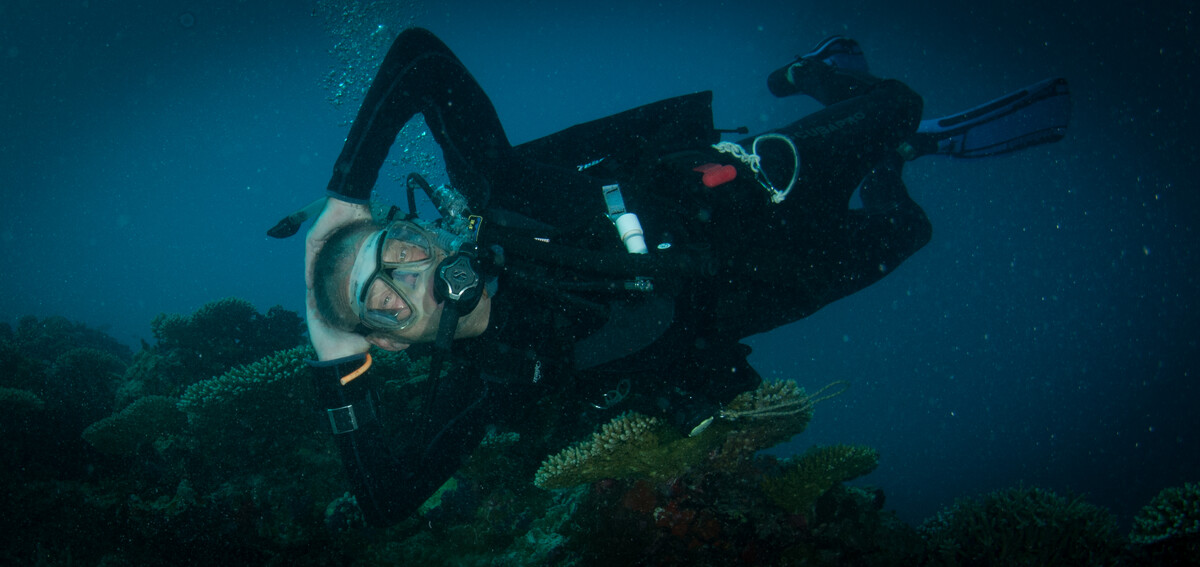
For underwater photography
The updates I'd care about most are:
Duplicate Finder — great after a liveaboard when you've copied cards to multiple SSDs and accidentally re-imported folders.
Improved Select Subject — useful for isolating divers, fish, turtles, or subjects against busy reef backgrounds.
Faster Denoise — especially valuable if you're shooting high ISO on wrecks, caves, or darker UK dives.
For someone shooting an OM-1 or similar underwater setup, I'd say 15.4 is more of a workflow/performance release than a major editing release. There's nothing as transformative as when Denoise or Reflection Removal first arrived, but the Duplicate Finder alone may be worth the upgrade if you manage large dive-trip catalogs. (Reddit)
- 0 comments
- 580 views
-