


-Edit.jpg.0739718b849caea17a4f73bb93954a2a.jpg)

Everything posted by Dave_Hicks
-
Lightroom only applies settings like this if you configure it to do so. You probably experimented with import settings and it's been set to do Lens Corrections ever since. Fortunately it's easy to change.
-
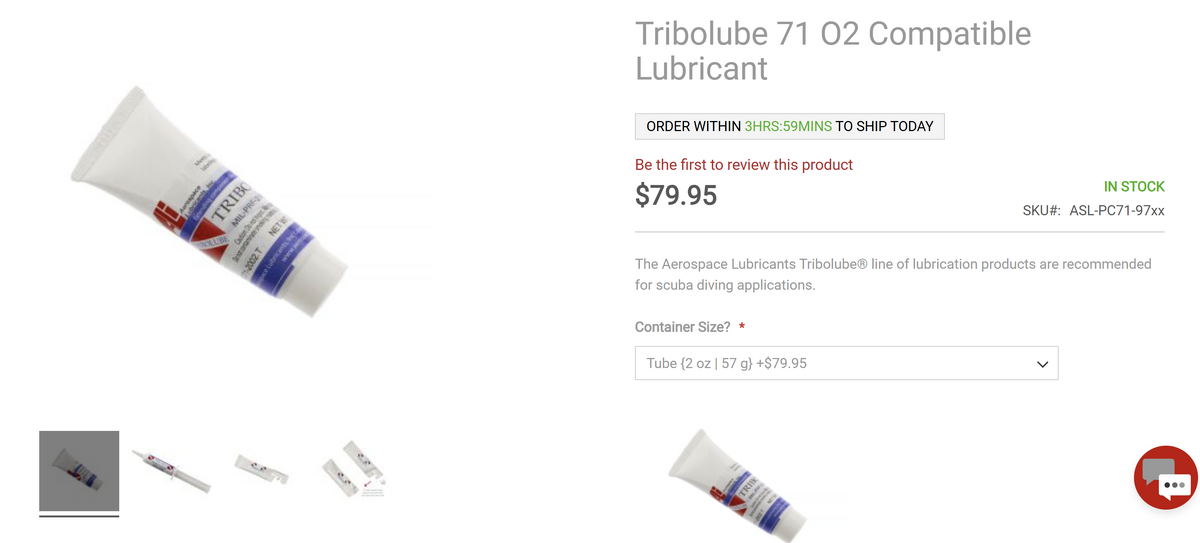
Easy is the point. Tribolube PTFE is safe and compatible with all orings. Silicone lube is not and can damage or cause leaks.
-
You can browse my designs here: Makerworld Collections: UW Photography: https://makerworld.com/collections/16165730 Scuba: https://makerworld.com/collections/16165676
-
Awesome! Where are you diving at present?
-
I have been using Tribolube for almost 20 years on my Oxygen (and non-O2) regulators, Cameras, Strobes and Lights. It's identical to what Nauticam provides as best I can tell. Looks, feels, spreads exactly the same. One 2oz/57g tube should last you the better part of a decade. You can also choose to get it in a syringe, which makes it easy to refill the little portable Nauticam tubes. https://www.divegearexpress.com/tribolube-71-o2-compatible-lubricant
-
Nauticam grease is the same of Tribolube/Cristolube. Get a good size tube and it will last for years. I load it up into 3ml needle-less syringes for home, and squirt it back into the little Nauticam tubes for travel use on the road. The Nauticam flip adapters are aluminum and can be removed by hand. The only tool I ever need is a microfiber towel to get a better grip. Like you I often dive two to three days a week. If possible a quick rinse of the rig at the dive site. (Rinse tank dip, bucket of water, shower, etc) I rinse and soak the housing in the sink after a day of diving. (Maybe an hour, maybe overnight) I pull the optical fiber plugs to remove any salt from those ports. Remove from sink, blow everything dry with a strong handheld blower, especially glass Take off the back to get the memory card and camera battery Wipe off the back o-ring ( never lube, rarely remove but rinse under faucet if visibly gritty) Remove and recharge strobe / spotting light batteries Very lightly lube o-rings of the same. (Almost never remove these) Reload all batteries. Port stays installed until I want to change lenses, then wipe o-ring and surfaces. Rarely lube. Close up camera and pull a vacuum before the next dive. Everything else with arms, clamps, removing o-rings, taking things apart I do only rarely or if the whole rig had a really rough week.
-
Have fun! Summer vis can be variable. I hope it's fantastic! Be sure to order nitrox for you and your buddy! During my visit we had 50-100ft vis but only below 55 feet. 25-55 was close to zero. So all the diving was deep and my buddy was on air. I was on CCR. Let's just say my buddy ended up in deco on every dive with close to zero reserves!
(Ext).jpg.a89a53b49370f2351ee673d3d29efc6d.jpg)
(Ext).jpg.fbfe15992315fc8da38b3d8657a7acea.jpg)
-2.jpg.872658ea6206289a0763e0dccf7f648a.jpg)
-
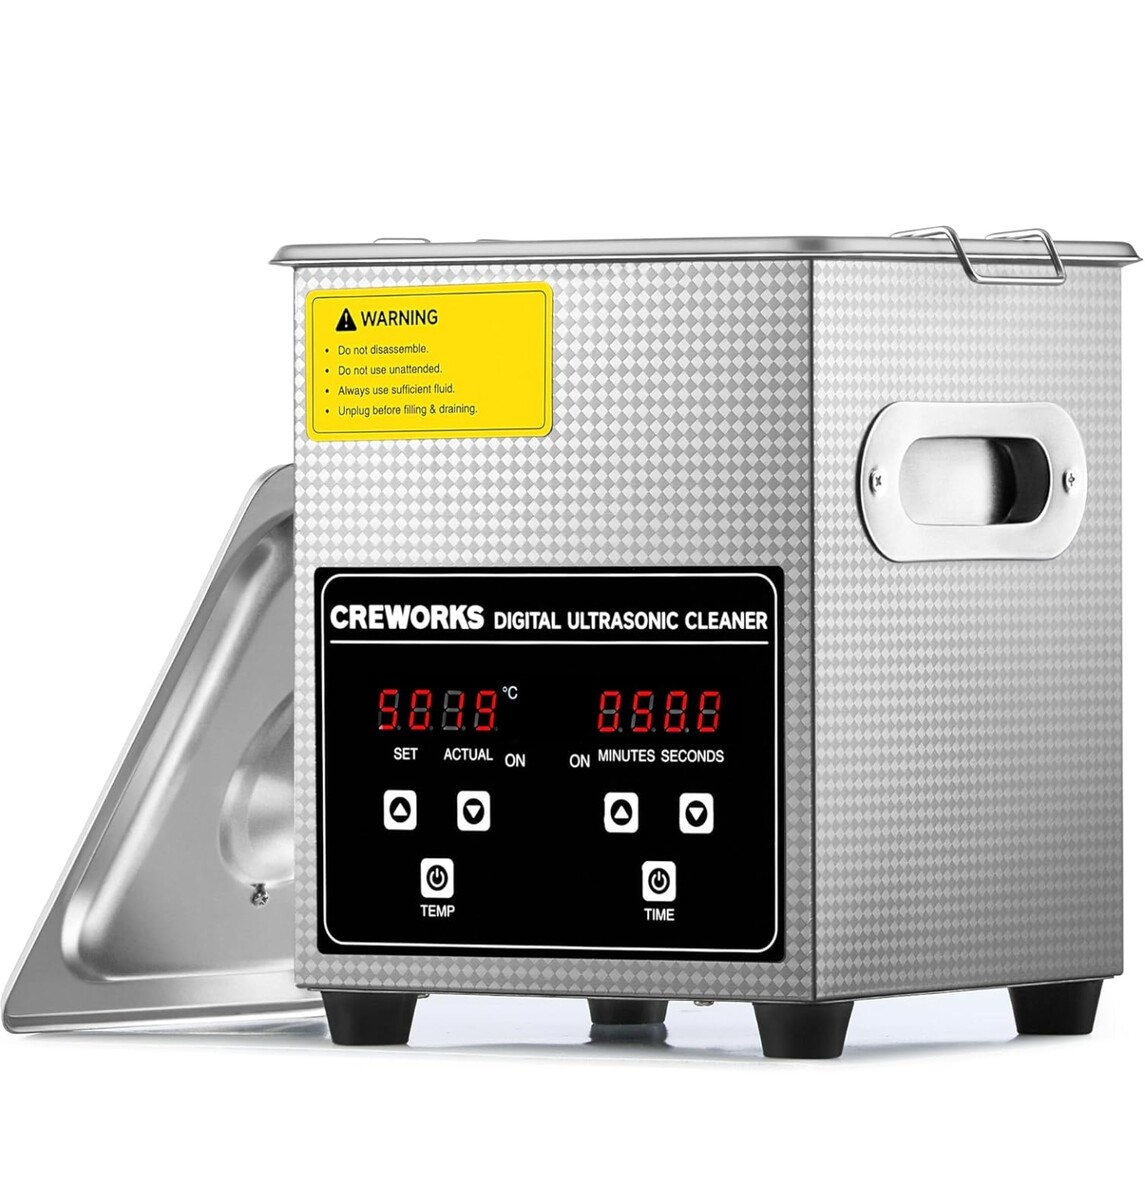
One easy upgrade to your gear maintenance is the purchase of an inexpensive Ultrasonic cleaner. There are good options in the 50-100:USD range. Great for cleaning clamps, flip adapters, crusty hose ends, regulator din screws, tank valves, etc. And they are great for cleaning jewelry, dental bite guards, and many other household items. I have been using this one for years: 2 liter https://a.co/d/01ACxkki
-
I would say you are doing all the right things, except the o-rings. You are doing too much. Wipe them with a microfiber towel in place and only remove if actually gritty. Only slipping orings get lubricant and it should be PTFE not silicone. I wipe and lube strobe orings with every battery change, but rarely remove them. My other suggestion is to have at least three sets of camera and strobe batteries. Rotate them after each dive day to keep them healthy longer when you are diving so frequently. And have a spare strobe or two available.
-
Send me a link to the dome you are looking at. Maybe it will start my creative juices. 😃🤞
-
It's a fair amount of work, but doable now that i have a pattern. My issue is more about the motivation to spend the time. For passion projects I get caught up, but not sure I can invest the time for a commission. Reprints of existing designs I do all the time however.
-
That's exactly what i used. If you are interested i can set you up with the port itself and you can insert the glass. If you know the height of the adapter we can figure out the required additional extension. You will need the distance from the mounting ring on the camera to the housing port base. If it's different from Nauticam we need to account for that. Message me if interested.
-
I once charged a buddies Sola with another similar spec charger on a trip to Indonesia. To make contact i made a "connector" with paperclips, a wine cork, and rubber bands. 😃
-
Interesting. Does the 70-180 zoom internally? That seems like a cool option. I will look into that!
-
What glass do you have? For my Olympus dome I think the diameter is 103.85 mm and I used a 103x 3mm oring that cost a few cents. If there is a Subal to n120 adapter, that would be all that is needed. I can make the port any length or just add the proper extension.
-
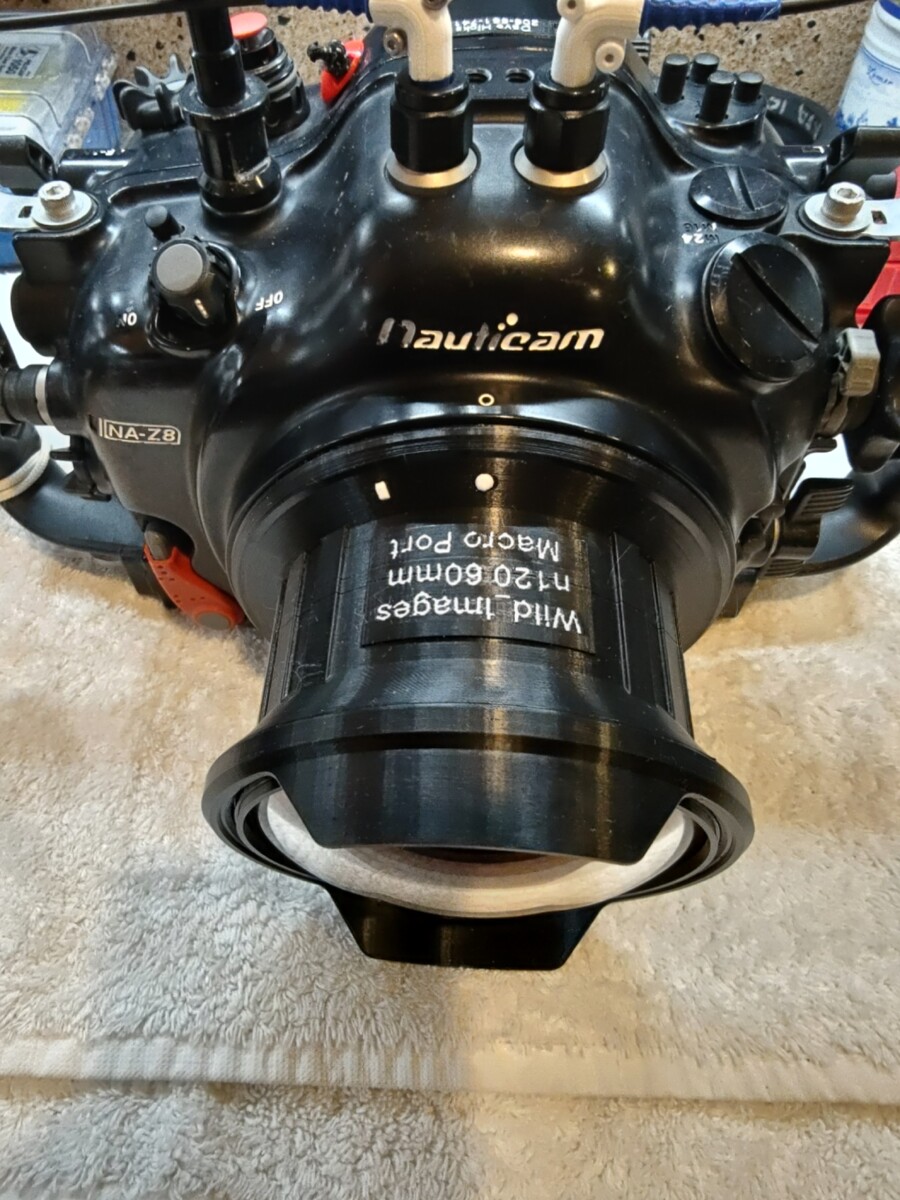
For compare and contrast purposes, here are a couple of images from earlier in the week with a standard 60mm Nauticam Flat port.
.jpg.6d2d8fb442af78bf8d414e079367aea6.jpg)
.jpg.74ac0c120e06f9eb2adc3a9c97289f9c.jpg)
-
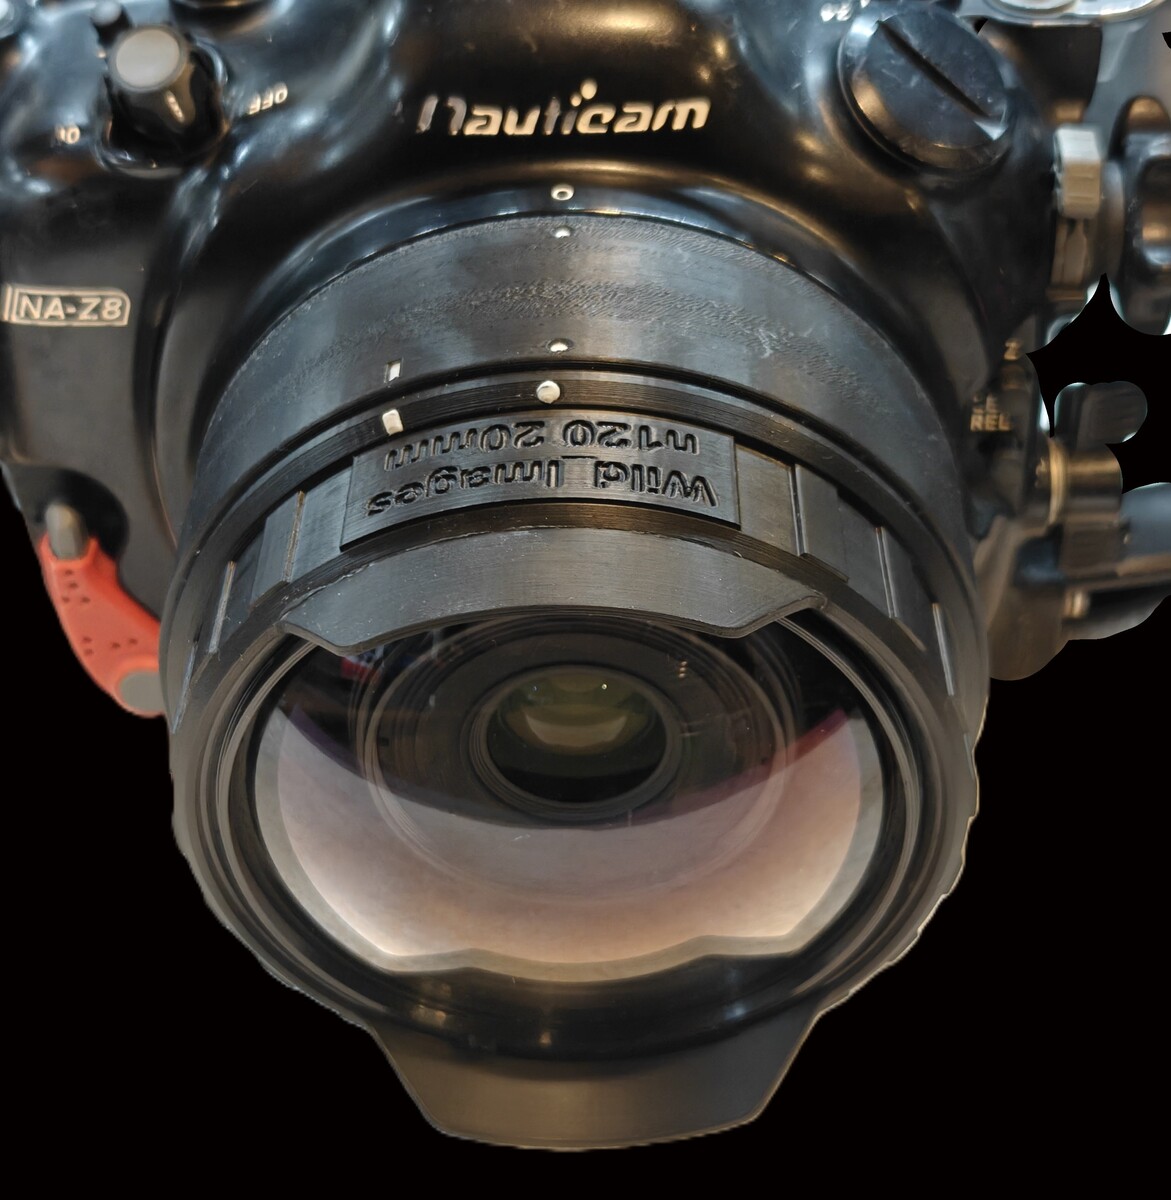
I dove the Curved Glass port with the Nikon 60mm & Nikon Z8 lens. I put the port on a 20mm (19 really) port base and connected to a 40mm printed extension ring. Everything worked great! Local visibility is not stellar right now but a lot better than earlier this week during a heat wave. I dove a Seattle muck diving site on Alki Beach and found it to be overrun with giant nudibranchs feeding on Sea Pens. Here a few sample photos: Nikon Z8 w/Nikkor 60mm lens, Curved Port, f14@1/200s iso400 Backscatter Atom strobe & snoot + BS MF-2 Nikon Z8 w/Nikkor 60mm lens, Curved Port, f5.6@1/200s iso80 Backscatter Atom strobe & snoot + BS MF-2 Nikon Z8 w/Nikkor 60mm lens, Curved Port, f6.3@1/200s iso100 Backscatter Atom strobe & snoot + BS MF-2
.jpg.d7fd9f1a787c8864d877f9a4ee0daf6b.jpg)
.jpg.842f3cea695438cb885aeccc5551b091.jpg)
.jpg.ccd642aa85417ac869752f6510a4d8ac.jpg)
-
I ended up making a 20mm version of the Curved Glass Macro port and dove it tonight in an empty housing. Took it to about 80 feet in some of the worst, chunkiest, algae snow storm visibility I have every seen. We had record high temps and lots of sun in Seattle this week which leads to algae blooms. >sad< Less than 1 meter of visibility with all the snotty bits in the water. Still, the port held and worked perfectly. Next up is a proper dive with a camera and photos!
-
Welcome to WaterPixels. I am also in Washington State, here in Seattle. Both are great communities full of avid divers and photographers. Look me up if you need a dive buddy!
-
When I was using Eneloop cells, i would buy a new set every year. I was doing about 100 dives a year at the time. I used two sets of 8, so replaced one of the sets every year. A few years on now, most of my old Eneloops won't consistently charge anymore even for use around the house in remotes, thermostats, etc
-
So much for the conventional wisdom that AA batteries are superior to LiOn because you can buy them anywhere... For what it worth, i used a pair of 4XAA chargers that are USB-C PD powered. Redundancy and no issues with local power supply. Carry a 60W USB brick and run all chargers off of that
-
Is that a printed ring holding the dome on an extension ring? Subal maybe? I considered that but decided to just print the whole port a single part. If there is ever a need to use to curved port in a more diverse set of configurations I could make a 20mm ring holding the dome. I reprinted overnight and am getting ready to test this out.

-
It only took a couple of minutes to insert the o-ring. I made about six test prints to fine tune the fit. Too loose, still loose, too tight, just right. I made it snug enough that it was not impossible to place the o-ring. We will see how well it works in the water soon. I built in a provision for a locking ring outside the glass to secure it a bit out of the water. Now the original Zen dome I could not push out the glass by hand. I had to pluck out the o-ring with a steel pick. My dome i can push out by hand, so it is not as tight but hopefully good enough.
-
Yes, that looks like a problem! My extension ring design has that lip but i didn't (think) i needed that extra diameter for the port. I will add that back into the design!
-
Yes. It was from a Zen Underwater WA-100 dome port for Olympus 9-18mm. Cost about $200 on ebay. The actual glass rim diameter was 103.85mm. I bought 103mm x 3mm 70a orings from McMaster Carr. I got about 5 orings and used one up repeatedly using it to test fit and installation techniques in draft prints of the top of the port.


.jpg.857dbbfbdc4d79d9c6ebf7b4ba96ed1b.jpg)