


.jpg.c5e6bd876847a2be9e8f7ad68dd32d7c.jpg)
Everything posted by Davide DB
-
Yes Benq are very good indeed. I have two of them since 2018 and they work flawlessly. I'm changing them to upgrade to native 4k.
-
I'm just seeing this discussion now, so I'll try to add a few more points. First of all, for Video Editors (Resolve): Adobe RGB is largely irrelevant. Rec.709 is the standard for SDR (TV, Web). DCI-P3 is the standard for Cinema, HDR, and modern displays (Apple devices, OLED TVs). This gamut extends into Reds, Yellows, and skin tones. As it happens, I’ve recently been looking into replacing the monitors I use exclusively for video editing. Granted, you can’t go wrong with an EIZO monitor, but personally, it’s out of my budget. Looking at the shortlist I made, there are some monitors that also cover 99% of Adobe RGB. ASUS ProArt PA279CRV (27" - Currently my top pick) Price: here in Italy about €530 Pros: It seems to be the only 27" IPS panel in this price range that genuinely covers 99% Adobe RGB + 99% DCI-P3. Cons: contrast is standard IPS (1000:1), no IPS Black technology like the Dell U2723QE (which I didn't list here because it lacks Adobe RGB coverage). MSI Summit MS321UP (32") Price: here in Italy about €700 Pros: Huge canvas for the Resolve timeline, includes a magnetic hood very useful for color reproduction. Cons: dual 32" monitors might be overkill for my viewing distance and I would need a monster desk. Lenovo ThinkVision P27u-20 Price: here in Italy about €800 (fluctuates a lot) Pros: Better build quality, Thunderbolt 4 hub. Cons: Currently too expensive compared to the ASUS for the same panel performance. Mi current choice is the Asus. It's the value king for my budget and needs. it's really a unicorn for its price. Other practical considerations: I have my desk against a wall so I cannot use standard gas-spring arms (the "elbow" would hit the wall, pushing the screens into my face), I am planning to mount these on a Dual Monitor Stand with a Horizontal Crossbar. This should keep the monitors perfectly aligned and flush against the wall without requiring depth clearance. The Asus supports DisplayPort MST. (daisy chain). You can plug your PC into Monitor A, and then plug Monitor A into Monitor B. This means you only have one cable running from your computer to drive two distinct extended desktops. It makes for an incredibly clean desk setup. For photo editing it's ok and a killer feature but for serious video editing it has several drawbacks: A single DisplayPort 1.4 connection cannot sustain two uncompressed 4K signals at 60Hz with the 10-bit color depth essential for avoiding banding in DaVinci Resolve. To accommodate this data load, the system often forces compromises such as chroma subsampling, which reduces image clarity, or a drop to 8-bit color, which introduces artificial gradients that can ruin grading accuracy. Although Display Stream Compression attempts to mitigate this, introducing compression into a reference signal chain is generally inadvisable for critical work. So I will directly connect each monitor to my Nvidia GPU. Hope this helps.
-
I have the deepshot zoom gear for the 14-42mm and it's really well made and reliable. A Nauticam gear costs more than the lens itself. Crazy! Yes, the mega ois it's better than the PZ. Years ago you could find the PZ version branded Meike on Ali for 40 euro...
-
If you haven't bought the port yet, I’d recommend looking for a used 14-42mm II. I found mine for 60 euros. There’s also the 14-42mm PZ, which uses a shorter port, but based on tests, the 14-42mm OIS II seems to be the better lens. P.S. We are speaking of plastic kit lenses...
-
Hi Lou, Welcome aboard! We have other freediving photographers here in the forum. We hope you enjoy your new community. Ciao
-
Hi Max, Welcome to the rabbit hole then! Ciao
-
I'm looking for a used one to start using for topside filming, but I haven't found any great deals yet. Anyway, how are you finding AF-S for underwater video? Are you able to use subject tracking? With which lens? From what I’ve read, the Panasonic AF system is finally on par with Sony, Canon, and Nikon. What many people complain about is that it lacks the automation that Sony has: you pick any object and the camera starts tracking it regardless of the mode you're in (subject detection...). Many have requested this feature and hopefully, in a future upgrade... This video is one of the few comprehensive ones on all the Panasonic AF features for its latest-generation cameras.
-
It seems a lot of value for the money. Which WA lens do you plan to use with it? I saw a small lens choice assortment on their website. They have a m43 housing too but it's a mistery which lens you can use on it. Thanks
-
Amazing report! Thanks for sharing.
-
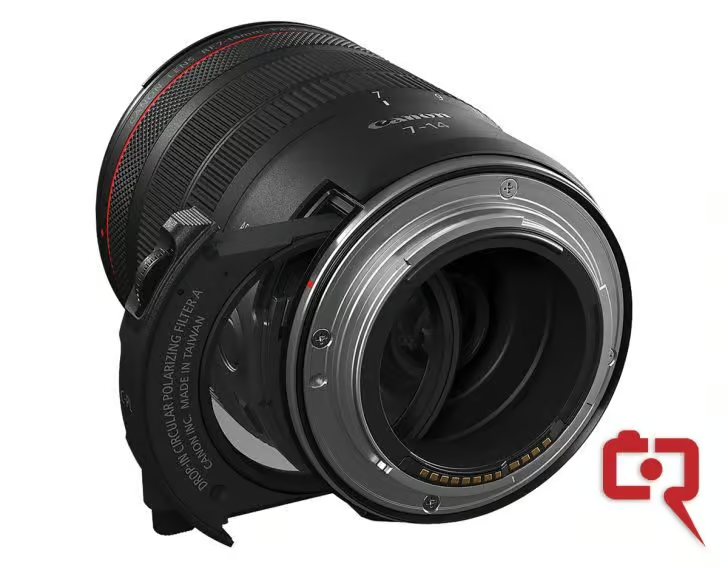
Interesting the drop-in filter
-
How was the trip? Did the camera perform well?
-
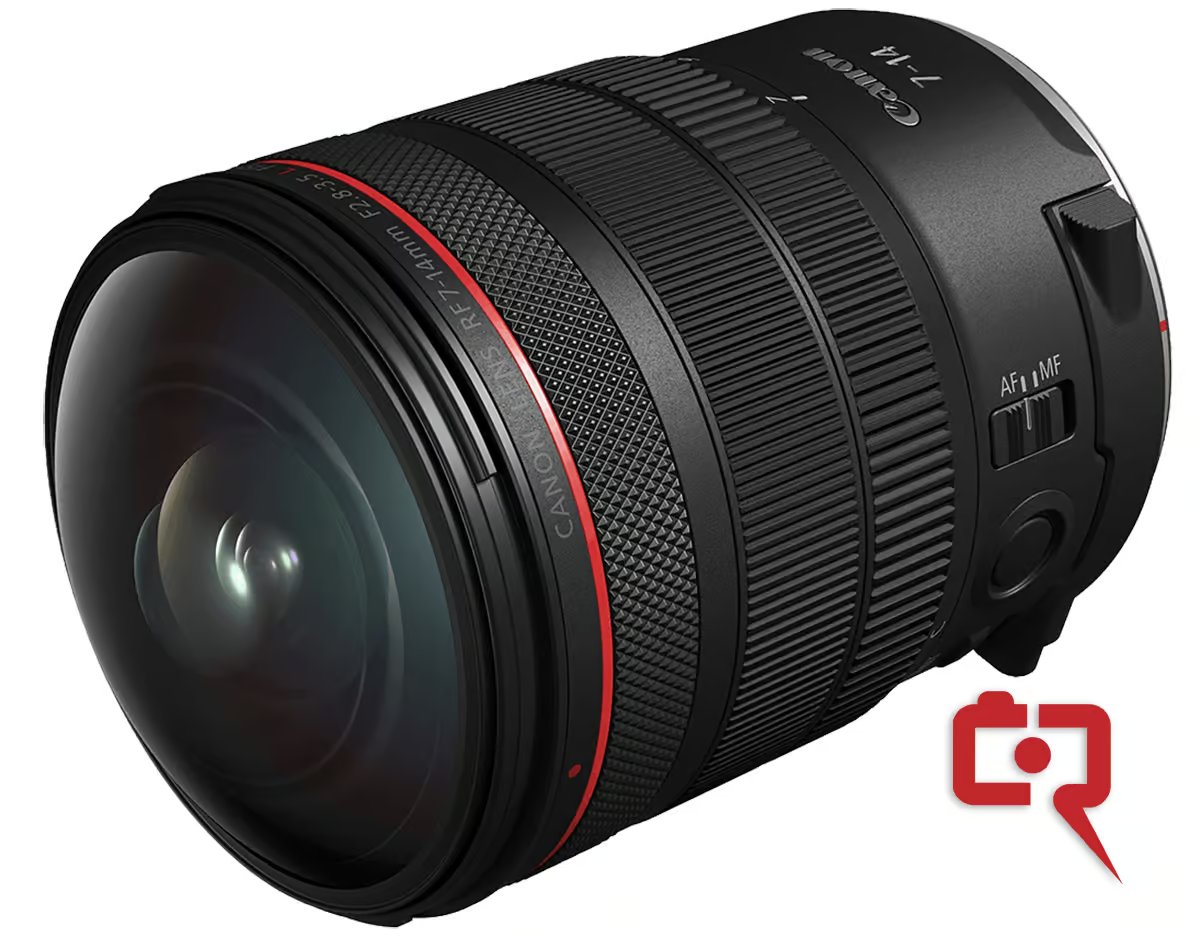
According to Canon Rumors: Canon RF 7-14mm F2.8-3.5L VCM $1599 USD / €1829
-
It is worth watching the video even just for his shirt! P.S. Jokes apart, great video and explanation indeed
-
Yes. Just apply a slight crop in post production. P.S. Read the fine prints: https://www.inon.jp/products/action/lens/ufl-g140.html#notes Always set camera's Field of View (FOV)/Digital Lenses to [WIDE]. Using [Linear] or [Narrow] won't bring optimal performance of this lens. When using with HERO11 Black, HERO12 Black and HERO13 Black, shoot in 4:3 or 16:9 aspect ratio as vignetting will occur in 8:7 or HyperView mode.
-
Wow, Incredible! Thank you for sharing your experience with us. It is a beautiful project where your skill, experience, and available tools definitely matter a lot. It is not for the faint of heart! Thanks
-
I have only seen it working in a studio, which means in perfectly controlled conditions. In the water, color absorption changes a lot with distance, and the orientation towards the sun changes much more than in the air. A good white balance is more than enough. The goal is to have colors that are pleasant rather than faithful
-
Welcome Aboard!
-
First we must wait for the duels to the death to finish 😁
-
It seems that in these last years there are more strobes than cameras. And many snoots too!!! https://www.facebook.com/reel/856799257136321
-
Yes of course. To give you some perspective, look at an 'old' Lumix GH5. Back in 2017, it was already recording 4K (8.3MP) at 400Mbps (H.264). Even if we account for H.265 GoPro being twice as efficient, that GH5 was effectively putting 200Mbps worth of detail into 8.3MP. A Sony A7SIII/FX3 @4K records at 280Mbps! By comparison, the GoPro 12 is trying to squeeze 24.7MP (8:7 mode) into 120Mbps. Mathematically, the GoPro is asking the encoder to do much more 'heavy lifting' per pixel than a 10-year-old pro camera. High resolution is great, but without a proportional increase in bitrate, you're just getting more pixels, not better pixels.
-
Hi Giacomo, I see your point about the horizontal resolution being 5.3K in both cases, but mathematically, the 'No quality loss' claim doesn't hold up once you look at the total pixel count the encoder has to process within the same 120 Mbps limit. Here is why 16:9 Native is technically superior to 8:7 cropped to 16:9. The Math of the Canvas: 5.3K 16:9 Native: about 15.8 Million pixels (5312 x 2988). 5.3K 8:7 Full Sensor: about 24.7 Million pixels (5312 x 4648). When you record in 8:7, the camera is dedicating a huge chunk of those 120 Mbps to the top and bottom areas of the senso. That are areas you are going to crop away anyway. In 16:9 Native, the encoder doesn't 'see' those extra pixels, so it can spend the entire 120Mbps budget only on the 16:9 frame Finally, in the 16:9 Native file, each pixel in your final frame has roughly 56% more data allocated to it compared to the same area inside an 8:7 file. You aren't wasting bitrate on pixels you're just going to delete in post! On a lighter note: It's like buying a pizza for 3 people (8:7) instead of 2 (16:9), while using the exact same amount of dough. The slices will inevitably be thinner! 🍕 P.S. My reference to 'Ludicrous Speed' was just a quote from Spaceballs movie (Velocità smodata - Balle Spaziali) 😁
-
New Sony FE 100 mm F2.8 Macro GM OSS lens focus gear anyone? 😈
-
Custom knobs and custom caps added!
-
Amazing work indeed! I look forward to read the entire story on a new thread or even an article. Thanks for sharing
-
Please, if you didn't like the tests that were done: Stick to the facts and don't get personal. Raise your doubts politely in the specific thread. The goal is to have a constructive exchange of ideas, so let's keep the discussion professional and helpful for everyone.


