Key Specifications:
45MP Stacked CMOS sensor Eye-controlled AF subject selection Up to 30fps continuous shooting with blackout-free viewfinder In-body stabilization rated up to 8.5EV correction, coordinated with lens stabilization Pre-burst capture (JPEG) 8K Raw video capture up to 60p Canon C-Log2 profile Waveforms and false color display AF trained by machine learning for specific sports AI-enhanced post-shot noise reduction or upscaling 1x CFexpress Type B, 1x UHS-II SD card slots
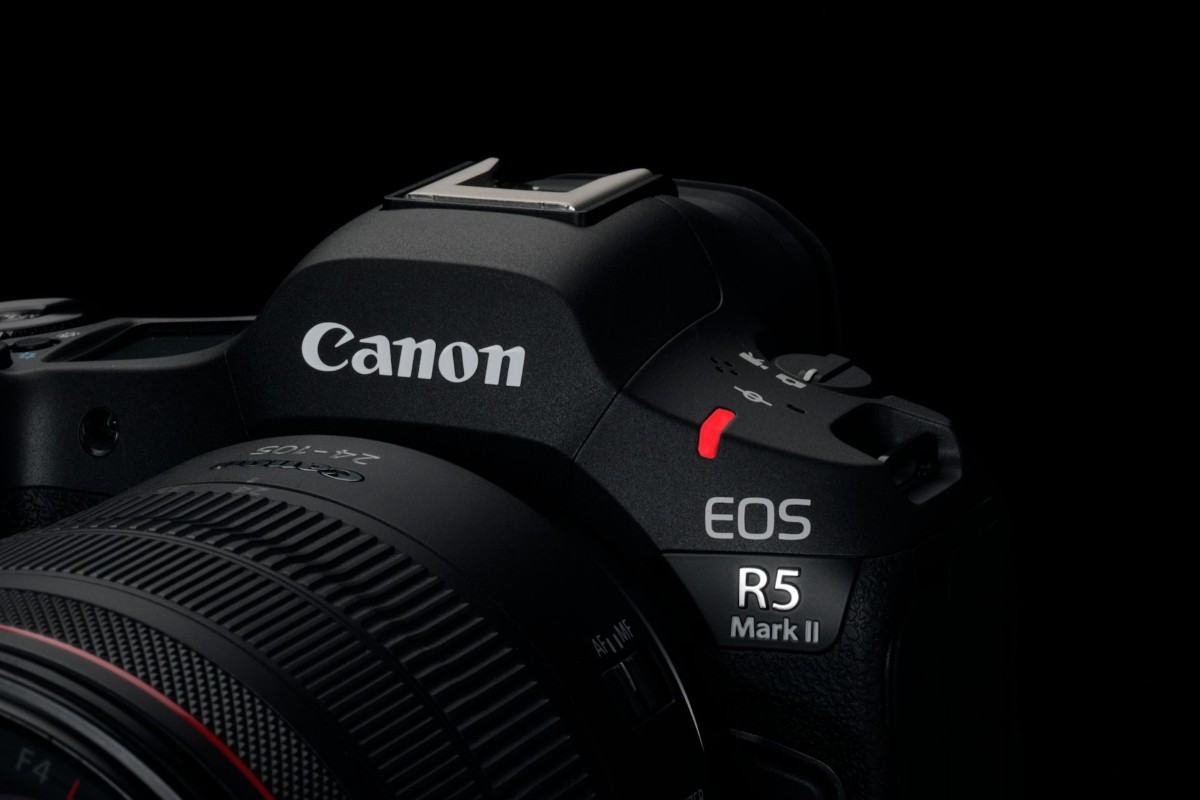
The Canon EOS R5 Mark II will be available starting August at a recommended price of $4299, which is a $400 increase over the original model (though less expensive in real terms when considering inflation). A kit including the RF 24-105mm F4 L IS USM lens will be priced at $5399.
- 0 comments
- 1,105 views
-